Is your dinner plate looking a little green? Do you need something to round out your garden produce? I’m not even talking about potatoes. Dry beans are a fantastic way to add some satisfying protein to a garden produced meal.

This year I grew four types of dry beans. I knew from sowing time what should be in those crispy pods, and waiting all season for them to ripen and dry out was like the anticipation of opening a locked treasure chest at the end of the garden season. And without much maintenance all summer, save watering. Check out these fun dry beans!
Dry Beans in the Garden
Annie Jackson Pole Bean
This beautiful shiny legume has a marvelous maroon patch on a milky white medium sized roundish bean. No need to eat these – just display them in a cute jar and be mesmerized by such a creation. But you can definitely enjoy eating these as well.
Being pole beans, the plants grow tall and need stakes to climb. These Annie Jackson pole beans produced about fifty percent more dry beans than the bush types below. They filled six cups worth from two dozen seeds. Their maturity date is ninety days from sowing.

These beans were brought by Annie Jackson from Russia to Southern Manitoba, Canada where her son has continued growing them ever since. He gave some seed of these remarkable beans to Heritage Harvest Seed to propagate, which is from where I got them. Definitely a keeper.
Canadian Wild Goose Bean
This is a subtly beautiful bean with greenish gray speckles on a small white oval – like a miniature Canada goose egg! There is an orange spot around the hilium. It is a very old variety of heirloom bush bean. Its Latin name is Phaseolus vulgaris.

The maturity date is 85 days from sowing. Three dozen seeds produced four cups of dry beans.
Black Beans
So, I have to admit, a good friend of mine got me into planting dry beans. She gave me some black beans to plant a year ago. They did so well, I planted them again, along with these other selections.
The black beans were a little smaller this year than last year – probably due to less rain. Most black bean information says they need 100 days to mature, but so far they have had no problem maturing here in zone three Manitoba. I harvested them at the same time as the Canadian Wild Goose Beans.
These black bush beans produced four cups of beans from three dozen seeds.
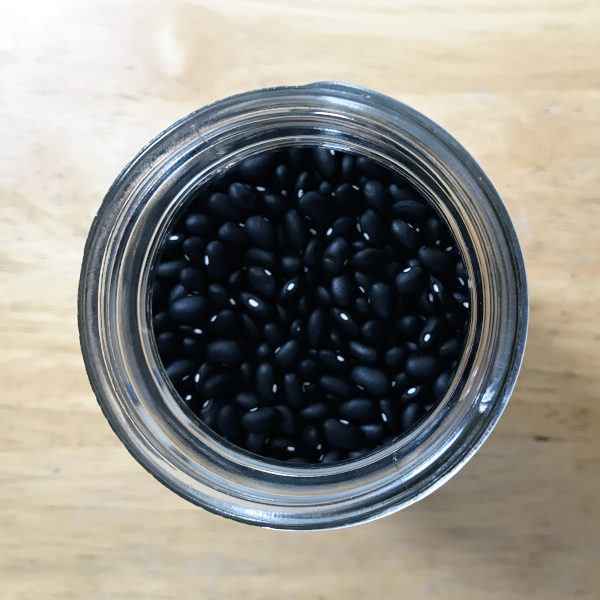
If you cook black beans together with lighter coloured beans, it will all turn into grey goop. If looks matter, I suggest cooking black beans separately. This year I am going to grow Hidatsa Red Beans to add some colour to my dishes. Hopefully they don’t turn the whole pot pink.
Chickpea of Spello
Well, this attempt was mostly a fail, but still a remarkable plant. These little heirloom chickpeas hail from the town of Spello in the centre of Italy, north of Rome. Spello was important during the Roman Empire, and lies at the foot of Mount Subasio.
Chickpeas, also called garbanzo beans, which is really fun to say, are not a true bean. Their Latin name is Cicer arietnum, and the plants don’t resemble beans at all, either.
I started my beans in trays, until they formed true leaves, to prevent the flea beetles, which have been a problem in my garden the last few years, from eating the growing point. When I transplanted them, their roots were long and prolific compared to the other beans! Instead of big tear drop shape leaves, these are small oval, bright green, opposite leaves.
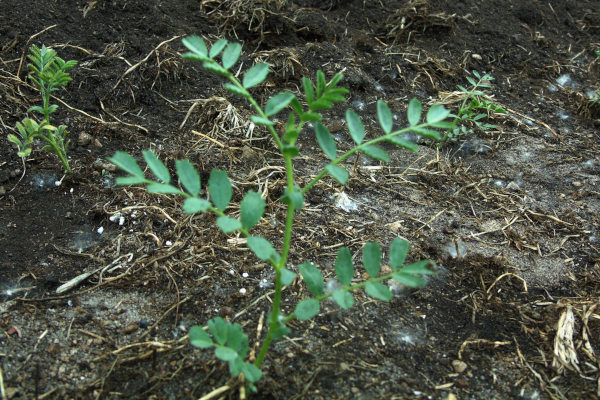
Harvest is 90-100 days from sowing, and they can be started indoors up to four weeks prior to transplanting, or even in the ground before the last frost, once the ground can be worked. I would definitely start chickpea seeds earlier next time.
A comment from West Coast Seeds on one of their articles says that if wet, cold weather is forecast near harvest time, pull the entire plant up and hang to dry. Then harvest the pods when they are brown and crispy. I could certainly have used this advice before autumn came. This was my downfall – a wet fall.
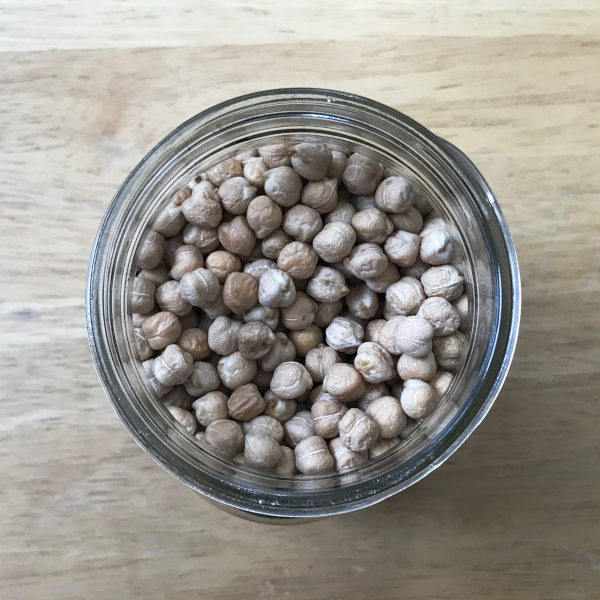
There are just 1-2 chickpeas per pod. If all went well, I estimate I could have filled 3 cups of chickpeas from 2 dozen seeds, of which almost all of them germinated. Maybe I can save enough seeds to try garbonzo beans again next year.
Storing Dry Beans
Once harvested, all dry beans should be laid out on a tray and dried an additional week or two, until they are hard. If in doubt, carefully cut one open with a knife to check the inside. Then store in a jar in your pantry!

Dry beans can last a long time, but after a few years, they may lose flavour or cooking consistency. So eat up and enjoy!
It was so much fun to grow these dry beans. They are low maintenance, and even nitrogen fixing – a good choice for my garden extension that was previously lawn. Granted, you need a bit of space to grow a decent amount of dry beans, this is where pole beans are a benefit, but the diversity they add to the garden is worth it. Now I just need to find a good place to display these jars of beautiful dry beans!

 I'm Erika, I live on eighty acres in the northern prairies of southern Manitoba with my husband and four kids. Here, we enjoy the outdoors and try to be more self sufficient as we try new things in the garden and learn about our land and the world around us.
Leave a Reply