On those hot days nothing quite beats an Iced Coffee after working in the garden or mowing the lawn. This cold brew method creates a smooth, less acidic coffee than traditional hot brewed coffee. Save your sanity and your pocket book with this amazing Homemade Iced Coffee Concentrate.
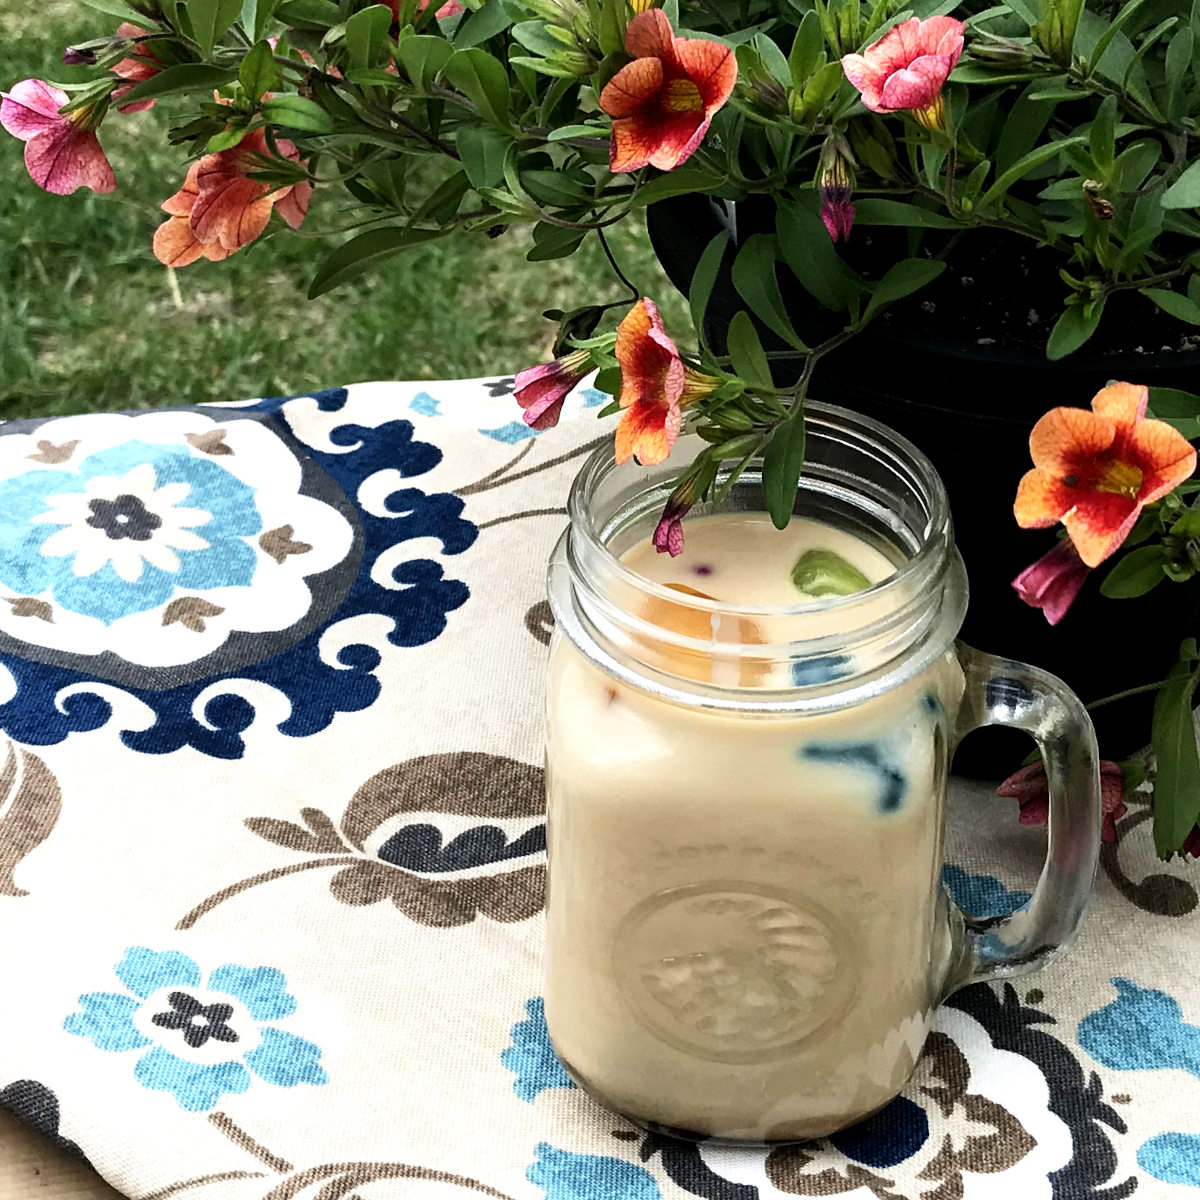
Many Homemade Iced Coffee recipes just chill the hot coffee. This is very unsatisfying, as the coffee will get diluted with the ice and milk, and the acidity creeps into the sweetness and ruins it. Of course, the secret ingredient is a MUST to complete the perfect homemade iced coffee.
How to Make Homemade Iced Coffee Concentrate
Start with your favourite coffee – good quality coffee. Normally, we don’t have flavoured coffee at our house, but it works really well in this Homemade Iced Coffee recipe. Here I used maple flavour, but often I use vanilla hazelnut coffee beans, and grind them (with my hand blender, as the burr grinder takes forever!)
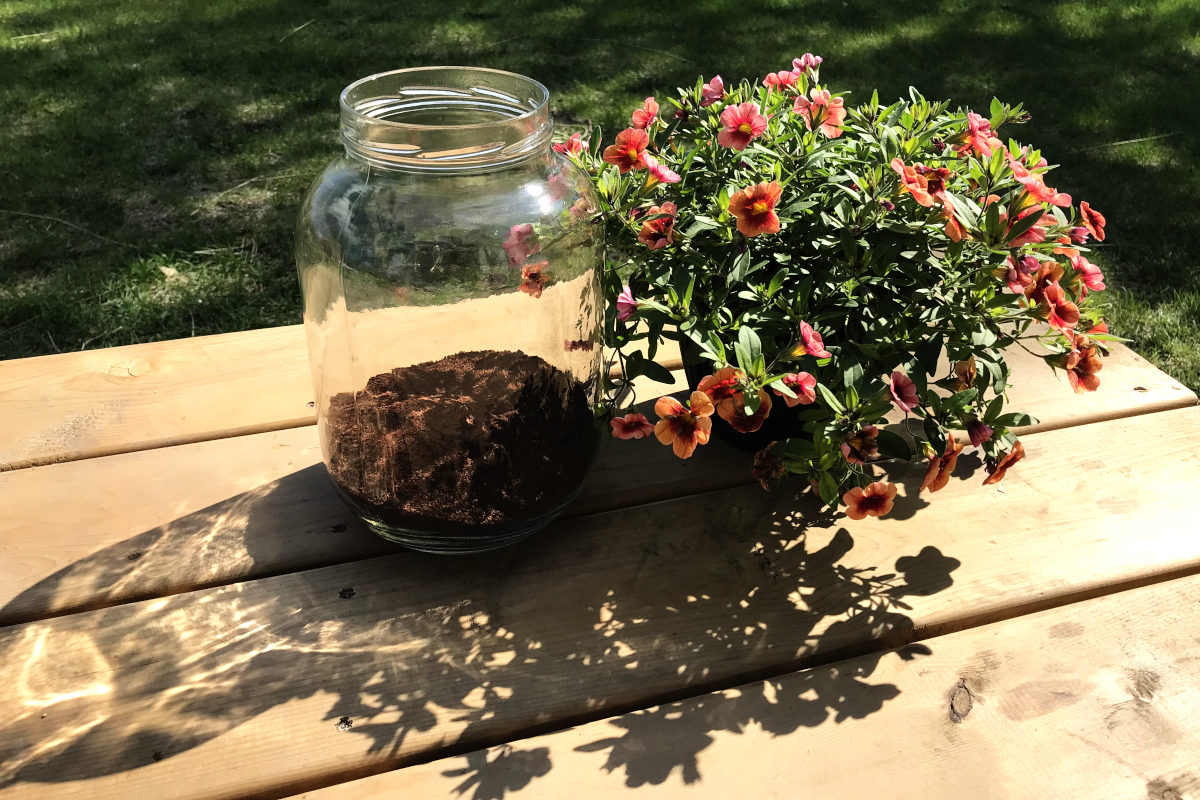
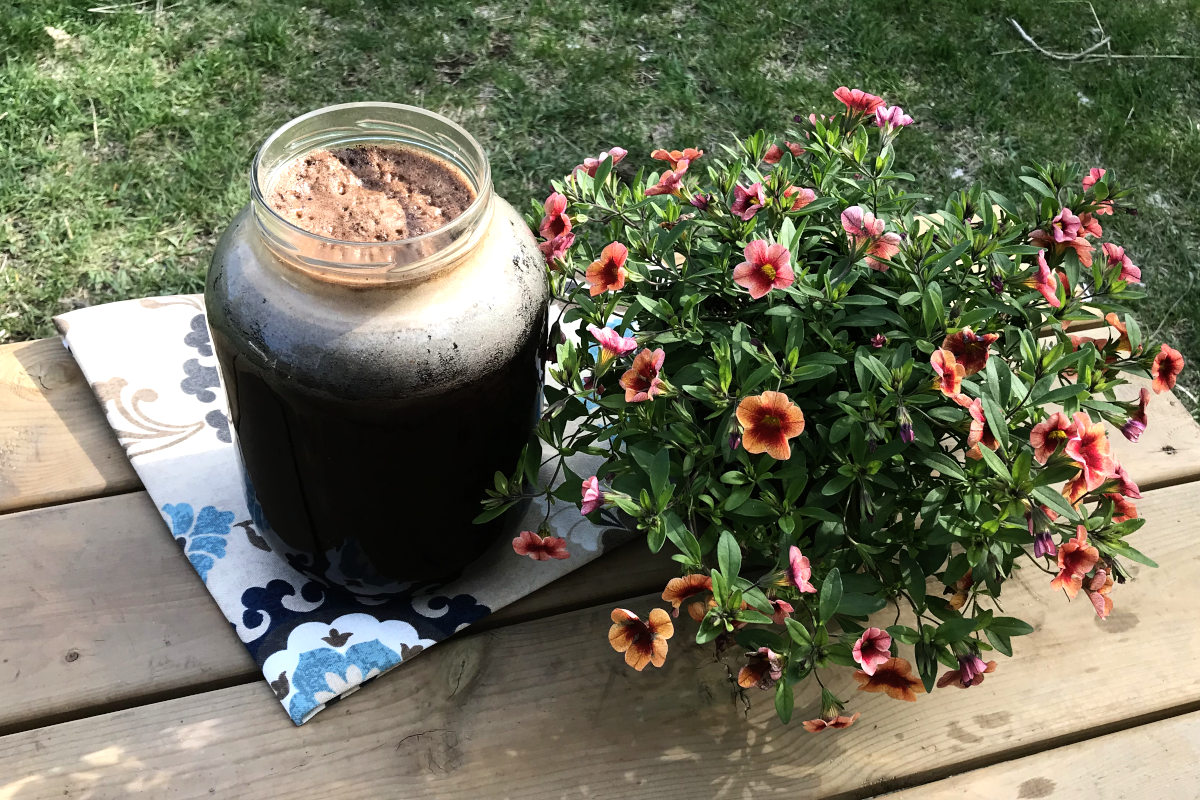
Place ground coffee in a gallon (4L) container. Fill with cold water, wetting all the grounds. Place a lid on the container and let it sit on the counter or in the refrigerator for pre-chilled coffee, for 12-24 hours. Practice patience!
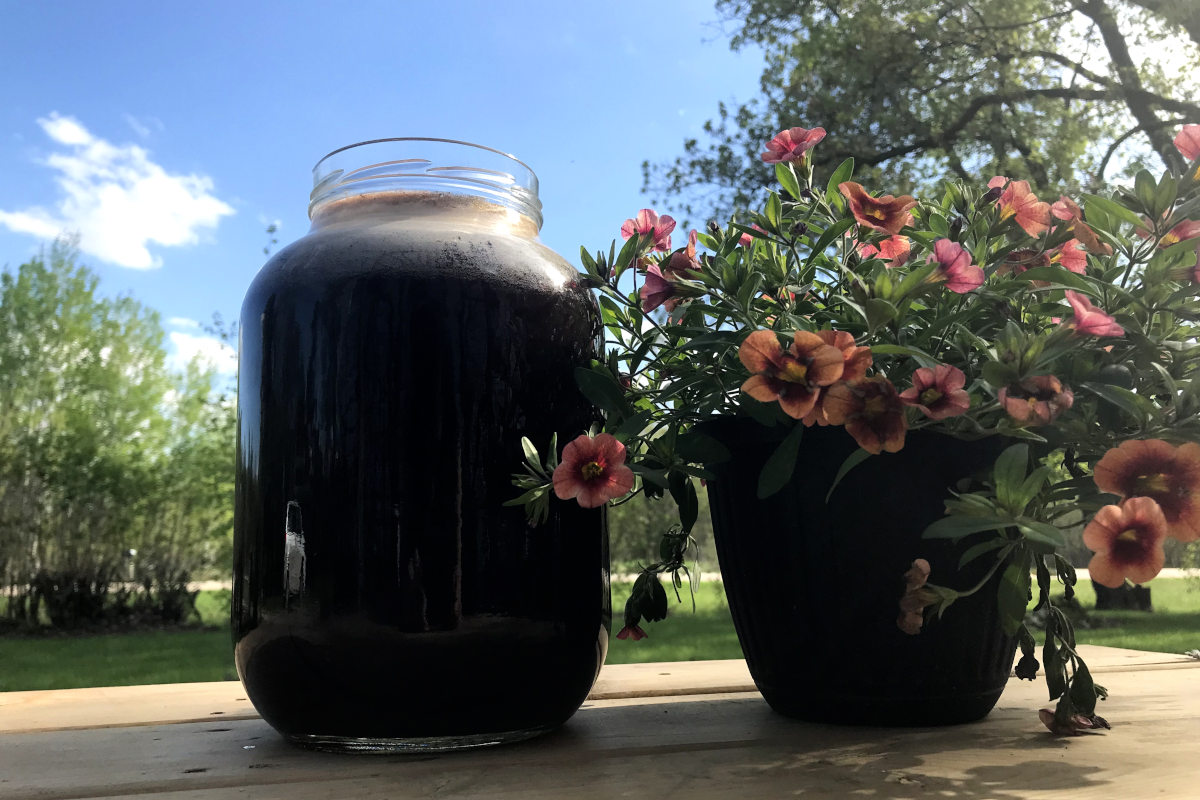
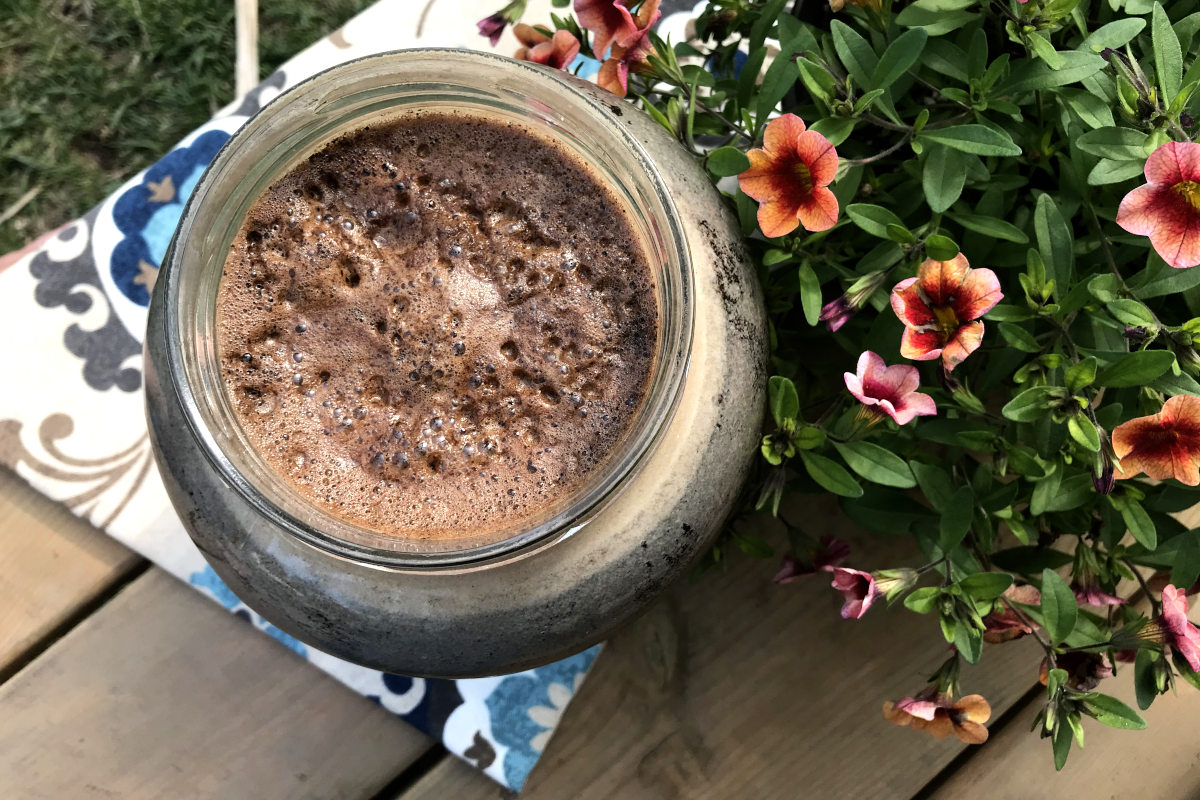
Stir the coffee and then let it sit a few minutes to let the grinds settle at the bottom of the container. This will make straining simpler.
Use cheesecloth (found at your grocery store) laid in a strainer, or a reusable coffee filter. The finer the filter you use, the more rinsing of the filter you’ll have to do in between straining, but the less residue there will be at the bottom of your container and mugs.
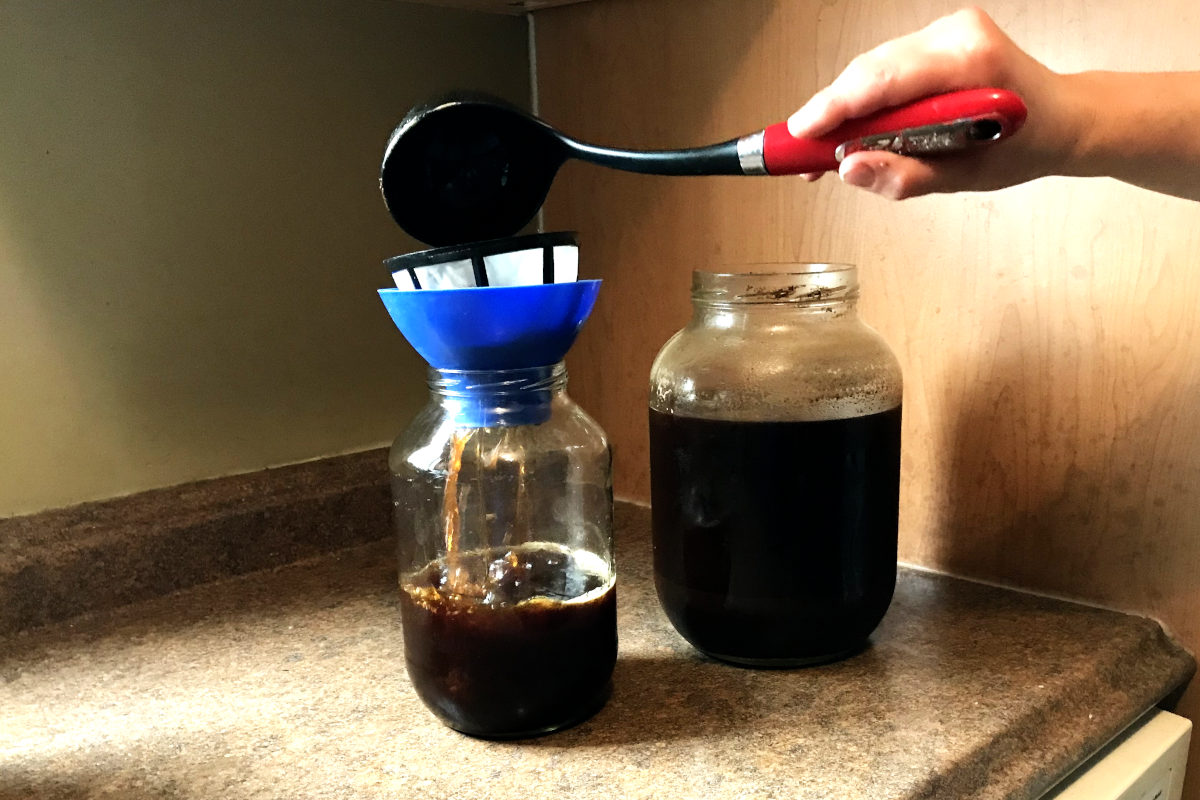
Scoop or pour the coffee off the top of the container through the filter. Now, as much as you want to extract every drop of coffee, keep your sanity instead, even if the grinds are a bit moist at the end, when you discard them into the compost.
Chill completely in the refrigerator. Warm ice coffee does not exist. Cold ice coffee doesn’t exist either. We are going for homemade ICED coffee.
Your homemade iced coffee will keep in the refrigerator for several weeks, if it’s not emptied before then.
Ok, almost there. Grab your favourite drinking goblet – I love my frosty mugs from the freezer, or these mason jar glasses from my grandma.
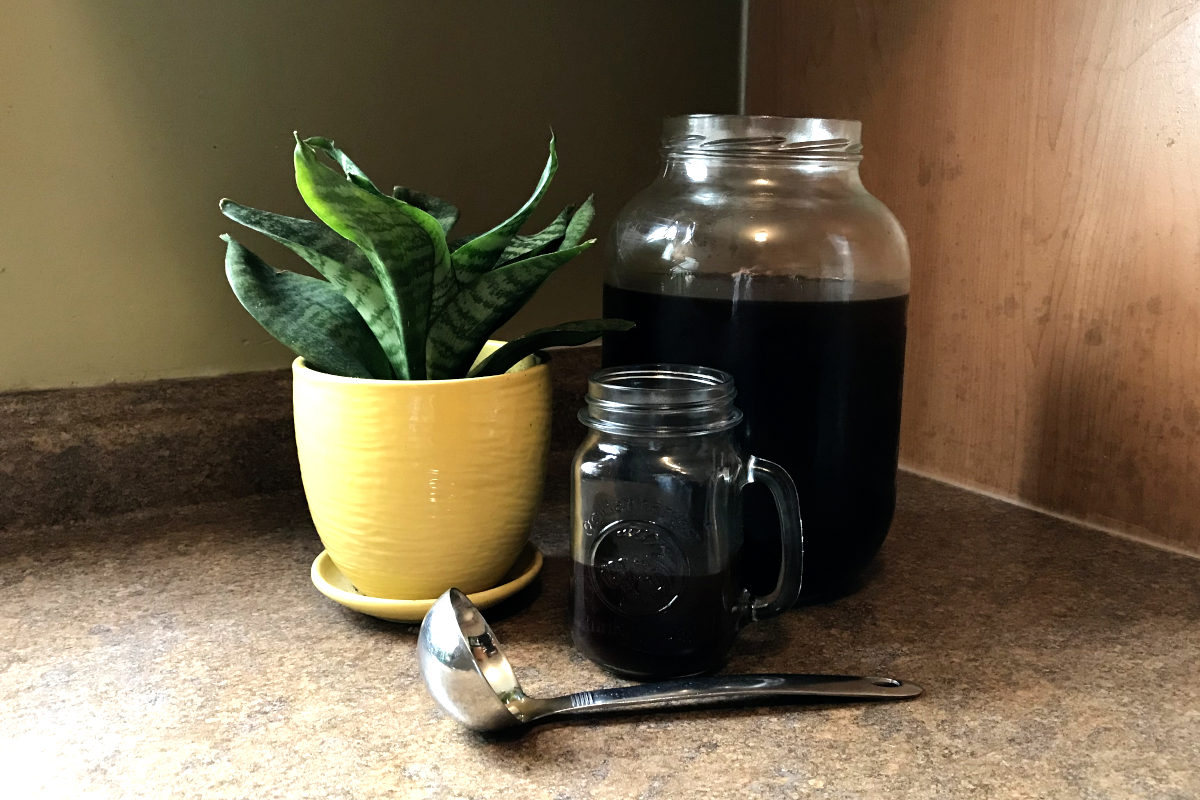
Fill it halfway with coffee. This is concentrate, remember. Then add almost another half mug of milk.
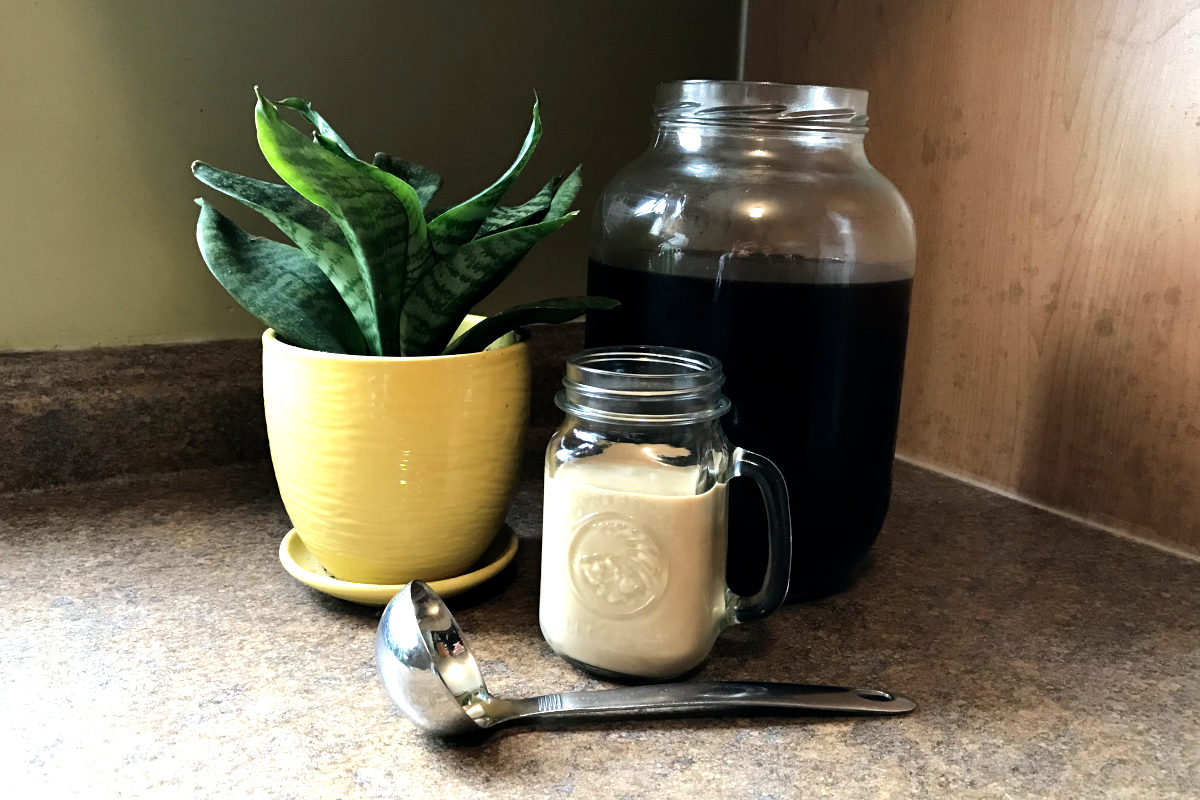
Now, for the secret ingredient. You may want to chill the secret ingredient as well, which you will anyway after you open it. Add 1-2 tablespoons of sweetened condensed milk to your mug.
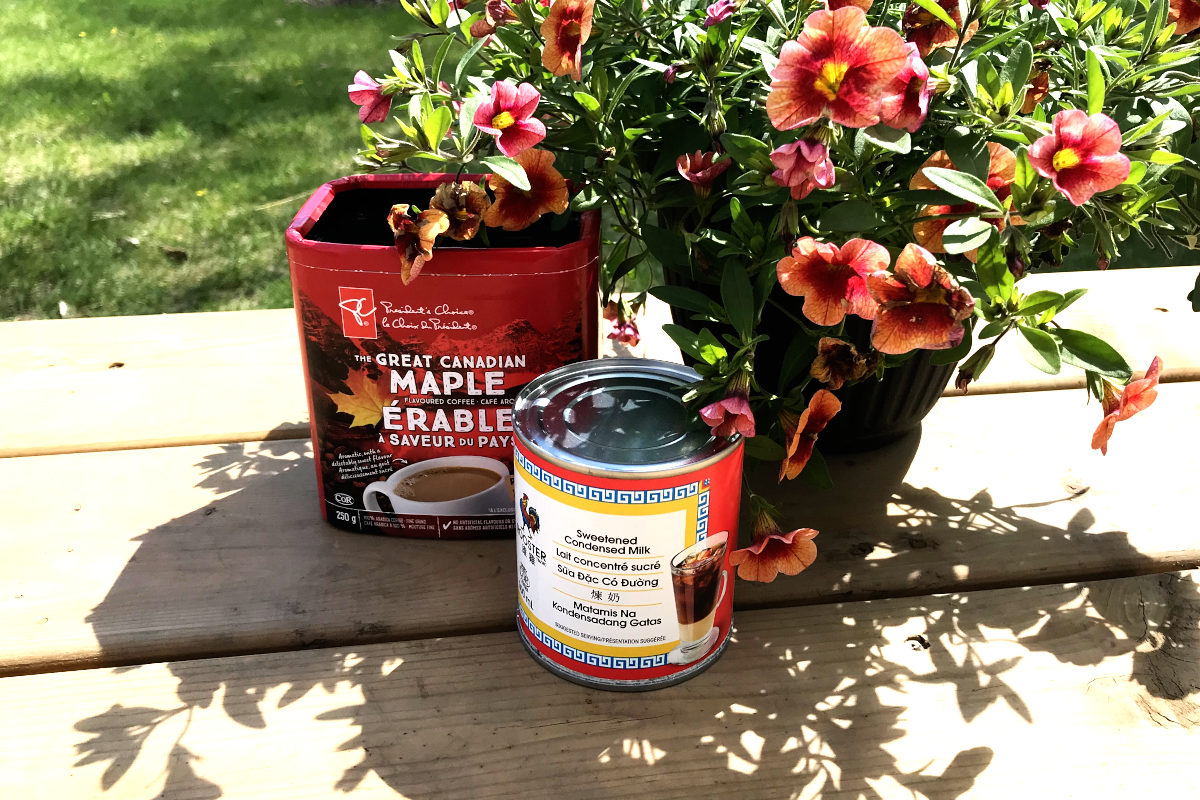
You may have guessed that I add the upper end of 2 tablespoons of sweetened condensed milk. Don’t bother with other sweeteners, they just don’t compare.
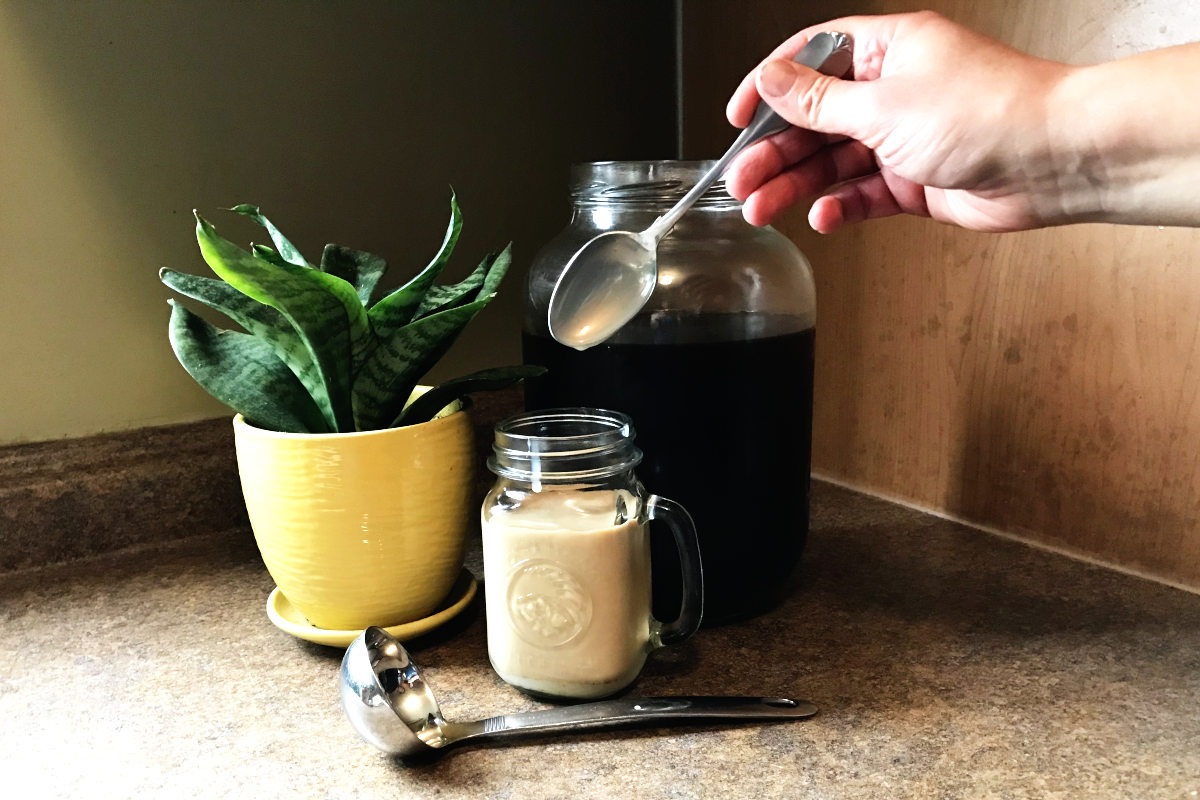
Finally, add ice cubes. I even add ice cubes to my frosty mug to make sure it’s super ice-cold. These reusable ice cubes I found at the dollar store prevent dilution! My friend makes ice cubes from the cold brew for the same reason.
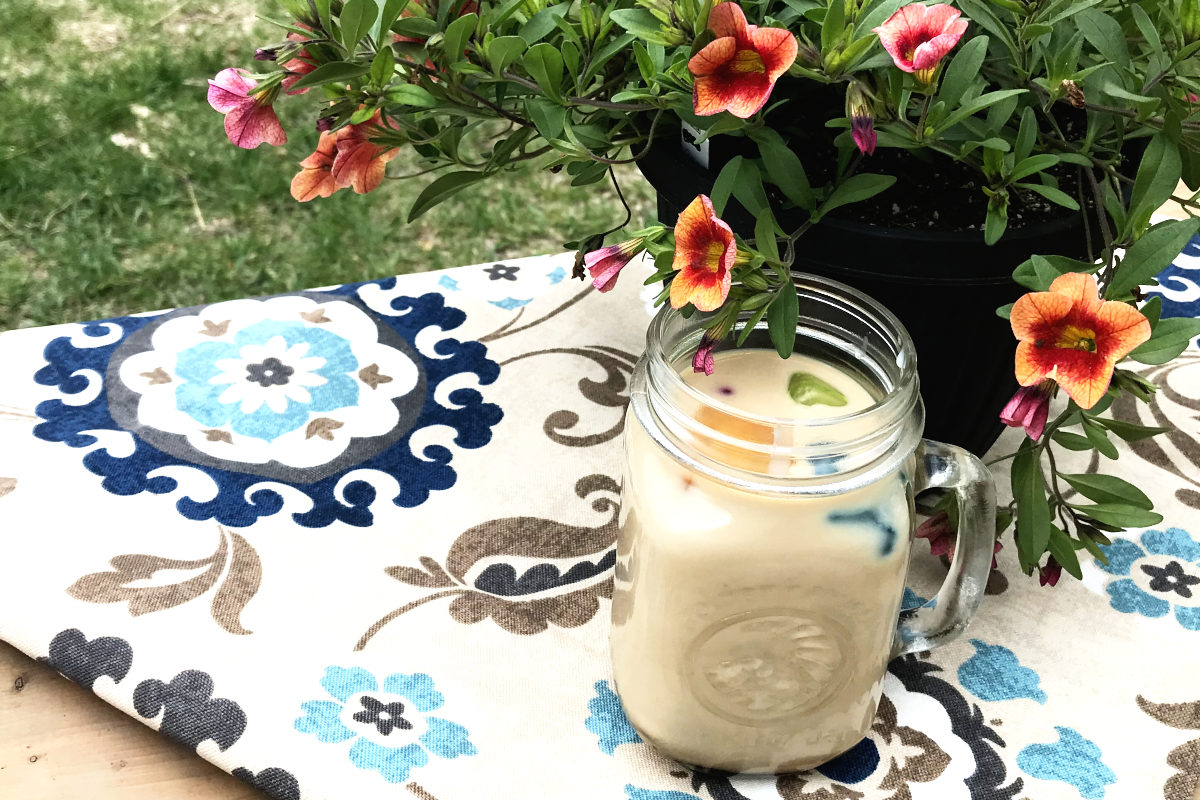
Stir, relax, and enjoy!
Homemade Iced Coffee Concentrate
Ingredients
Method
- Place ground coffee into a gallon (4L) container. Fill with cold water, wetting all the grounds. Place a lid on the container and let it sit on the counter or in the refrigerator for pre-chilled coffee, for 12-24 hours.
- Stir the coffee and then let it sit a few minutes to let the grinds settle at the bottom of the container. Scoop or pour the coffee off the top of the container through a filter or cheesecloth. This yields almost three quarts/ litres of cold brew coffee.
- Chill completely in the refrigerator. Homemade ice coffee will keep in the refrigerator for several weeks.
- Fill a mug or glass halfway with coffee concentrate.
- Fill with almost another half glass of milk.
- Add 1-2 tbsp sweetened condensed milk. Stir well.
- Add ice. Relax and enjoy!
 I'm Erika, I live on eighty acres in the northern prairies of southern Manitoba with my husband and four kids. Here, we enjoy the outdoors and try to be more self sufficient as we try new things in the garden and learn about our land and the world around us.
Leave a Reply