In the past I have dried and roasted regular pumpkin seeds, with the white hulls. They tasted good, but chewing them felt like you were rubbing a layer of enamel off your teeth. Sorry to whom I gifted some.
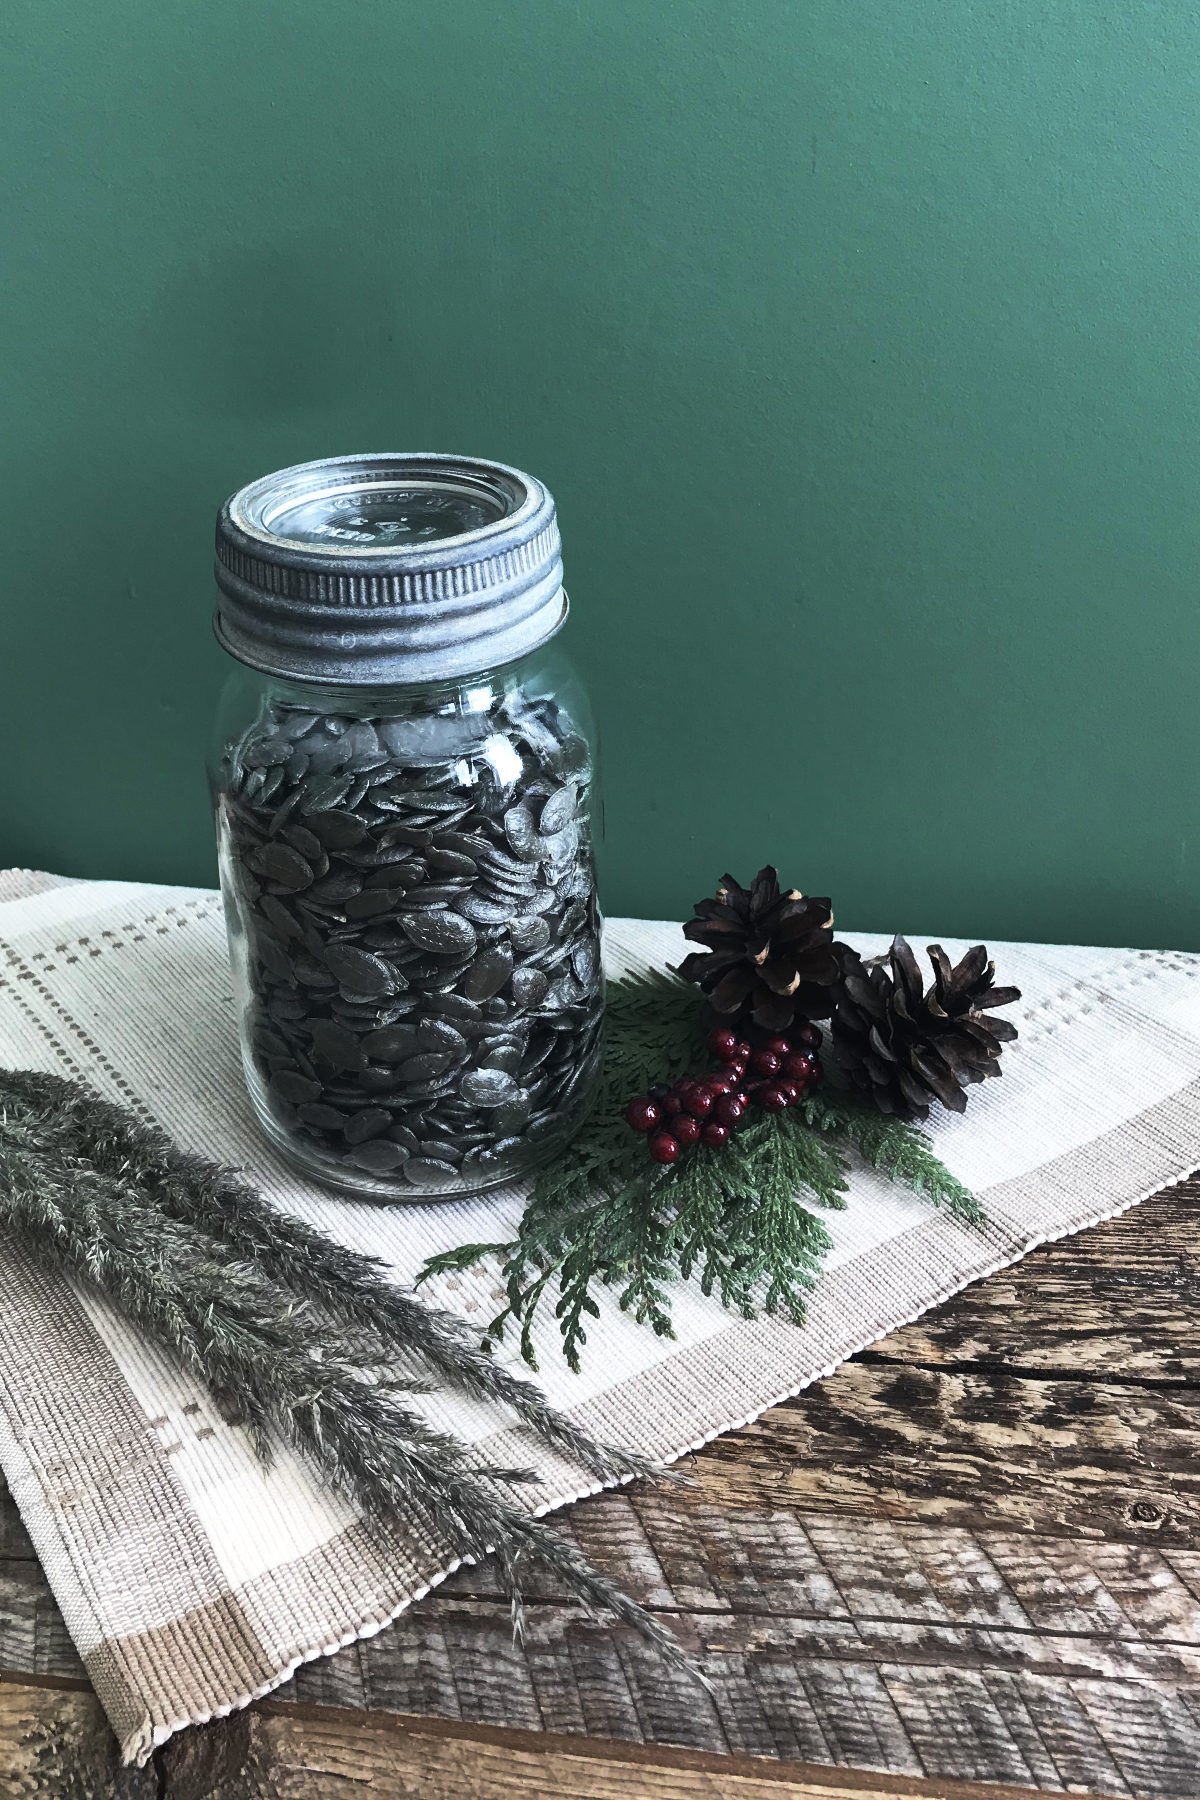
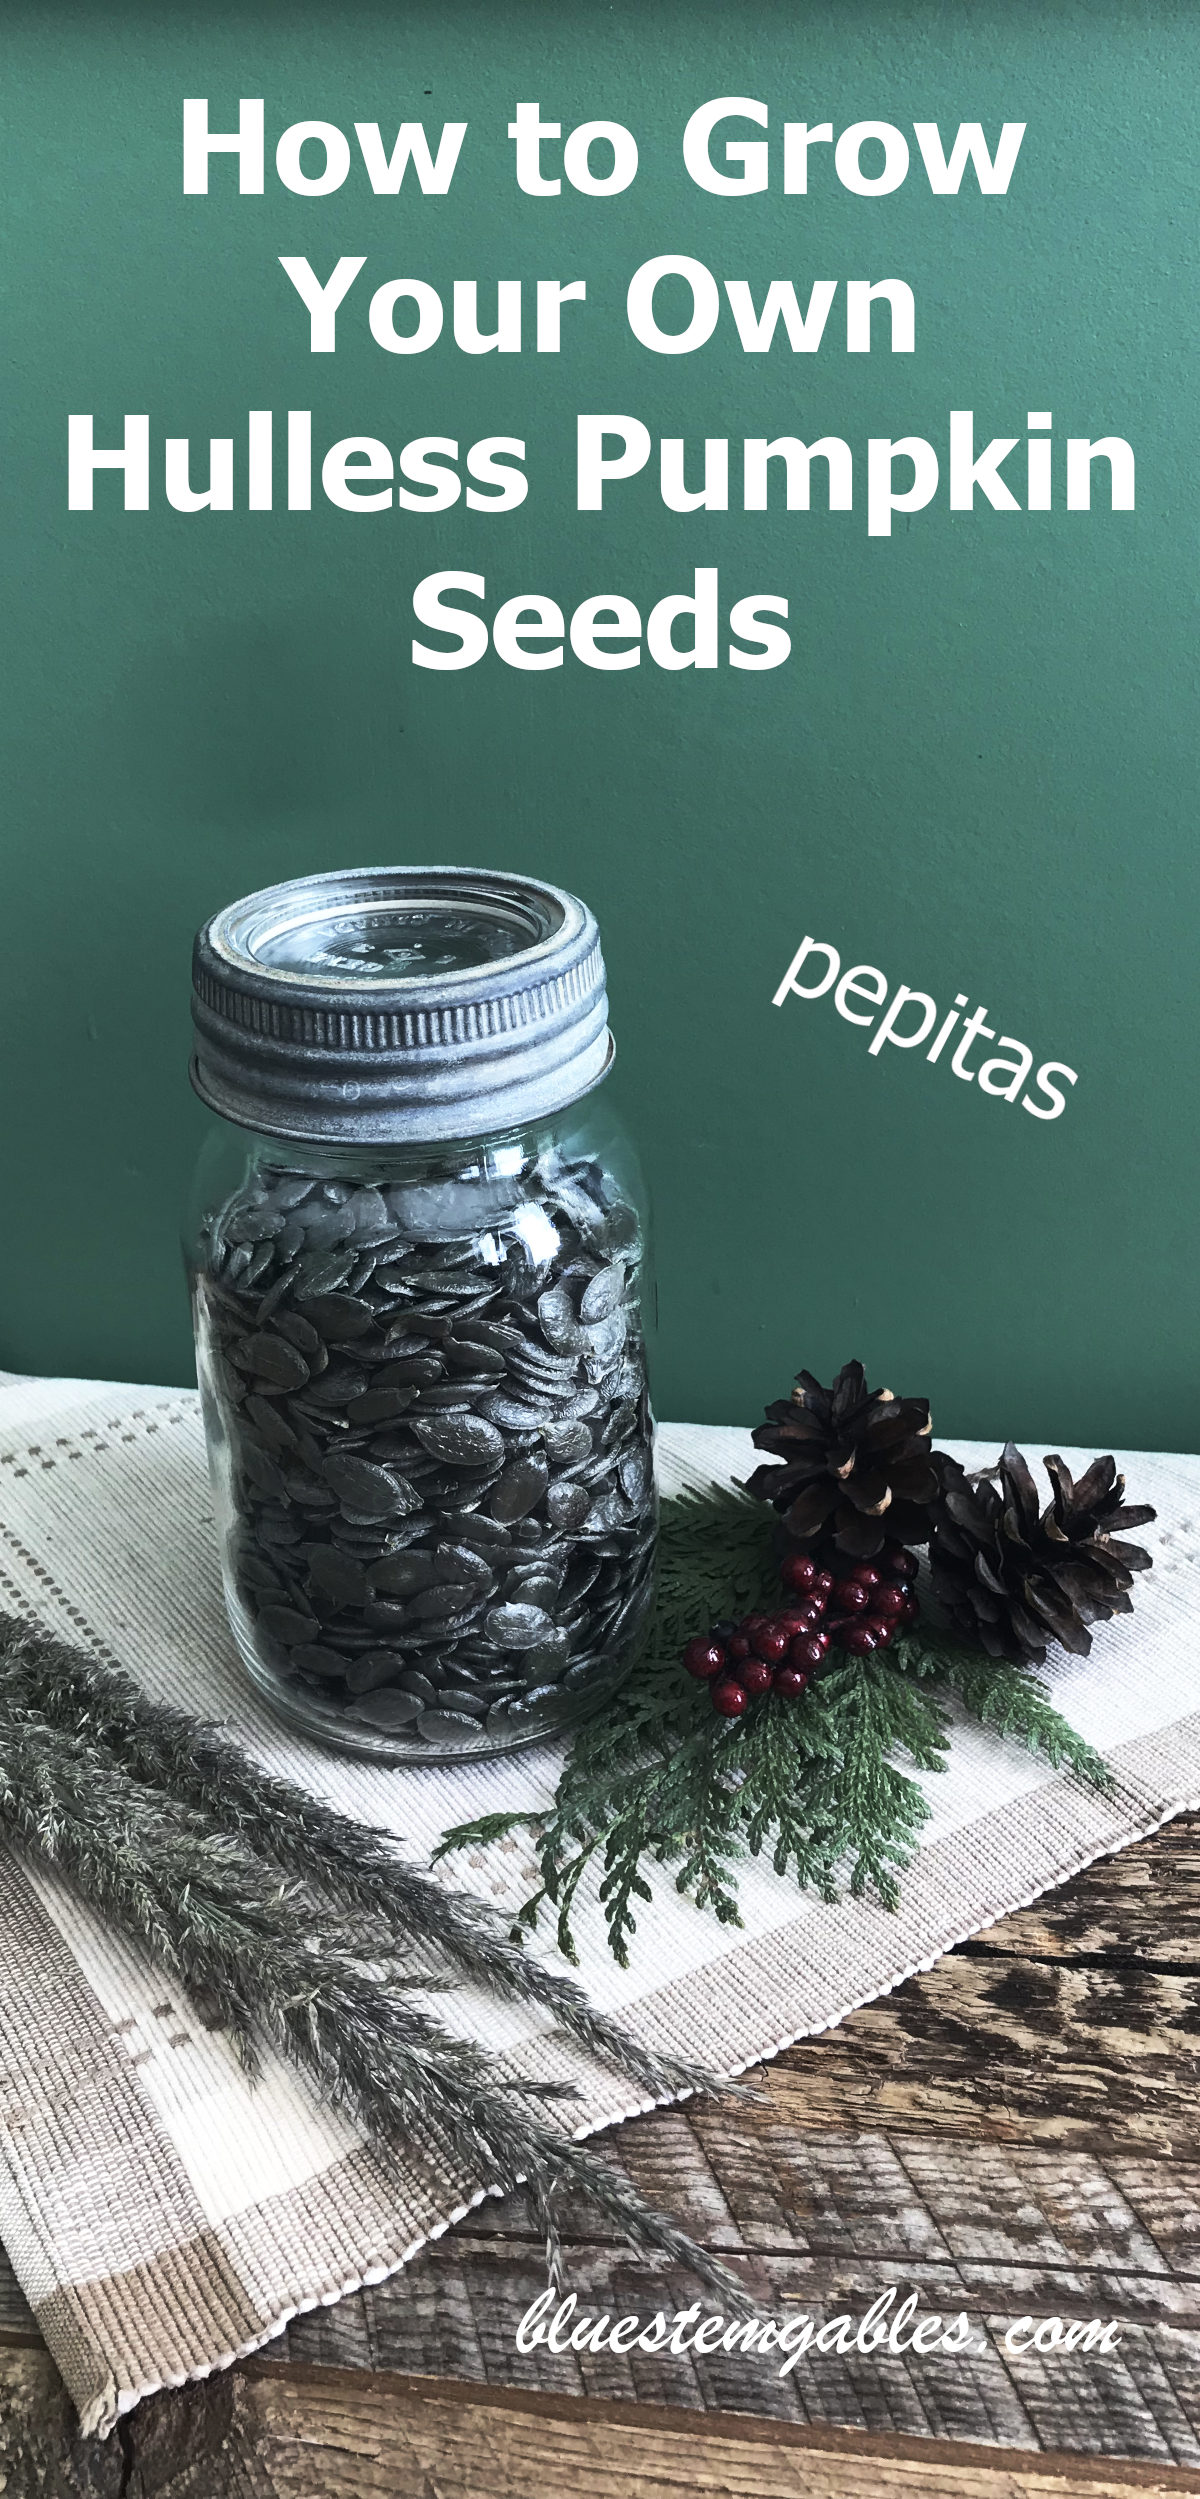
Since then, I have discovered hulless pumpkins, which come with no white shell to skin your teeth, just beautiful, gentle crunch. The seeds are sometimes called pepitas, and I can grow them here in Manitoba, in zone 3.
Growing Hulless Pumpkin Seeds
I got Styrian Hulless pumpkin seeds from Heritage Harvest Seed in Fisher Branch, Manitoba. I have also seen these seeds in the Baker Creek Rare Seeds catalogue. They are heirloom seeds, so you only have to buy once, and then save a few to plant next year.
Like most vining garden plants, like squash, melons, and cucumbers, you can start seeds indoors 3-4 weeks before last frost. This is helpful for plants that take a long time to mature, like certain squash.
Alternatively, plant outdoors in the garden after the last frost and the ground is warm. Sow 2-3 seeds per hill.
Squash requires warm soil to germinate, another reason to start indoors. Sow 2-3 seeds per pot and place in a warm area, such as a sunny window. Plastic wrap or a plastic cover will create a greenhouse effect, warming the soil even more, and prevent soil from drying out. Remove the covers once seed has germinated to prevent rot.
Speaking of rot, I may have had an issue with rot in some newly germinated cucumbers this year. Or maybe it was the type of cucumber because they seemed more susceptible than the other plants in the tray. Who do you think I wanted to blame – the seed or me? No wonder those seeds are said to be rare. At least it was a freeby.
Once the little plants have a couple of sets of true leaves, they can be planted out, once the weather is warm, past all chance of frost. I usually only transplant into the garden after the first week in June. My grandma would transplant out after the new moon in June, which can be even mid-June.
The cotyledons, the first leaves that sprout, will die off once the true leaves appear. Do not be alarmed! The cotyledons are the first foods from the seed, feeding the plant until the true leaves take over.
Plant all 2-3 three plants together in a “hill”, at least five feet apart or from other plants. In my sandy soil its more like a valley so the water doesn’t run away. These long vines like lots of water. Try not to wet the leaves when you water to help prevent powdery mildew.
The plants will root along the vine where it touches the soil, helping to nourish these large specimens.
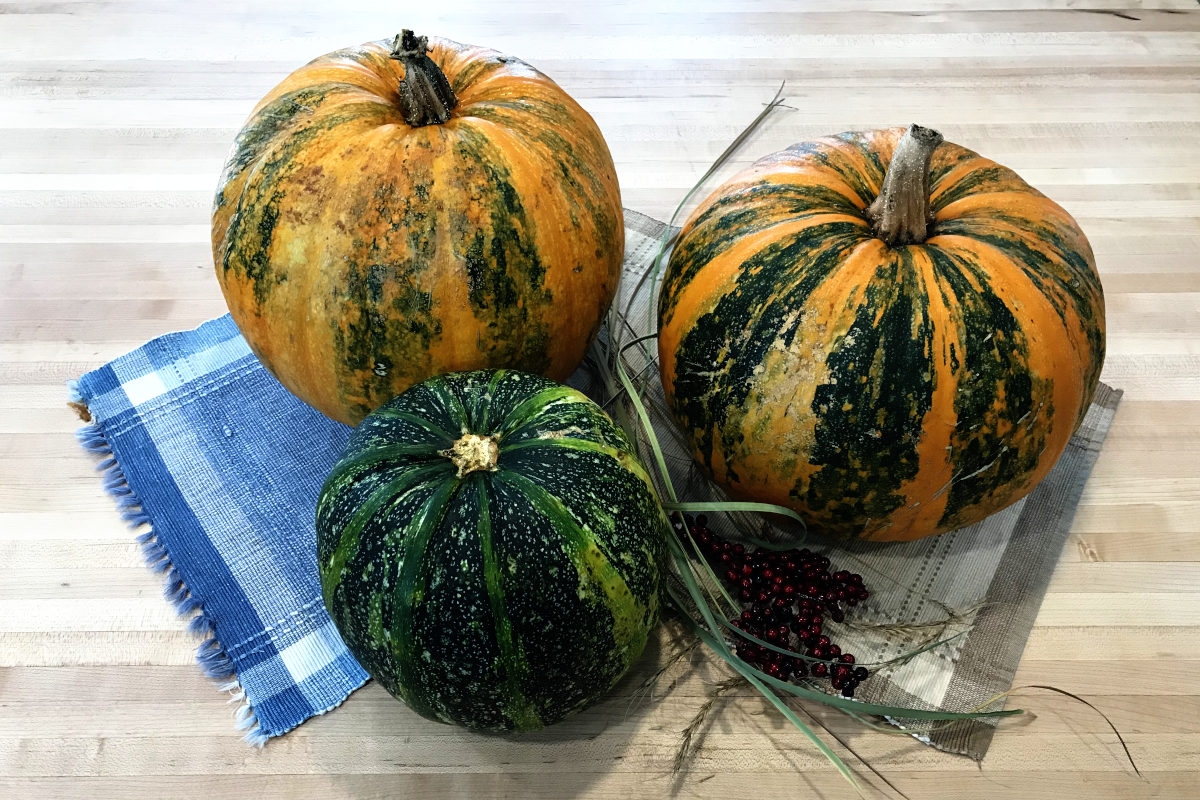
I got 7 pumpkins per hill in a dry year on our dry gravel ridge. At some point in the summer or early fall, you know that any new pumpkins are not going to mature to full size. These should be removed so that energy can be put into the remaining pumpkins. I also remove any super long vines, especially those with no pumpkins on them, for the same reason.
Full sized pumpkins will continue to mature off the vine in a warm place. They will turn from deep green to striped with orange. They should be fully mature at this point, and will continue to change colour with more orange.
Pumpkins are winter squash, and can be stored for several months in a cool, dry spot. I finally got around to digging out the hulless pumpkin seeds from the pumpkins in December.
With their striking green and orange stripes, these pumpkins are great for fall time displays.
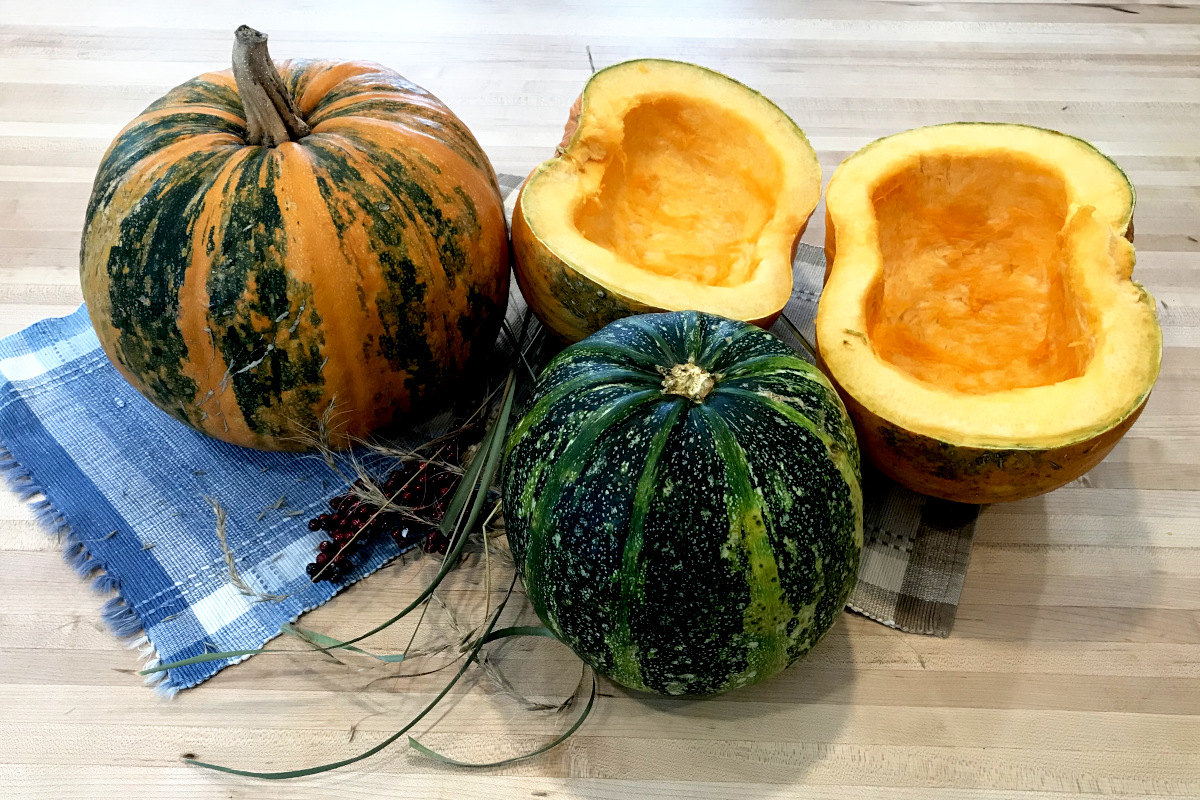
Maybe it goes without saying – grab your biggest chef’s knife and a large cutting board. Or an ax and a chopping block? Cut the pumpkins in half, or cut a hole in the top, aiming your knife toward the centre, if you have visions of jack o’ lanterns.
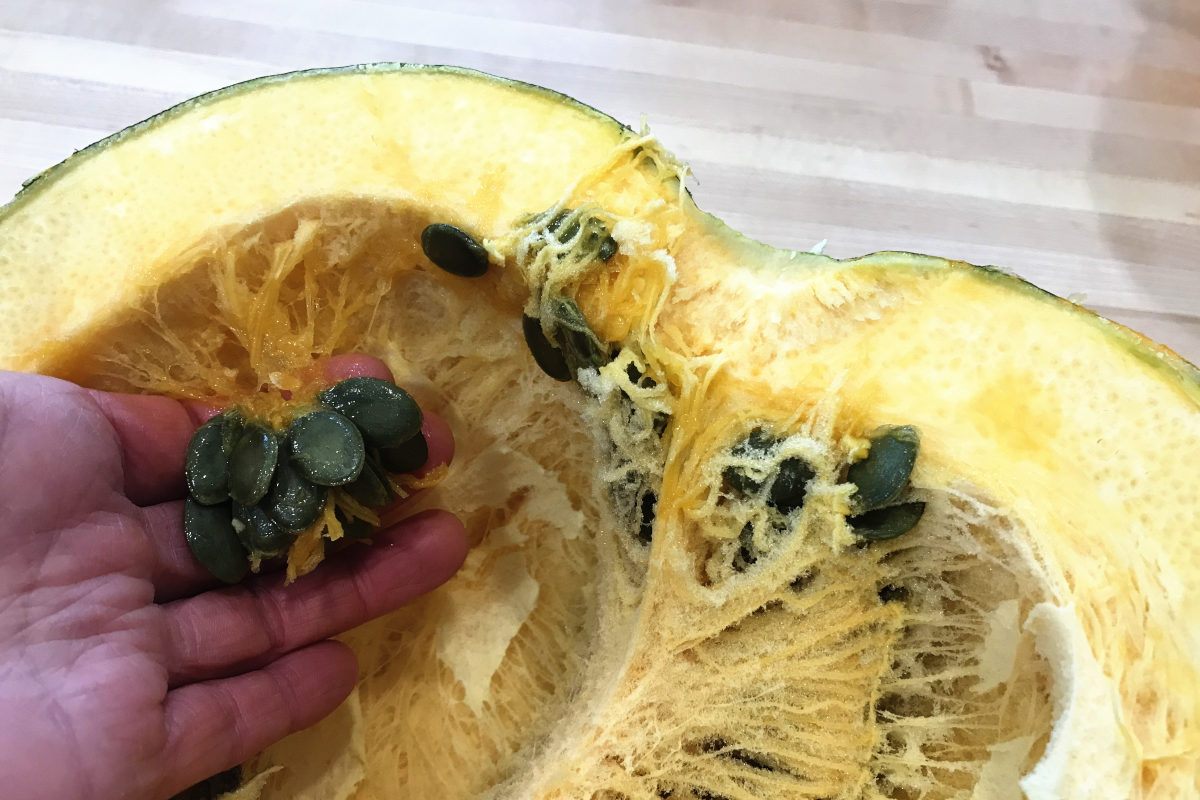
Scoop out the seeds. They are fairly clean compared to some other squash, but you may want to rinse the slime off the seeds in a colander. Be a kid – get your hands in there and enjoy the slime.
Lay out the seeds on paper towel in a pan or on a screen to dry for a couple of weeks, or put them in a dehydrator. Remember to set aside a handful of seeds for replanting before putting in the dehydrator or roasting! At some point, heat will kill the viability of the seeds.
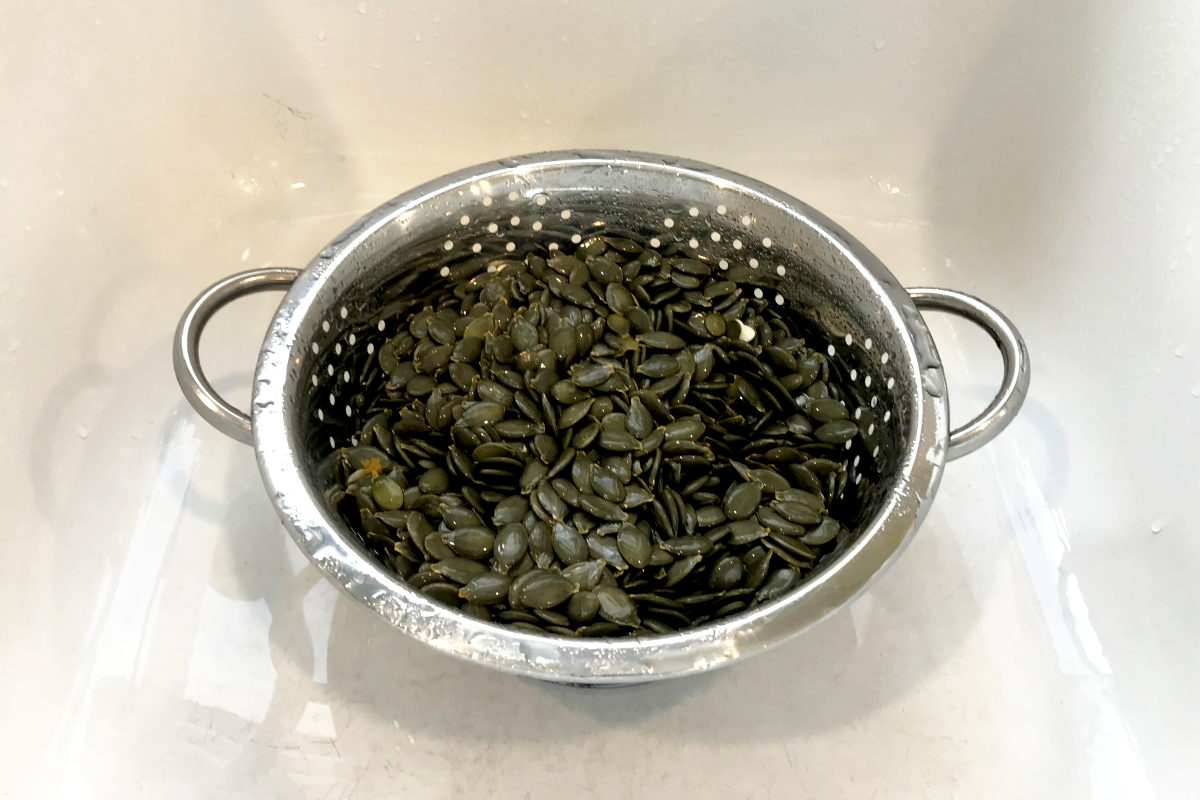
I harvested about 1 cup of hulless seeds per pumpkin. This almost seems like small harvest for a huge plant, and may show why pumpkin seeds are not cheap. But if you have the room, the growing and harvesting is pretty easy.
Pumpkin seeds have their own health benefits. They are said to be high in antioxidants, protecting cells and reducing inflammation. They contain a number of minerals such as magnesium and zinc, as well as fibre and unsaturated fats, such as omega 3. They contain all the essential amino acids. They can help get a good night’s sleep due to its tryptophan. They also act as a vermifuge (dewormer). (webmb.com, happynaturaldog.com)
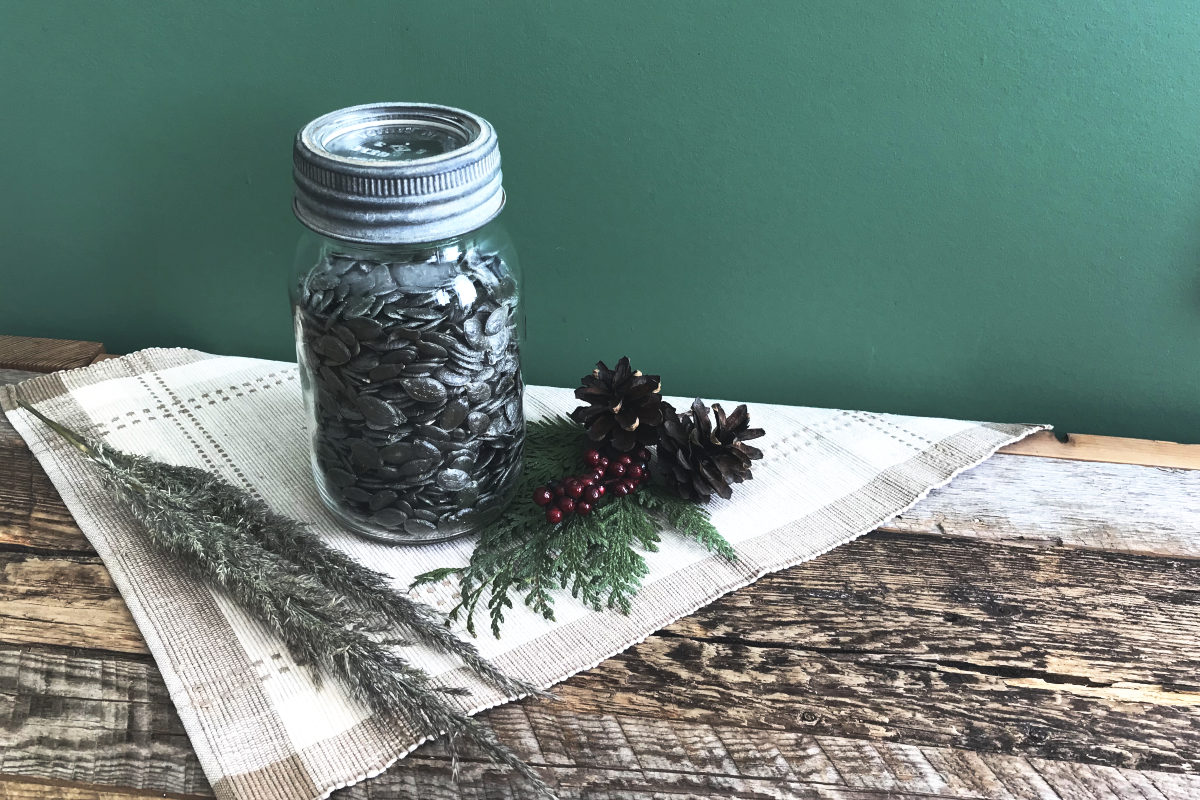
Seeds can be eaten raw or roasted with olive oil. But a lot mysteriously disappeared just as I was putting the dried pumpkin seeds in a jar. I have put them in my homemade granola, and tossed them on salad.
Of course, I had to see if the flesh of the pumpkin was edible. I use it as a filler and thickener in soups and smoothies, though it is not all that tasty on its own.
The pumpkin can be roasted in the oven at 350˚F until soft, about 45 minutes. Then scoop the flesh out of the rind and blend it to prevent stringiness. Freeze in containers or freezer bags in 1-2 cup servings. I’ve even frozen some in muffin tins and then put them in a bag back in the freezer.
I am growing Styrian Hulless Pumpkin Seeds again this year. They are a keeper. I am also mulching around them (and other transplants) with straw to maintain moisture in the ground, preventing evaporation. So far it has been helpful. With that, it’s back to the garden. Let me know how your adventures with hulless pumpkins go.
You might also like these gardening gems:

Carrots: Sowing, Storing, Saving Seed
 I'm Erika, I live on eighty acres in the northern prairies of southern Manitoba with my husband and four kids. Here, we enjoy the outdoors and try to be more self sufficient as we try new things in the garden and learn about our land and the world around us.
Leave a Reply