Learn how to grow milky oat tops and how to dry and preserve them. These soothing seeds deserve a place in your garden, bringing another level to the nutritious and calming effects of oats in what we’ve grown up with as oatmeal for breakfast (I could never make it quite the same as grandma on the farm) or oatmeal baths for poison ivy and chicken pox, or oatmeal infused lotion.
The sight and sound of oats swaying gently in the breeze is calming in itself. The knowledge that food is being grown, the farmer looking forward to a successful harvest brings assurance to the soul and thankfulness to God.
Growing Milky Oat Tops
I like to make tea with milky oat tops. This is my favourite recipe from Healing Harvest Homestead for seasonal blues tea (not an affiliate). Milky oat tops relieve stress, nervous irritability and anxiety. They are also high in calcium and protein, as well as silica, B vitamins and flavonoids.
With prices soaring and the costs and red tape increasing for herbalists (here in Canada), the more ingredients I can grow for myself, the better. I can control the quality, and ensure the availability of those herbs.
When I first endeavoured to grow oats, I was all excited when I spied a corner of a farmer’s oat field that was missed at harvest. It was only after I collected a whole bag of seed that I wondered exactly what kind of oats I now had, and with what had they been treated? I tossed out the whole bag.
I ordered a packet of oats from an heirloom seed company and planted with confidence.
Sow directly in the ground in spring. I didn’t have great germination at 50%, but I could attribute that to seeding or watering issues. No complaining when you have help!
I had 15 plants come up, far from a field of oats, and I wondered how successful this experiment would be. Once the seeds come up, oats require very little in the way of care past the occasional watering. They are fairly drought tolerant (I planted them in the driest, rockiest part of the garden).
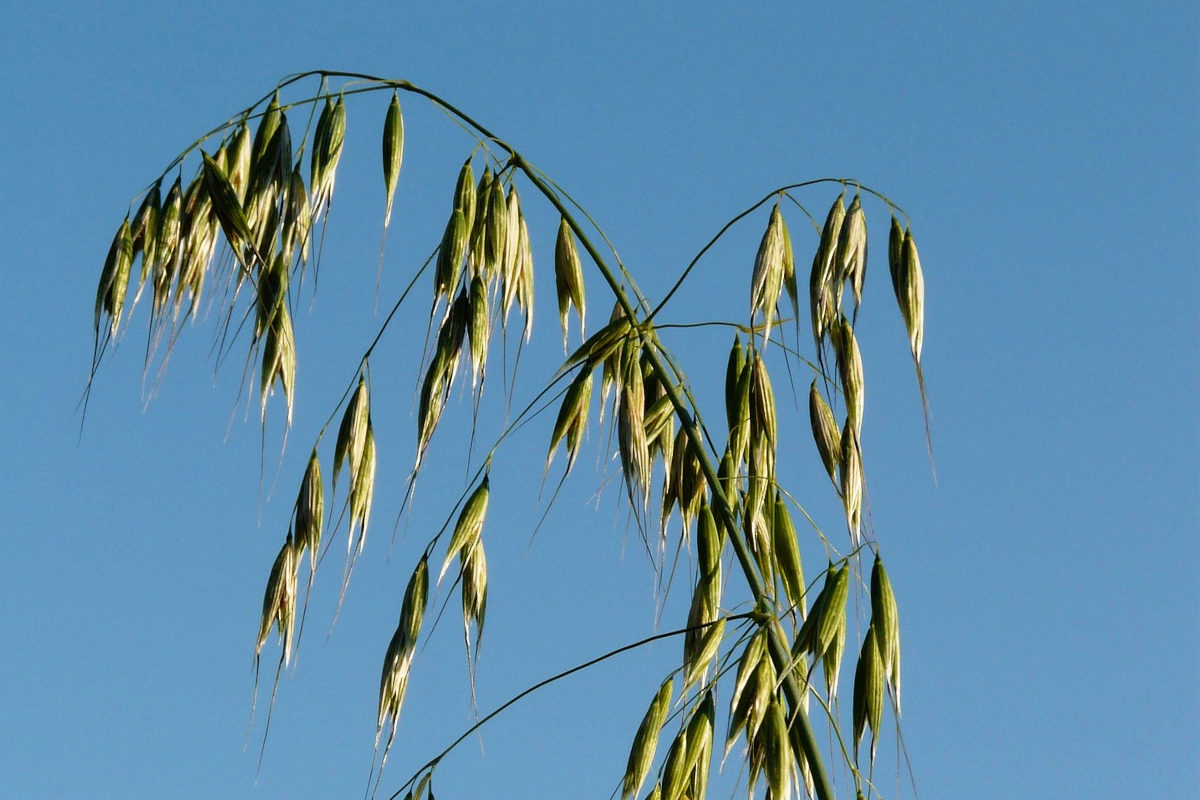
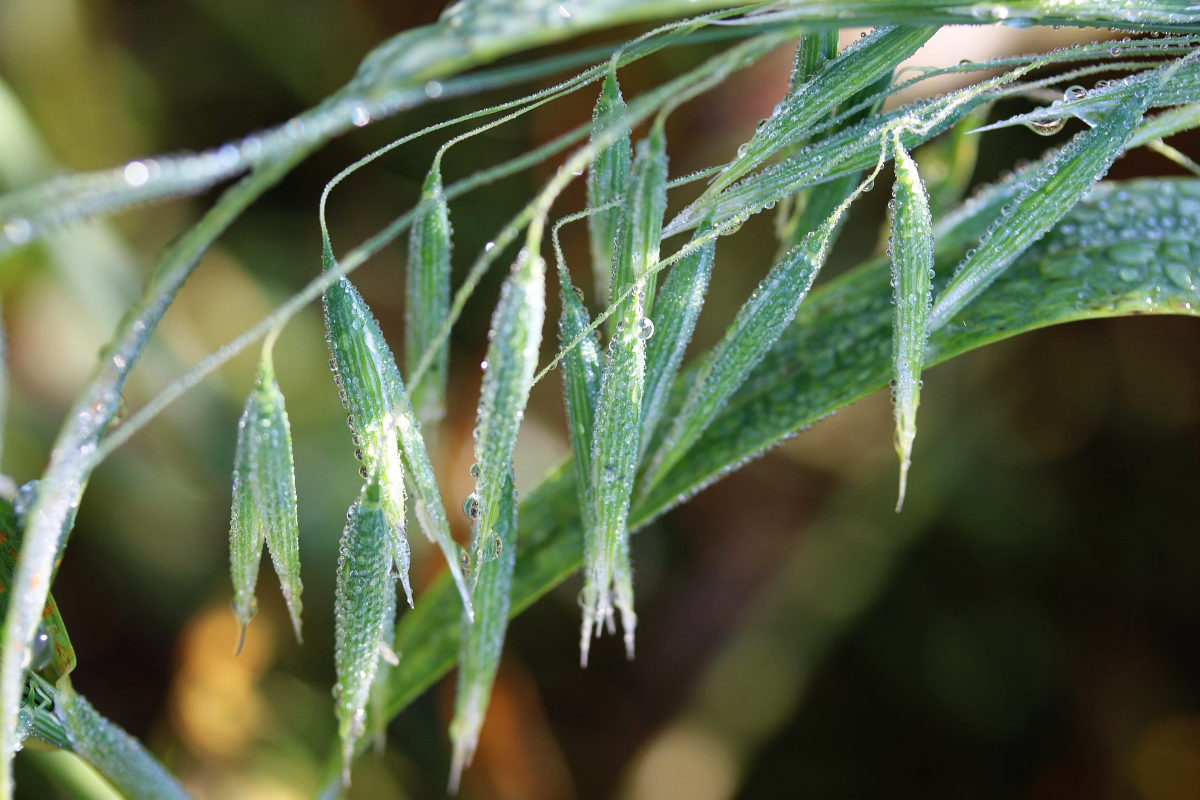
Come July (in this part of the world), the plants should be approximately three feet tall, and the seed heads getting ready to harvest for milky oat tops. Each seed will become plump. You can test a seed by squeezing it with your fingernail. When a milky substance emerges, the oats are ready for harvest.
The harvest window is fairly short, so once the seeds form on their airy panicles, keep checking. Since I was just growing a few plants in my garden, I could harvest a few stalks at a time as they were ready.
You can harvest just the milky oat tops, or you can grab the whole plant. The green oat straw has similar properties to the seeds, if a little less potent. Each seed grows a fistful of stems from which the seeds emerge, as well as grassy leaves.

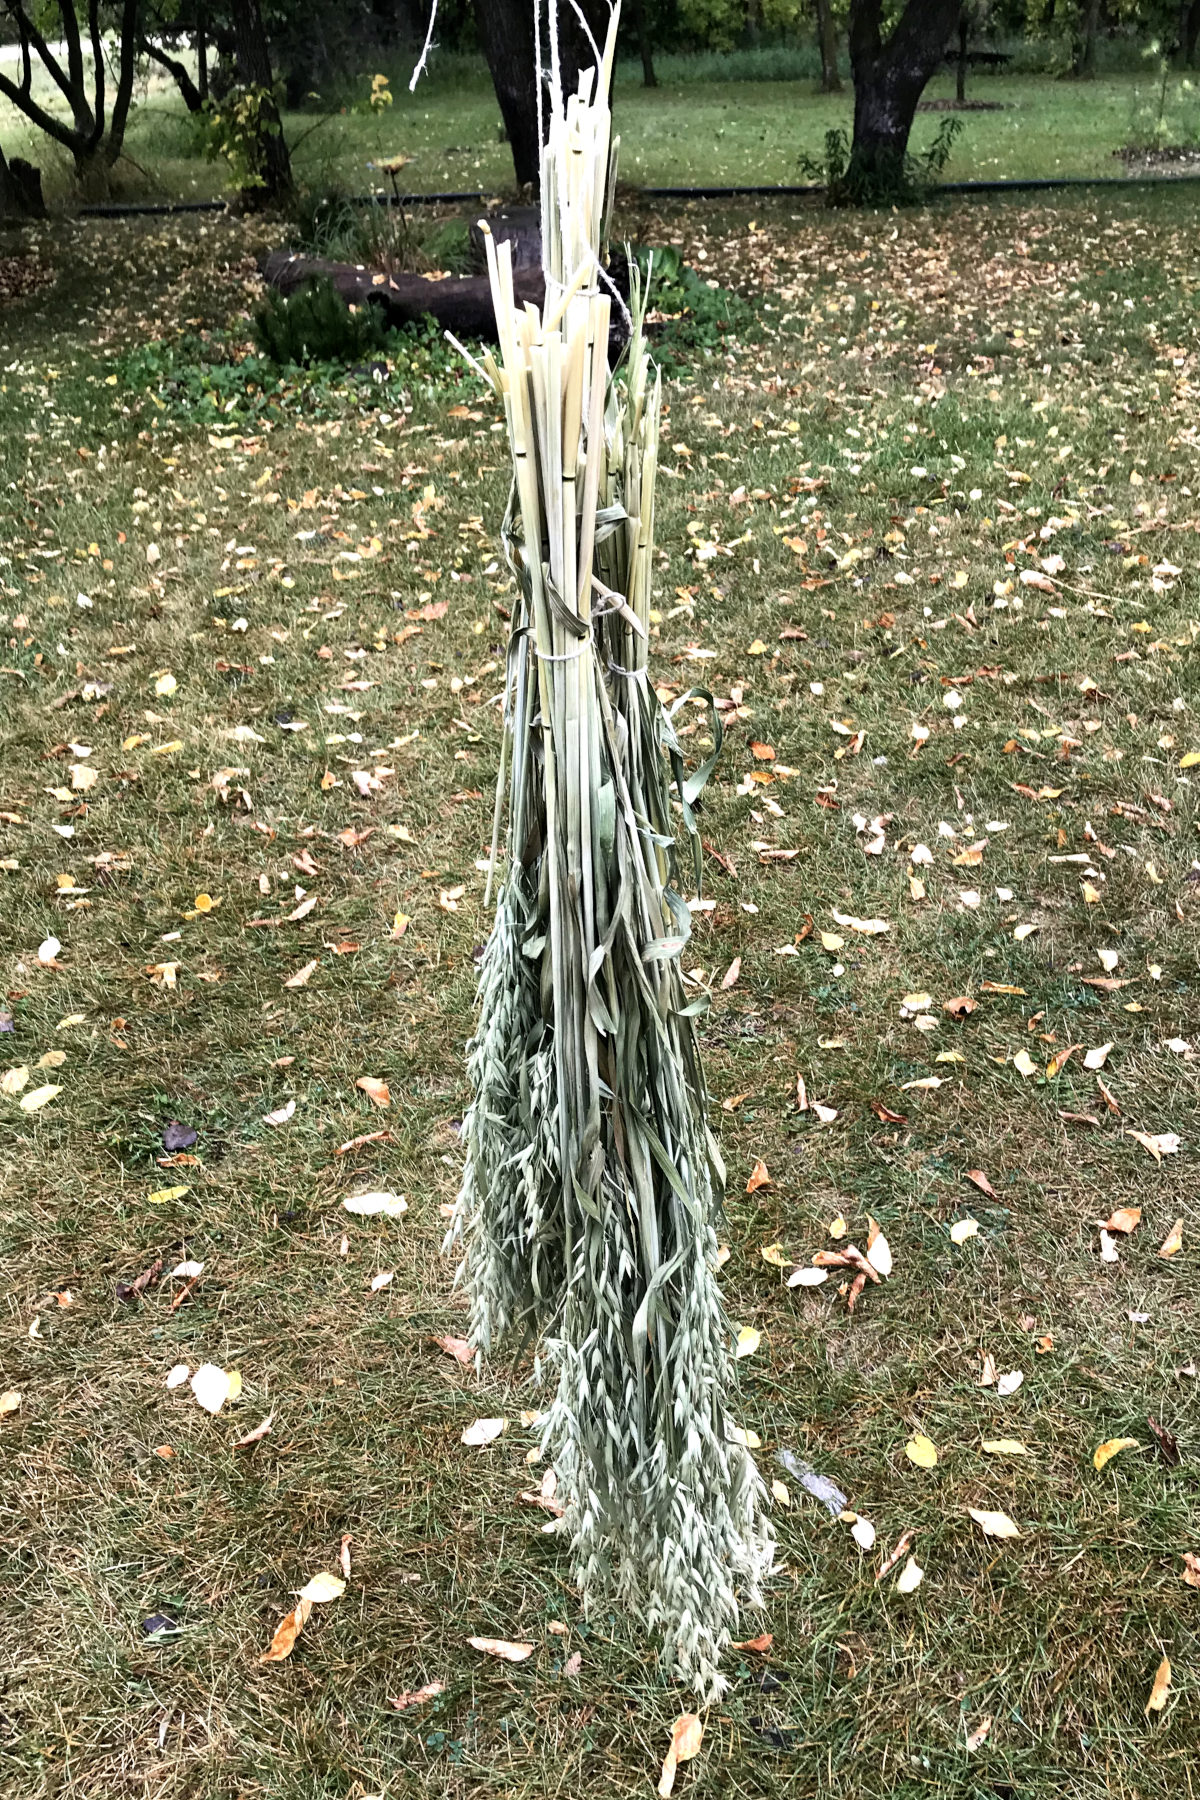
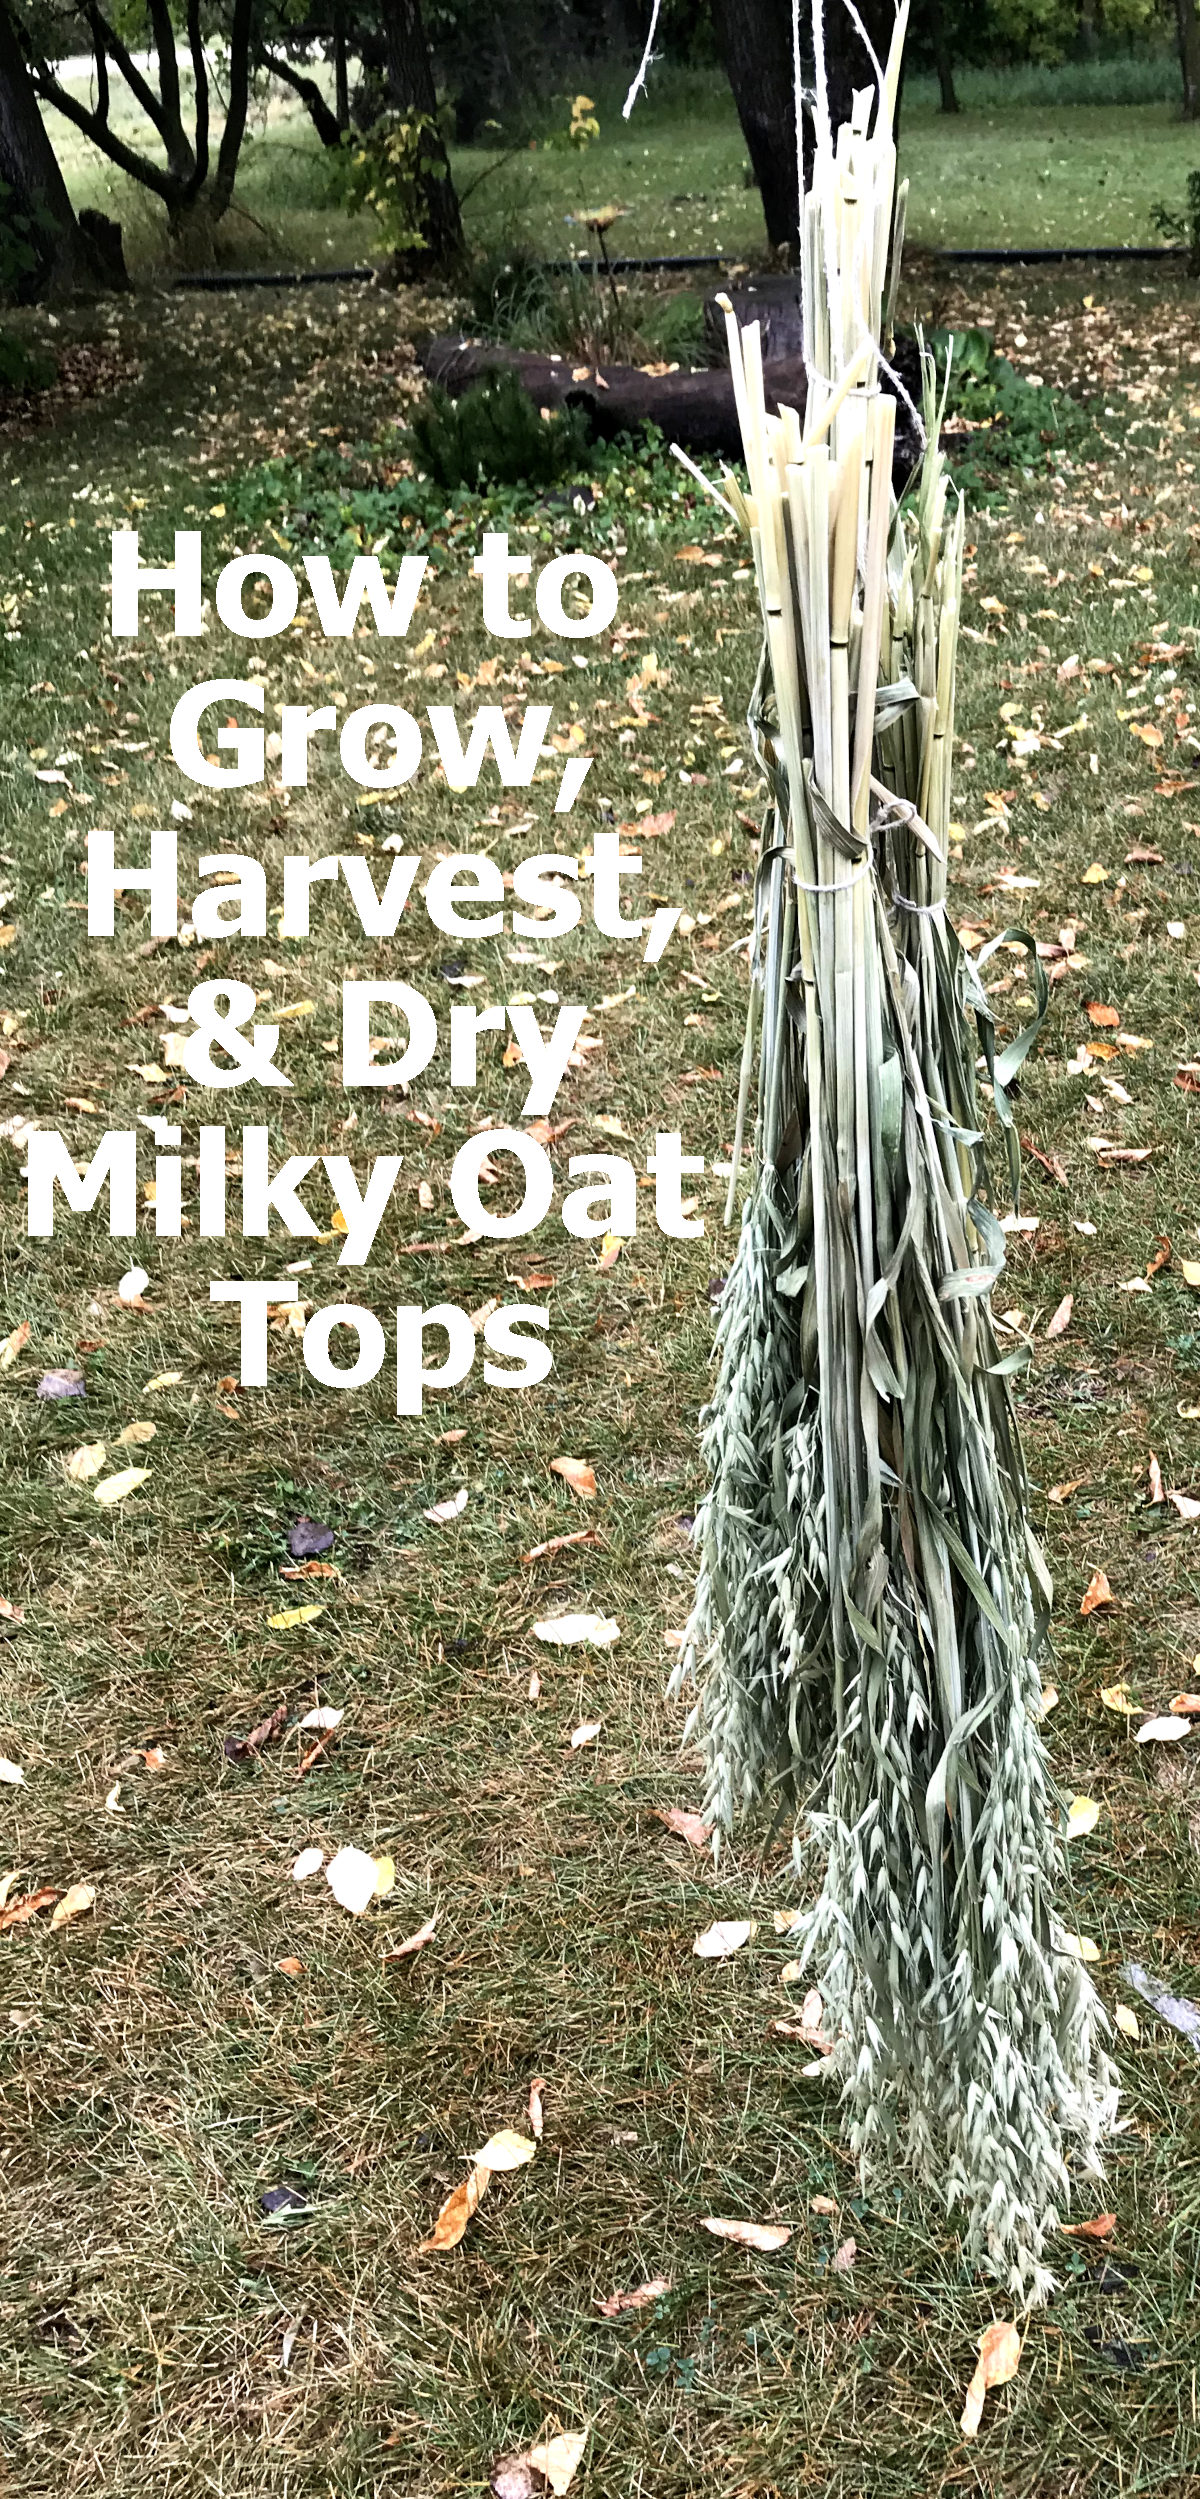
Being frugal, I took the whole plant. I tied it in bunches, seen in the picture, and hung them to dry for several weeks. I had about eight bunches of milky oat tops that I dried. Hang them out of the sun and rain, with lots of air circulation. I hung them inside with a fan on them.
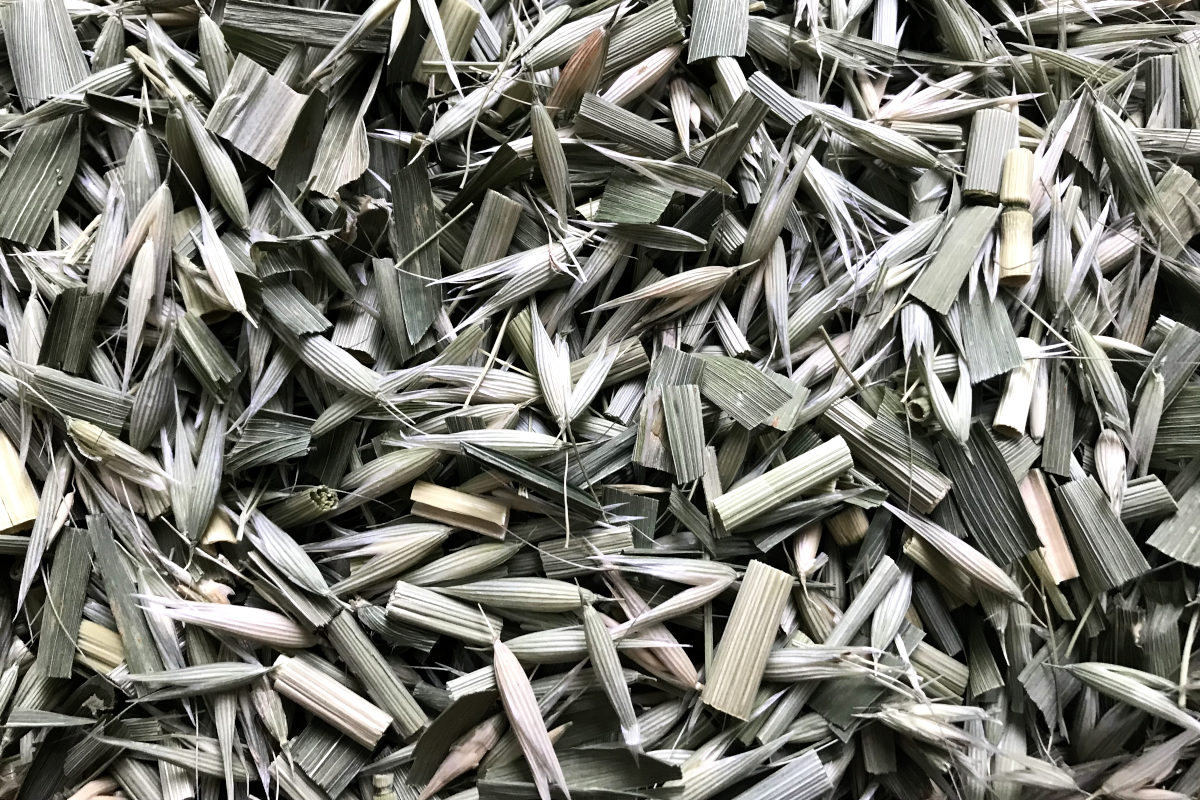
When the stems and leaves crack, they are dry and ready for storage. Strips the seeds off the stems. Then grab a stout pair of scissors, a sharp knife, or clean garden shears (best) to cut the stems and leaves into half inch pieces.
At one point I wondered if these stems would be easier to cut before drying (which is how you would do it if you were using a dehydrator). The base of the stems were simply too rigid, and were tossed.
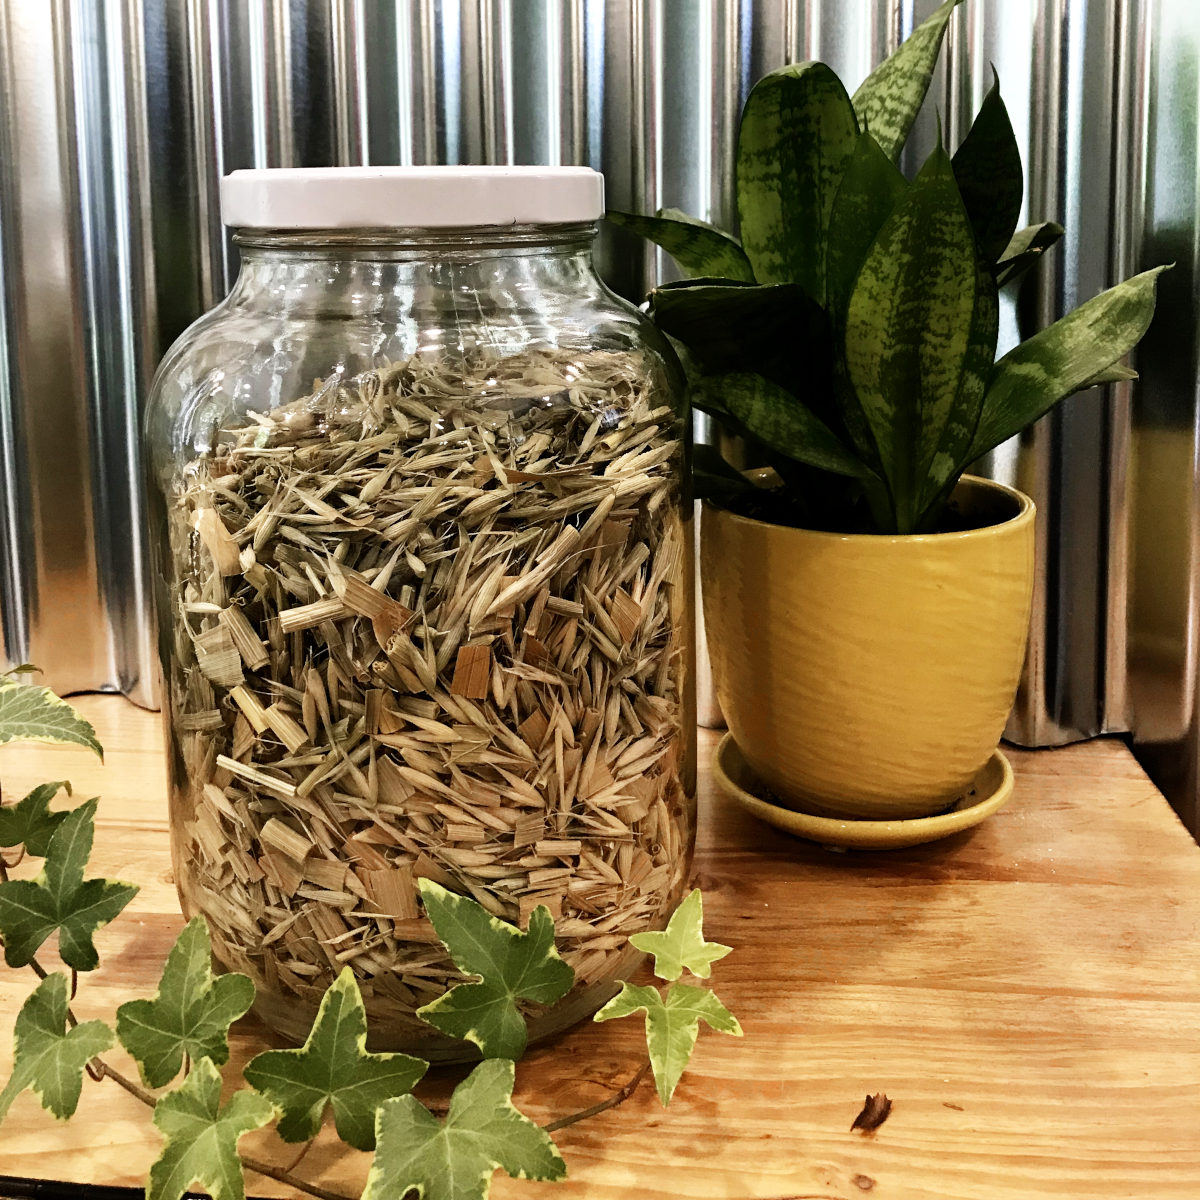
Mix all the seeds and stems together, and toss in a jar. I got a gallon jar, tightly packed, of milky oat tops and green oat straw. This picture is after a winter’s use. I won’t have to plant oats this year, and maybe not next year either.
I still had about half the oats in the garden that I left to dry out for seed. When they are yellow and dry, seeds can be stripped off and saved for next planting. I got another gallon of seeds (not hulled) for planting and sharing.
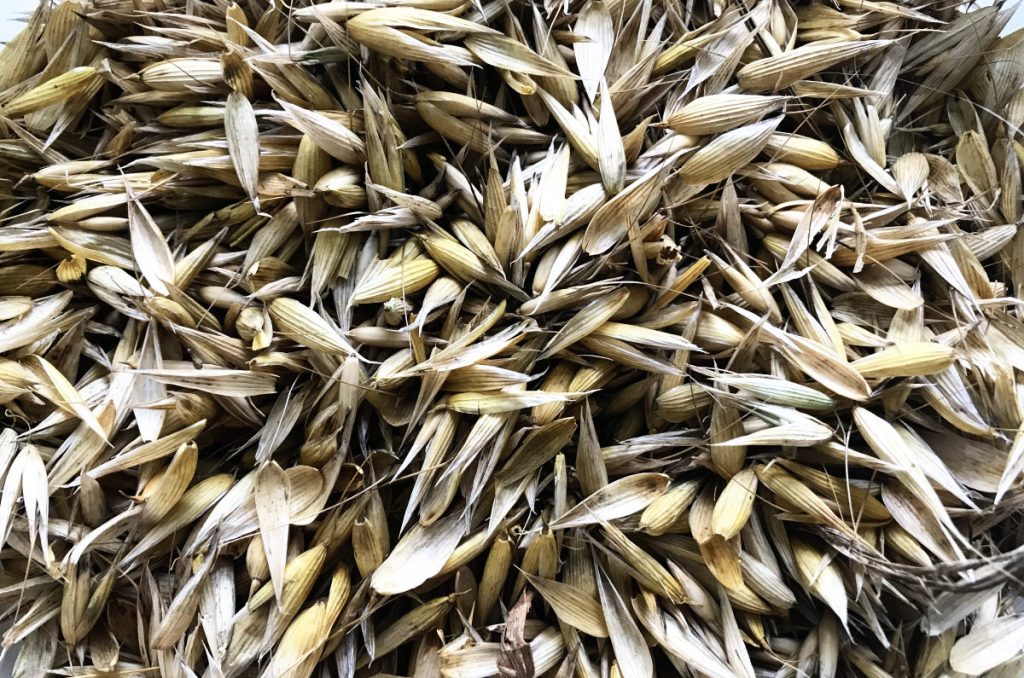
A cover crop of oats may be planted in the fall, for weed suppression, soil improvement, and mulch, and tilled under before it goes to seed.
As with all medicinal tea, the milky oat tops should be steeped a minimum of 10-20 minutes before consuming, for maximum benefits. I have already enjoyed my large mug of tea today. Why not try growing your own tea ingredients and try milky oat tops. Let me know how it goes!
You might enjoy these posts too:
Starting a Native Prairie Flower Garden
Grow Onions, From and For Seed
 I'm Erika, I live on eighty acres in the northern prairies of southern Manitoba with my husband and four kids. Here, we enjoy the outdoors and try to be more self sufficient as we try new things in the garden and learn about our land and the world around us.
Leave a Reply