Farmhouse enamel sink? Yes, please. Found one in an old building on our homestead? Perfect! Join me as our sink goes from garden storage to a functional sink in our new kitchen in our old house remodel.
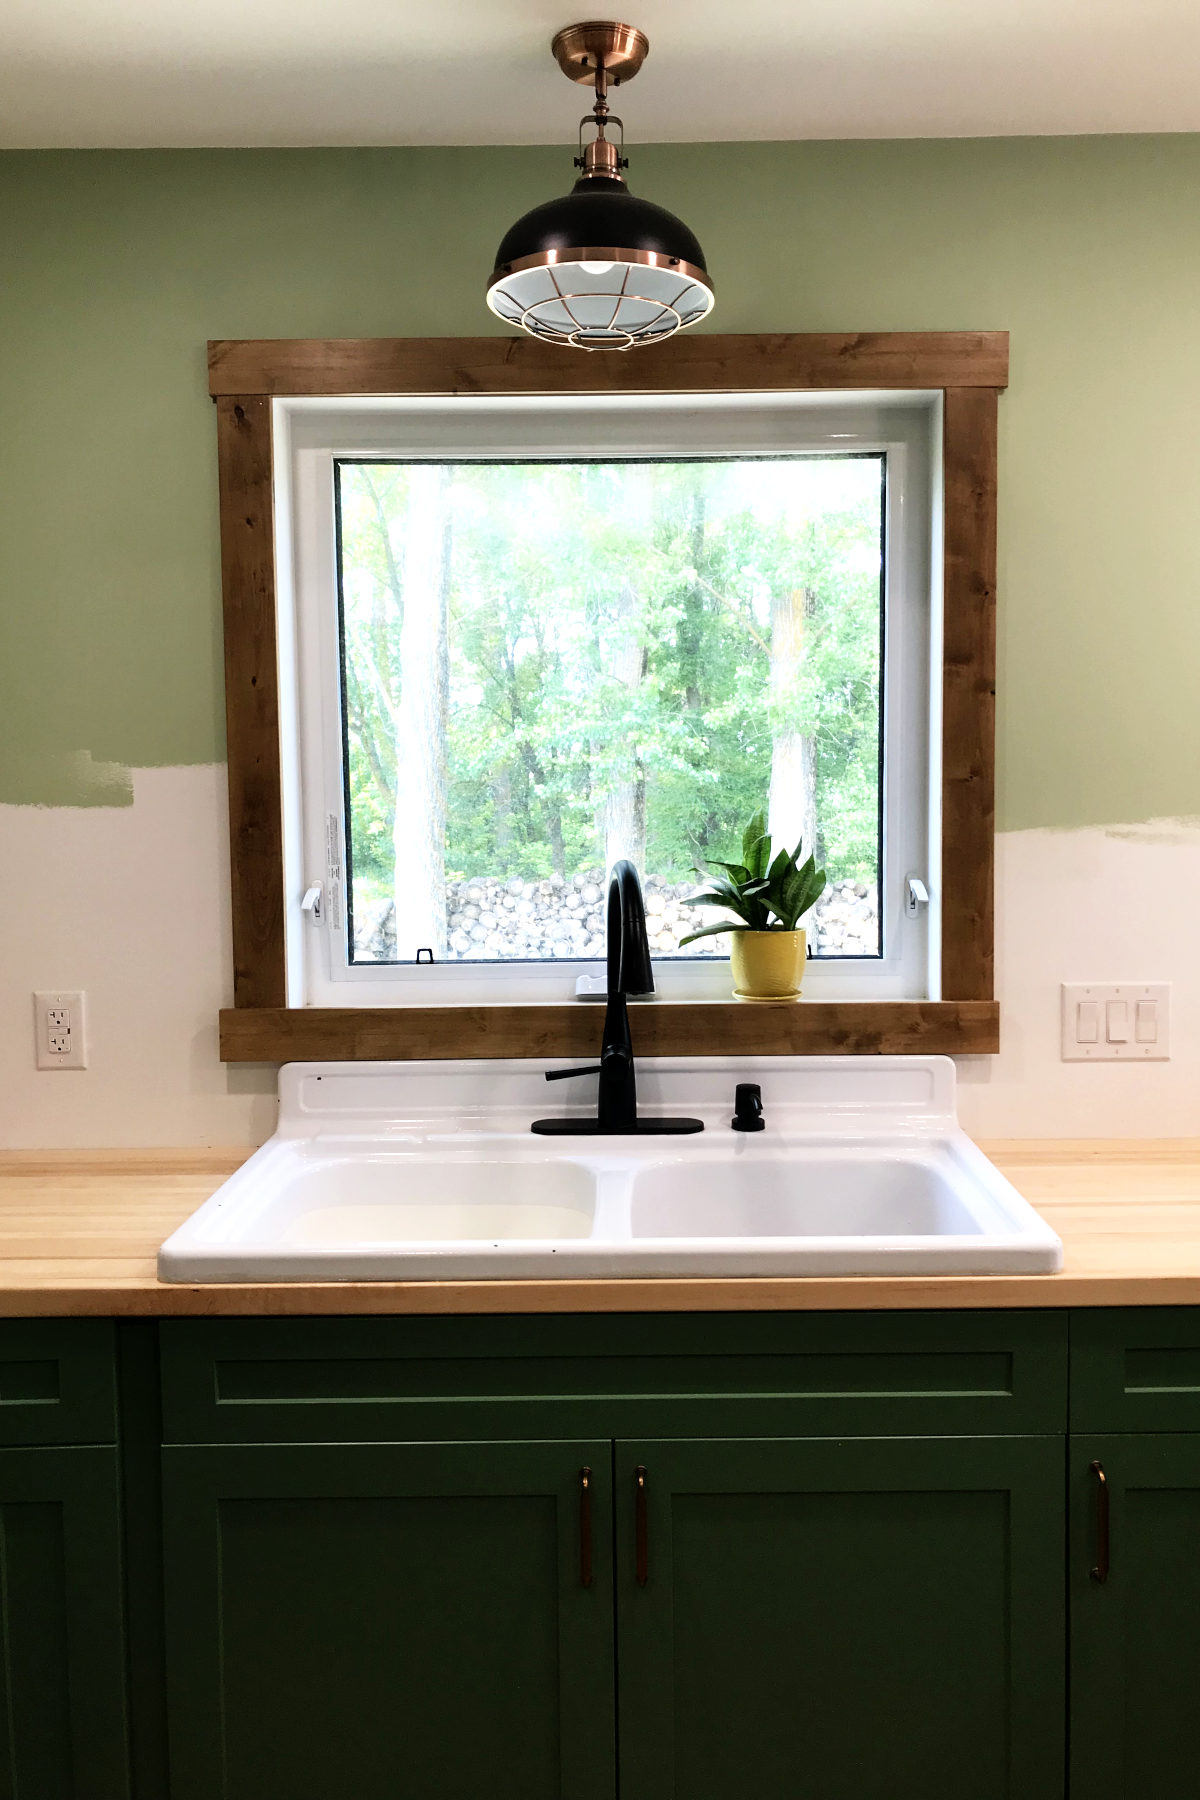
This is one of the coolest things in this old house remodel. This huge antique enamel sink had been sitting in the old summer kitchen holding garden pots since before we moved here in 2006. It definitely had what you might generously call patina, but it was in pretty good shape.
Restoring a farmhouse enamel sink for our old house remodel
You might recall when I talked about a woman who stopped by and talked about her growing up on this very farm. She and her mom canned all sorts of things back then, when the summer kitchen was used for its name sake. They would have used this sink in some capacity.
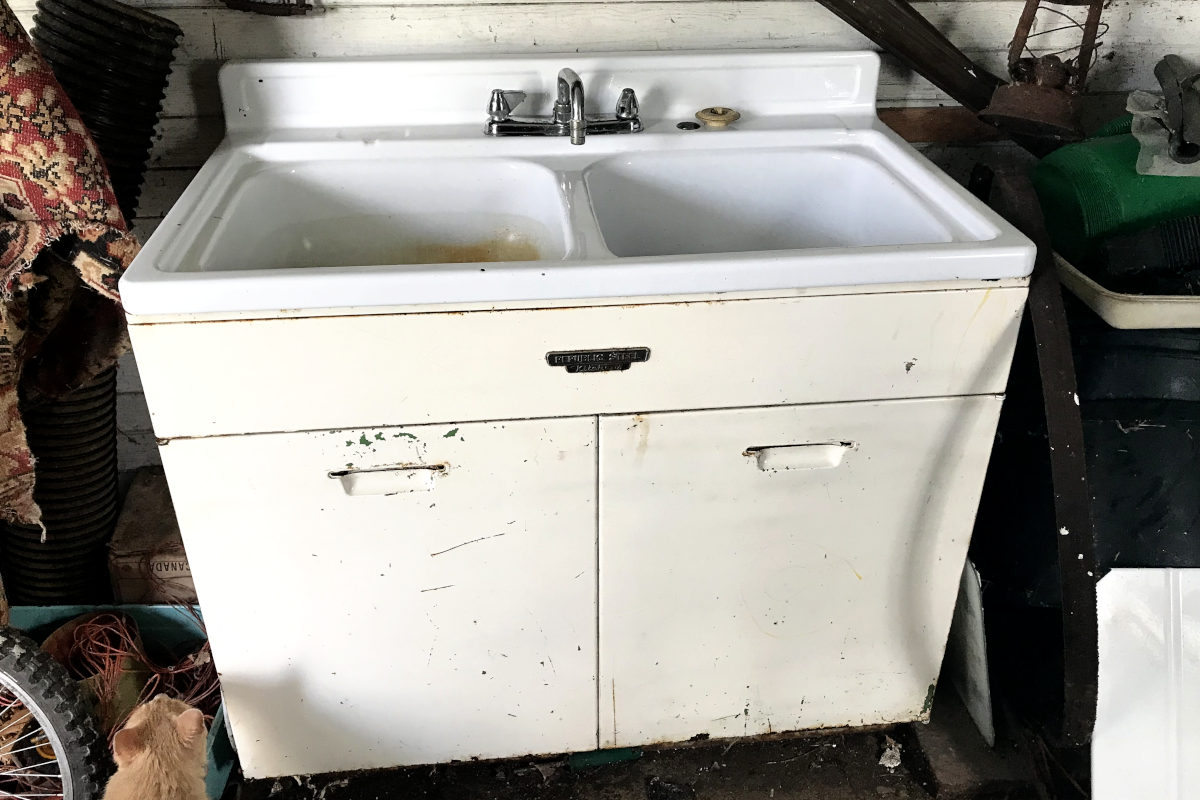
This old farm sink is 48” long and 25” wide, (as wide as the counter), a huge beast with two extra-large basins, one deeper than the other, and a backsplash to finish it off. It does not have an apron front, but is an impressive presence, none the less.
I always had a dream to get this enamel sink functional again, in a new kitchen. It took just a bit of asking nicely for the husband to capitulate. But the sink project was a bit of an intimidating challenge.
I tried investigated ways to clean old sinks and refurbish them. In the past I’ve refinished bathtubs with Klenk’s epoxy for sinks and bathtubs, and they’ve stood up pretty well. However, after a number of years the finish may start to yellow.
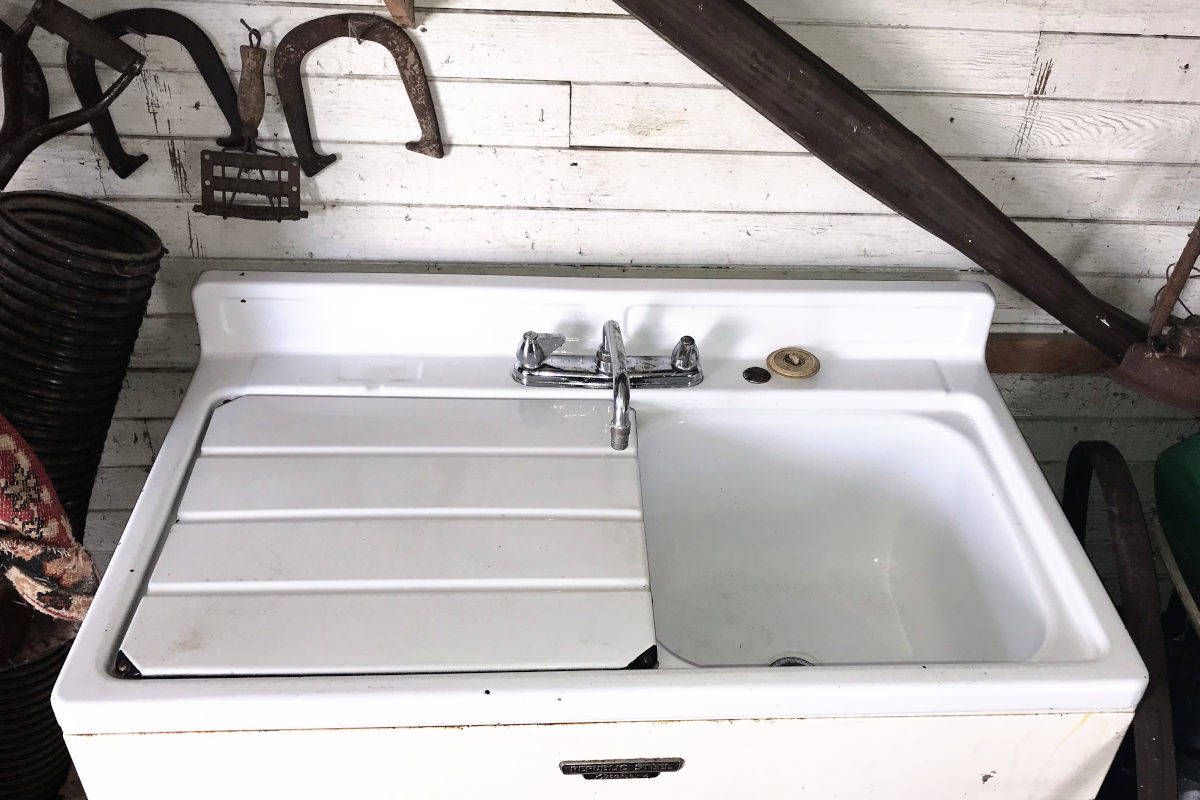
But original enamel is baked onto the sink at high temperatures. Nothing is going to compare to a finish like that.
Redoing the original enamel is impossible, either by way of finding someone who will do it, or being cost prohibitive. Getting an automotive powder coat will finish it nicely, but will be about as durable as the do-it-yourself epoxy.
After those words of advice, I hesitated to refinish the sink.
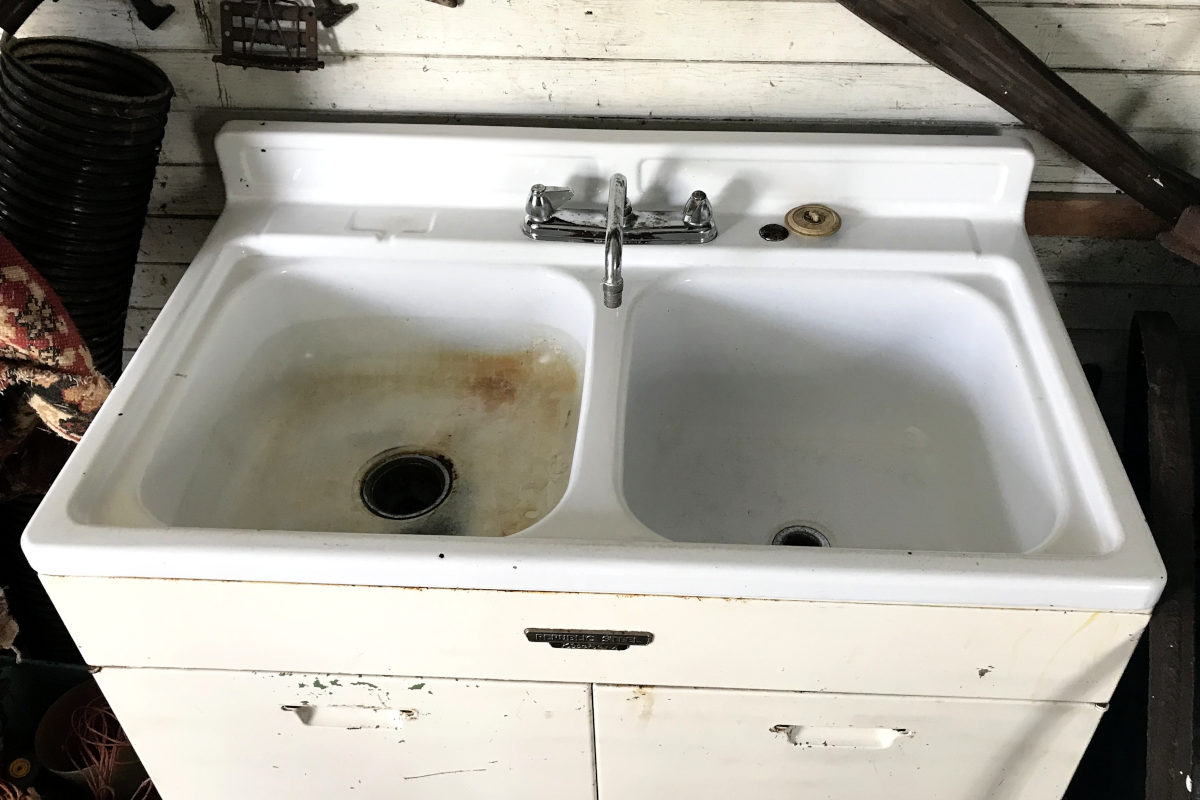
In any case, my sink needed cleaning. It had rust, and even paint spots from some other project from before my time. The one half of the sink must have had some solvent sitting in it for some time because it was etched – the shine was lost in the bottom half of the basin.
At that point I succumbed to the probability that I would have to refinish the entire sink. First, a basic clean with soap and water. Then, it was recommended to use Lime-A-Way to remove the rust. So I scrubbed it in with a brush and rinsed it off (it says to rinse immediately, so I didn’t want to leave it sit too long…). It worked fairly well.
I even took sandpaper to some of the paint spots. Other spots just needed some elbow grease and a finger nail to scrape it off – the difference between the polished area and the solvent-etched area. Lots of elbow grease.
After that, Mr. Clean’s Magic Eraser finished it off so nicely that I pondered for a long time whether to apply epoxy or not. But there were some rust pits that made themselves known in the etched basin. Rinsing with water after cleaning just aggravated the rust pits. So I took a toothbrush and more Lime-A-Way till it was satisfactory.
I decided to enamel the sink just in the one basin which had the etching and rust pits. I taped off my area and followed the instructions, applying several coats.
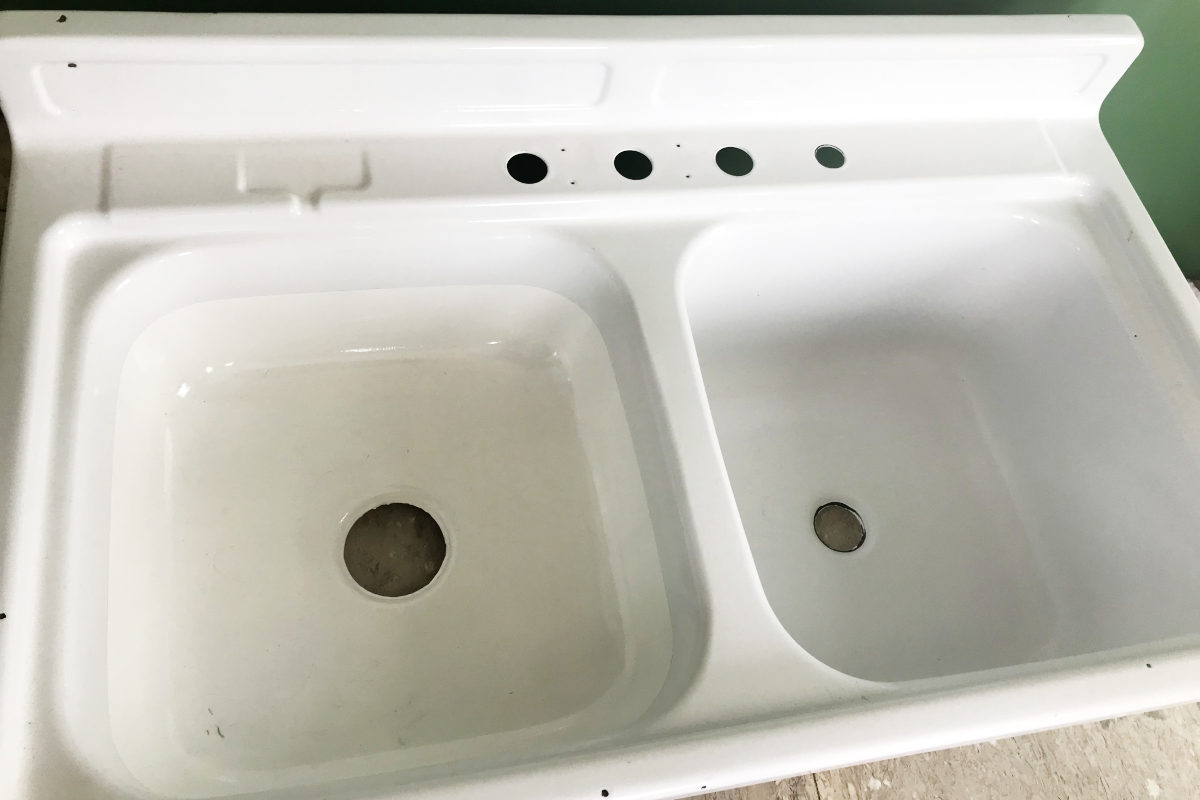
Didn’t I do a test on the back of the sink? Well, the epoxy is a different shade of white than the enamel. C’est la vie. It is fine.
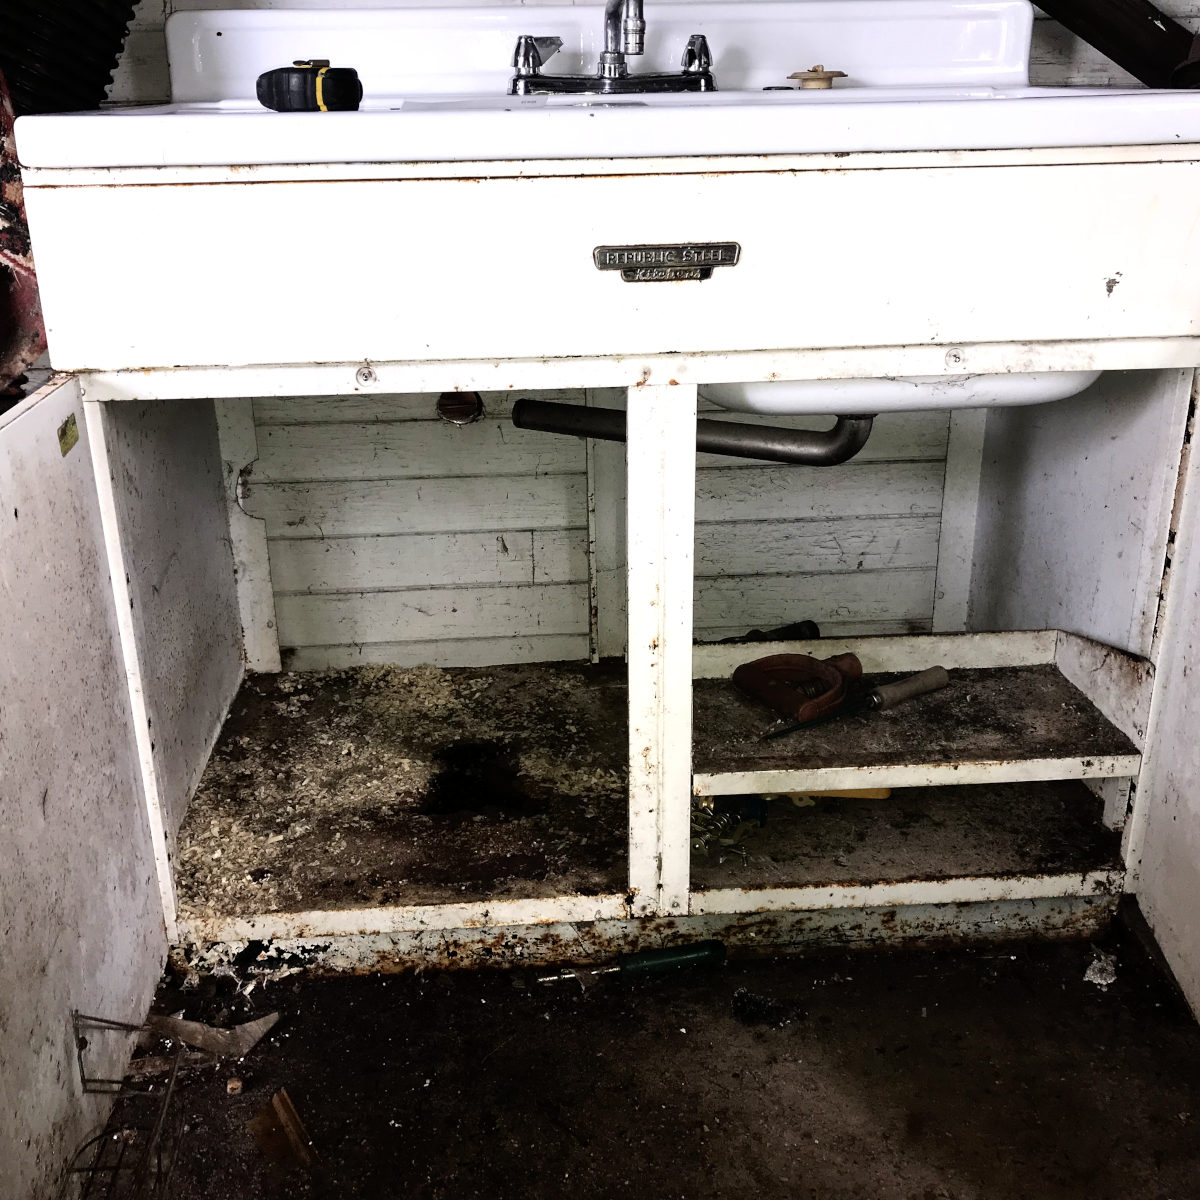
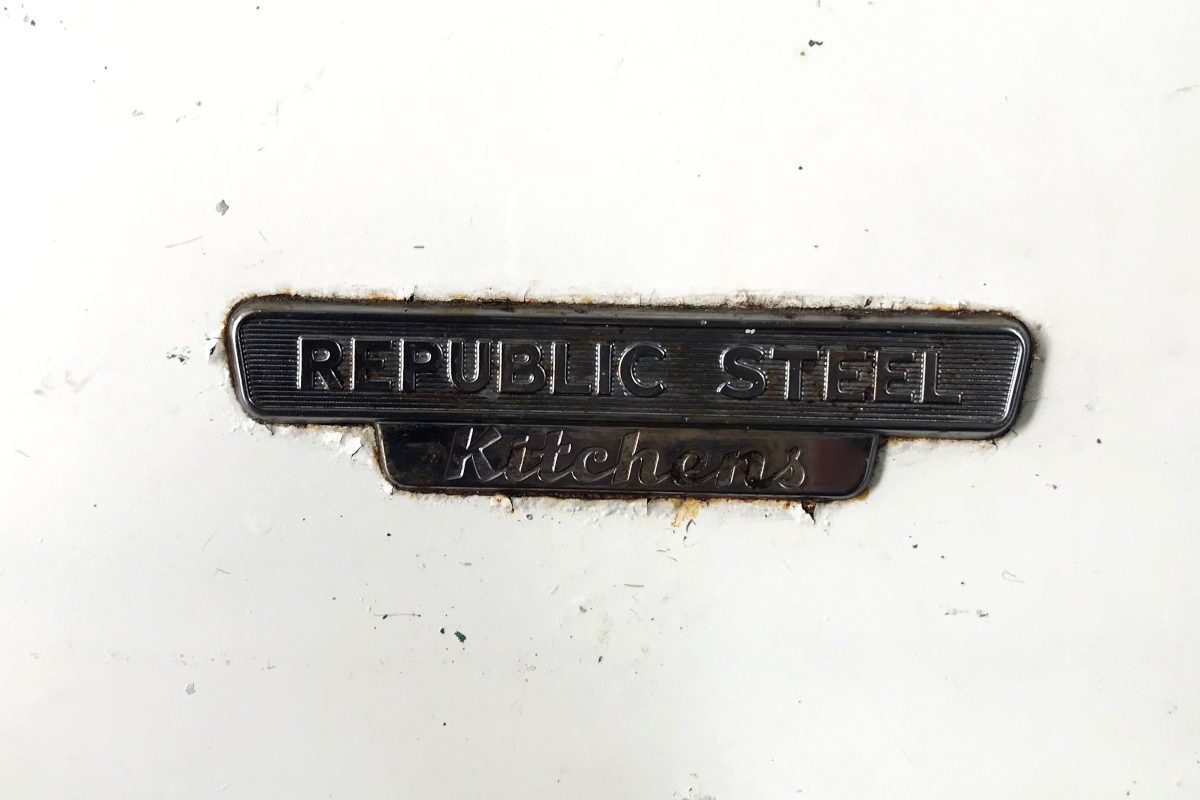
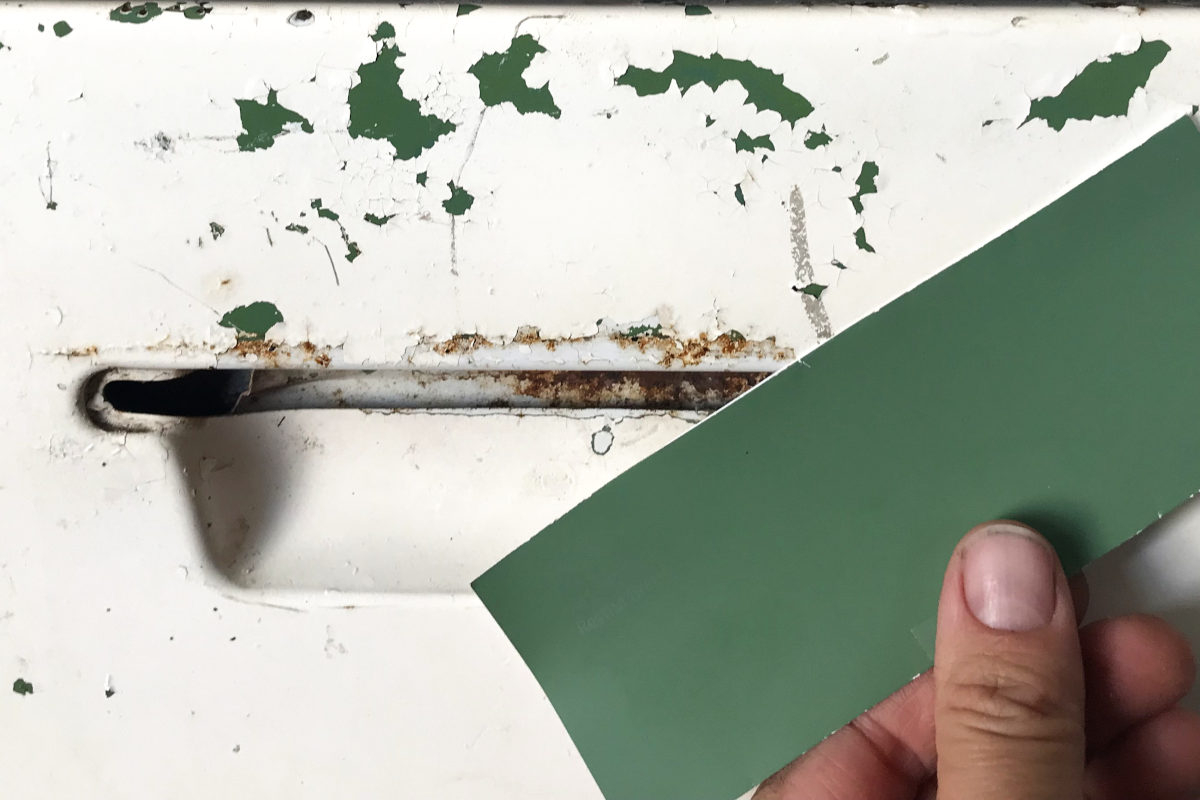
Next, installing the sink also was a thought process. Using the original cabinet was never an option. It’s amazing it even held the sink up with all the rust! That brand plate, though, I might have to find a way to remove and hang somewhere. And check out the original paint underneath the flaking white: A pretty close match to my cabinet colour. Some coincidence!
Initially, I cleaned the brackets from the old metal cabinet with Lime-A-Way as well, but mdf cabinetry with the sink sitting on top of butcher block warranted something else. Kent eventually figured out some brackets. The sink is so large and deep that it doesn’t leave much room to work underneath! We even had to shave out our new cabinet for it to fit.
I friend of ours also has an old enamel sink in their yet-to-be-renovated old house. It looks amazing – it has a single sink with giant drain boards on either side – probably five feet long in total. But we agreed that a single sink is a deal breaker for the kitchen (even though I’ve lived with one for almost twenty years…)
Kent managed to get a hold of some drain fittings without too much trouble, even though they were two different, odd sizes. The old ones had some corrosion, rust and caked on minerals. Lovely.
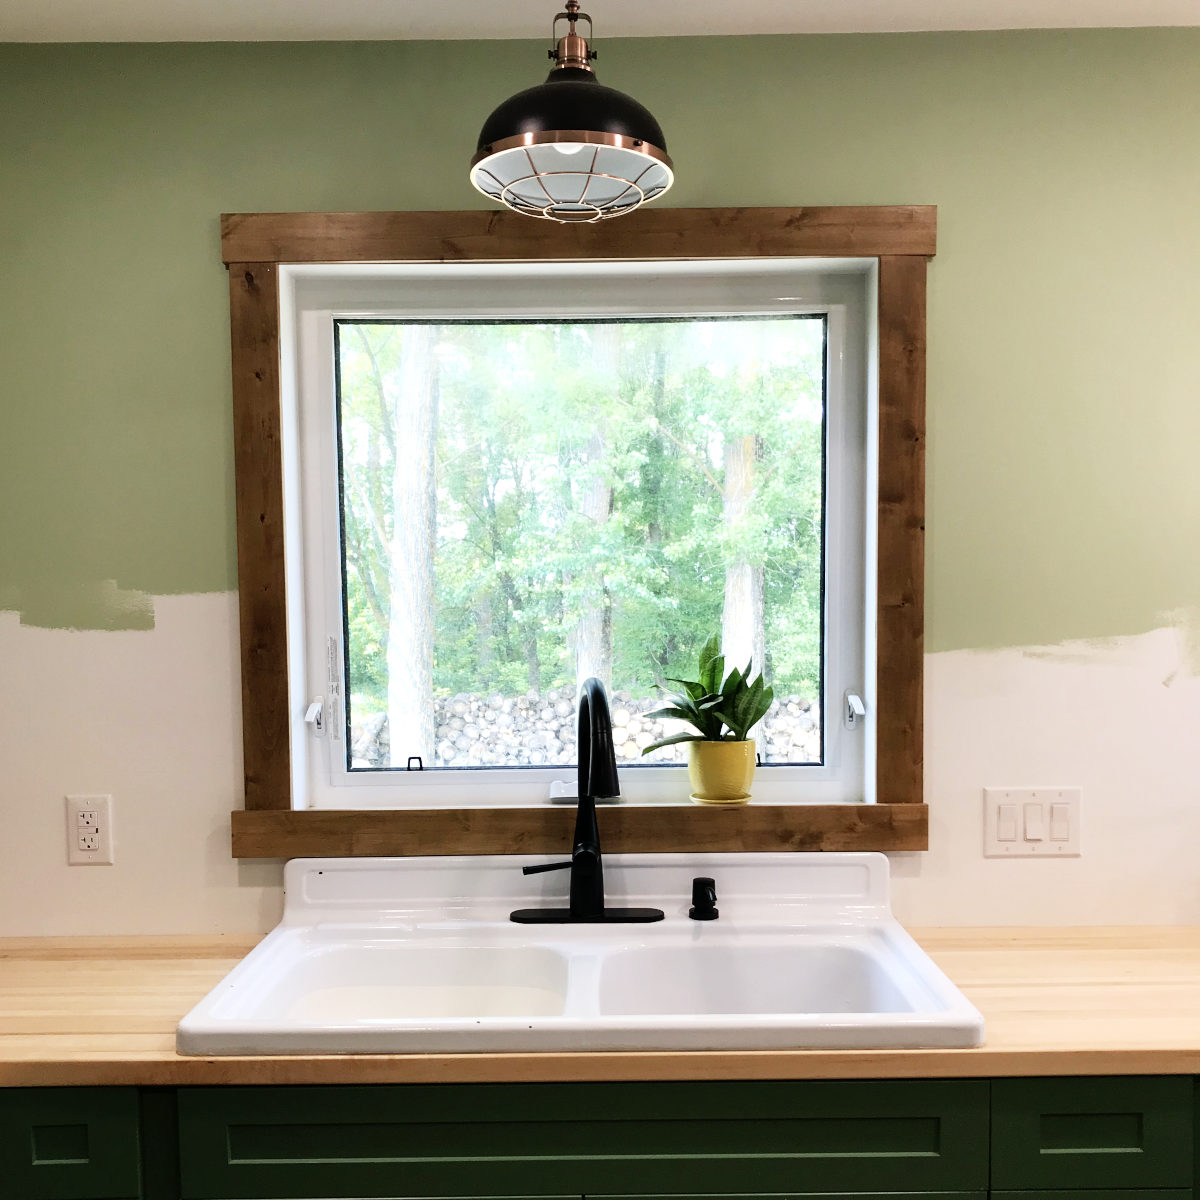
For some final protection after installation, I finished the sink with an automotive ceramic spray, called NexGen. Automotive in the kitchen? Quirky, right? Well, it is supposed to help water bead off the sink, which will be helpful with our hard well water, and it looks like ceramic coatings are less full of chemicals compared to many waxes, which was my other option. I’m not sure it works quite as well as our friend, Google, says, but I think it does a bit. It will need re-applying a few times a year. It looks like I will have to keep some Magic Erasers around to clean with every few weeks, as well.
Sure, I could go for a stainless steel sink and vinyl counters for less maintenance, but this time I went for character and patina with the old farm enamel sink and butcher block counters (stay tuned for more on that). I love that I could incorporate the old into our new, old house remodel addition.
You might enjoy these related articles from our renovations:
Old House Remodel 6 – Floor Plan
 I'm Erika, I live on eighty acres in the northern prairies of southern Manitoba with my husband and four kids. Here, we enjoy the outdoors and try to be more self sufficient as we try new things in the garden and learn about our land and the world around us.
Leave a Reply