I had the privilege of attending a garden club event where local a garlic farmer who runs Lockport Gardens here in Manitoba gave the low down on how to grow your own garlic. I’ve grown my own garlic for a few years, and it was great to get a professional’s first-hand insight into the crop.
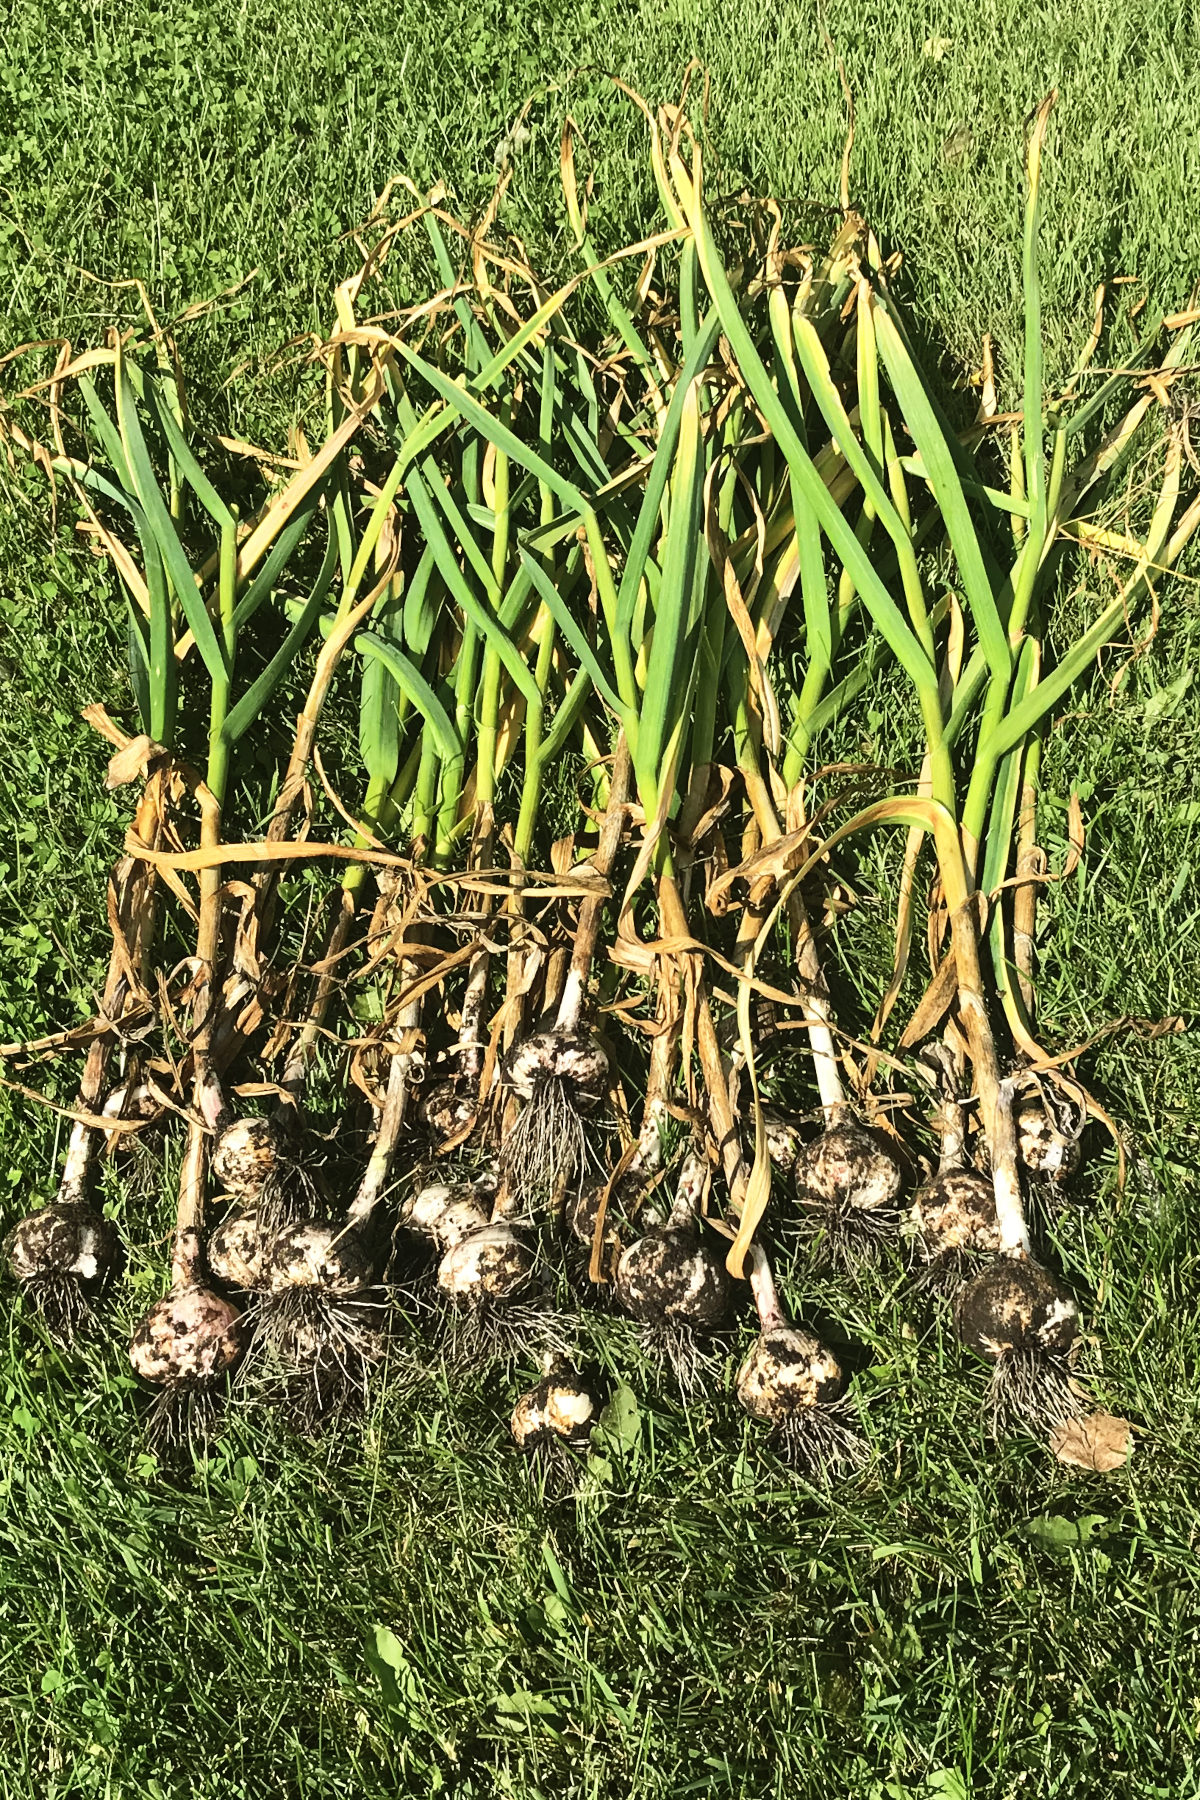
My own experience in growing garlic has been positive. My garlic grew HUGE cloves, two or three times the size of grocery store garlic, with nice strong flavour. I was able to acquire some heads of garlic to plant from a local farmer at a farmers’ market. Many seed suppliers also sell garlic in the fall.
Grow Your Own Garlic
In the North here, we grow hardneck garlic. It is named for the hard flower and seed head stem that grows up the middle of the garlic head. Softneck garlic must be grown in southern climates, and is what is most often seen in grocery stores.
Hardneck garlic can be further classified by the number of cloves per head. Rocamble garlic, purple stripe, and porcelain.
Garlic is a heavy feeder. To produce quality cloves, it must be fed! Wayne, the garlic producer, applies manure every fall, tilling it in before planting. He also practices crop rotation, planting a green manure every third year in place of garlic.
Green manure is typically a legume, which fixes nitrogen back into the soil, tilled under before it flowers so as not to produce seeds (weeds in your garlic).
Others, like me, fertilize after planting, and again in spring. But let’s not get ahead of ourselves.
Garlic is usually planted in the fall, with just enough time to start rooting without sprouting. Cloves are separated from the head, and planted individually, about six inches (12cm) apart, tip up, root side down, with the tip at least two inches (4cm) below the surface. In Manitoba, zone 3, this is about the first or second week in October.
Those tender roots do not tolerate multiple freeze and thaw cycles – they can rip the roots from the bulb. For this reason, mulch is highly recommended.
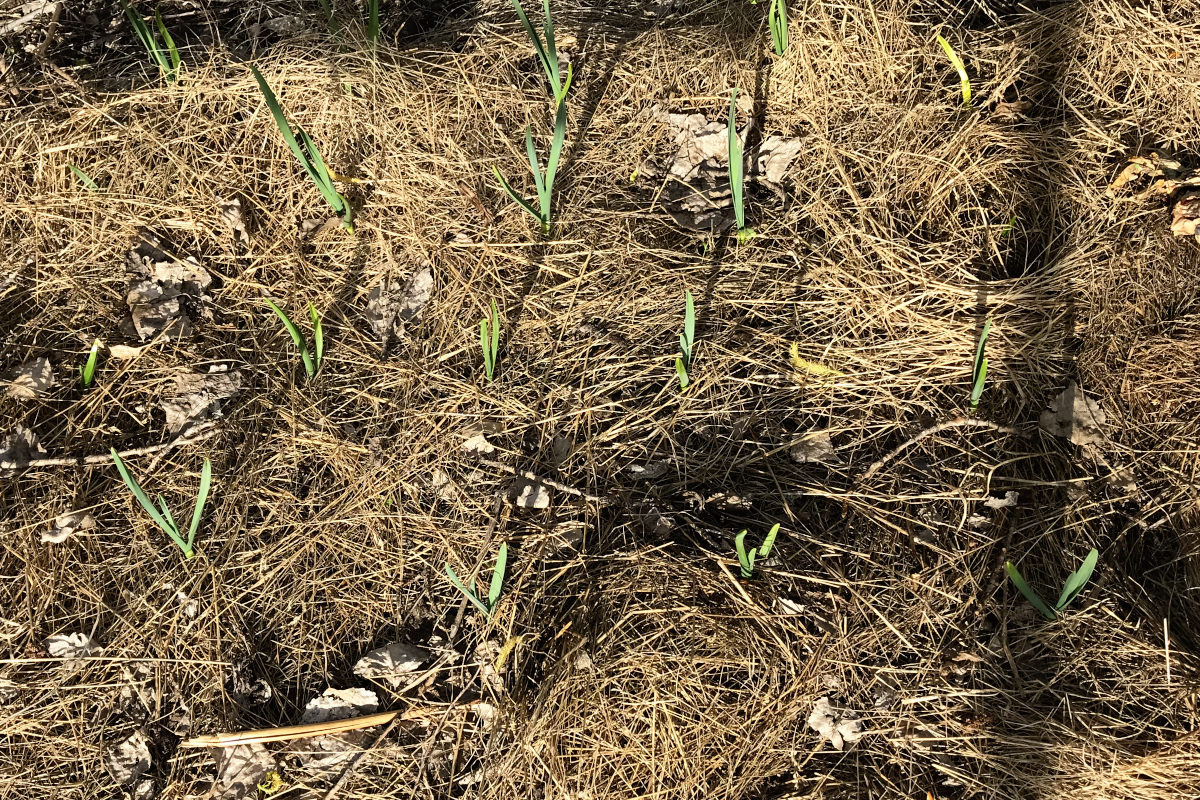
In the spring, Wayne removes some mulch to aid in quicker ground thaw. This produces an earlier harvest. Once thawed, he puts the mulch back on to help with weeds and moisture conservation.
I haven’t bothered to remove mulch.
Once garlic starts growing it can be fertilized again with a general fertilizer.
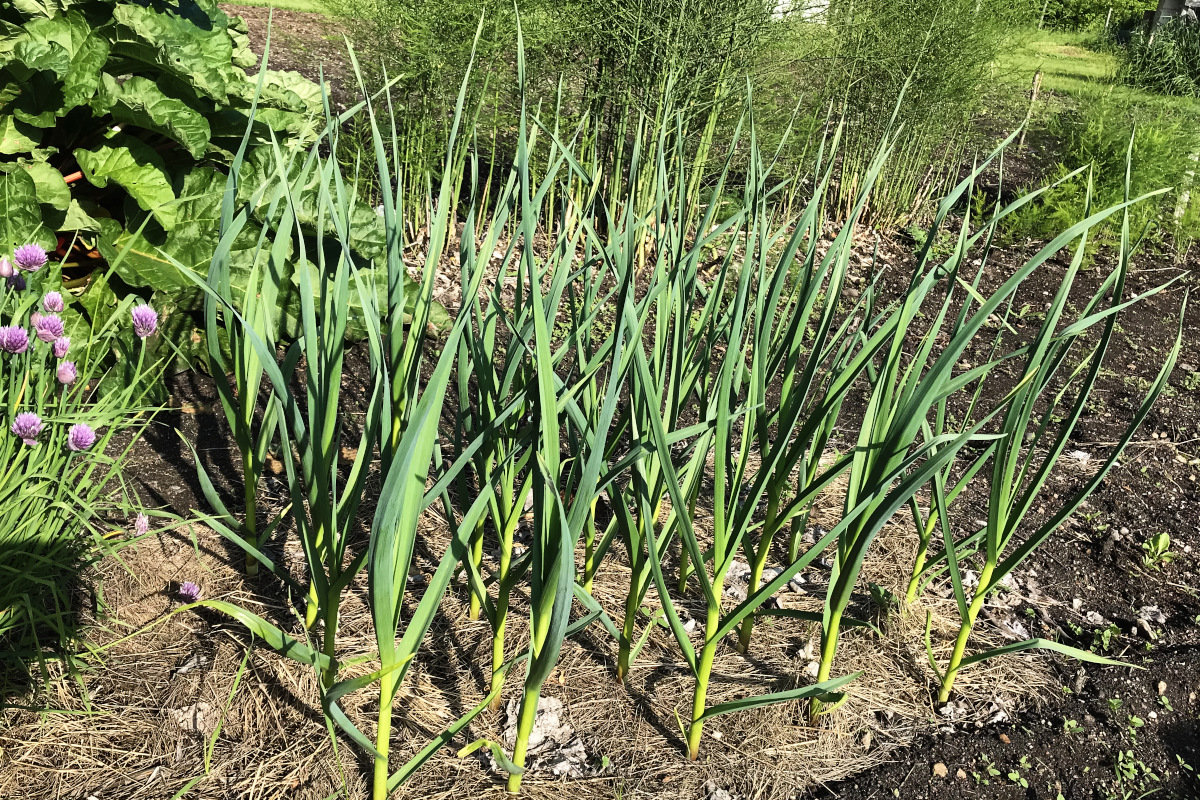
Garlic likes even moisture, but dislikes over-watering. Over-watering causes poor keeping qualities, such as poor wrappers, burst skins and mold.
Hardneck garlic flowers start by growing scapes, usually early in July. That is such a weird word. It makes me think of “escape”. Perhaps they look vaguely snakey, from which they need escaping?
Scapes should be cut off so that energy goes back into growing the bulb, otherwise, like any good plant, it will put its energy into flowers and seed production. Scapes grow into cute curls. Once a scape has made a complete curl it can be cut.
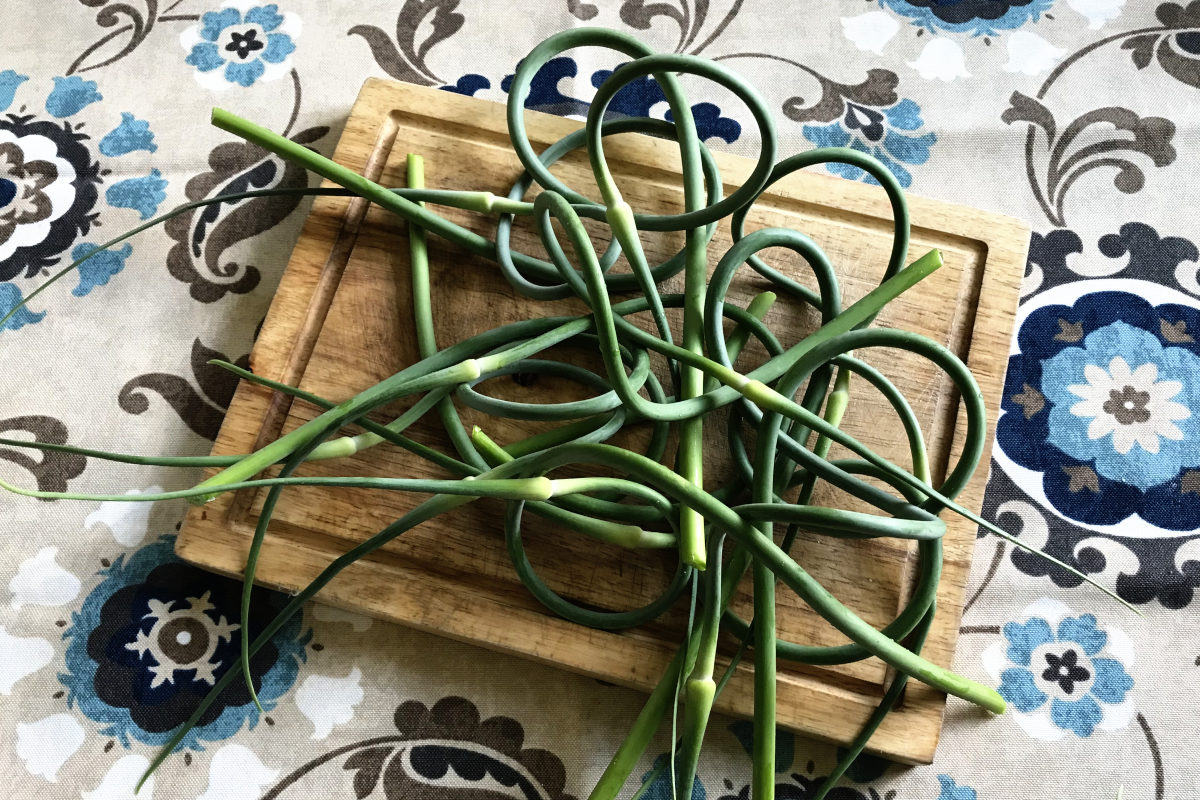
Scapes are perfectly edible, and can be eaten fresh in salad, fried in an omelet, made into pesto, dried, chopped and frozen for later use, or kept in the fridge for several weeks. My kids like them on homemade pizza.
After removing the scapes, stop watering. Watering encourages top growth, so by stopping, more energy will go into bulb growth.
Several weeks after cutting scapes, the bulbs will be ready for harvest. At this point it is a matter of observation and experience, Wayne says. Depending on the variety, they should be ready for harvest anywhere from mid to late July and into August.
Leaves start to dry up from the bottom, forming wrappers on the garlic head. When there are three to four leaves left on the plant that is a good indicator for harvest time.
But the ultimate check is to dig around a garlic head to see if the cloves are properly formed. They should produce a bumpy head, but should be harvested before they burst the wrappers. Burst wrappers will cause the garlic not to keep as well. Use them first. Can anybody say, “dill pickles”?
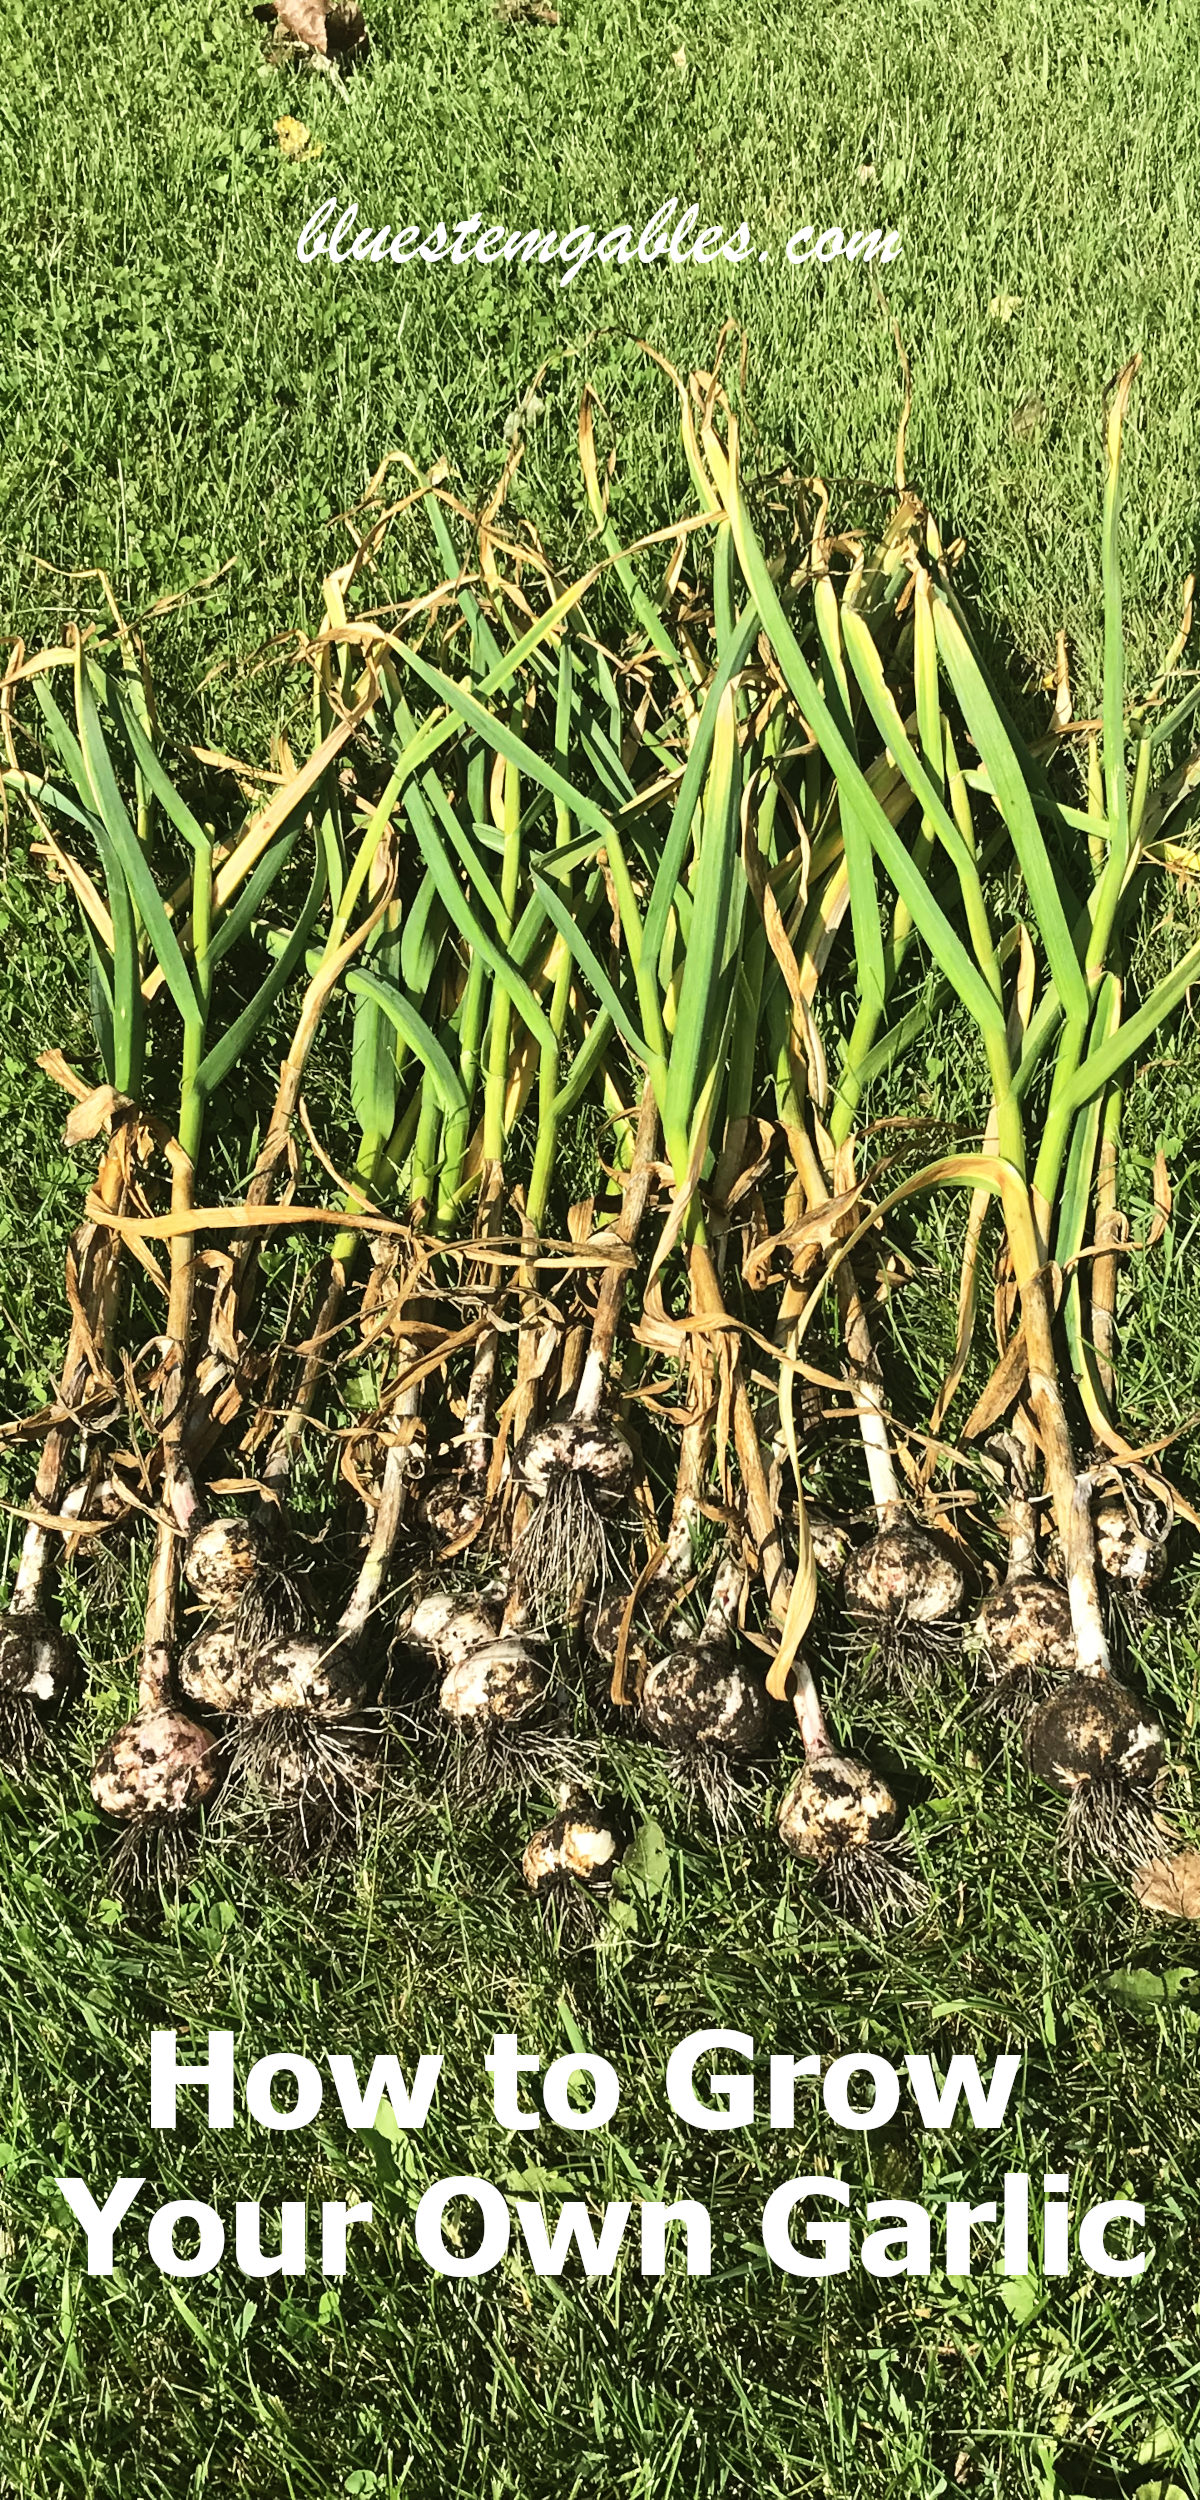
Pull or dig garlic, removing the dirt. Like onions, garlic needs to cure and dry for two to three weeks in a well ventilated area out of the sun. Stems can be left on or cut off. Garlic may keep growing a bit with the energy from the stalks going into the bulbs.
For long term storage, trim the stem to about one inch (2cm), and the roots to about one quarter inch (1/2cm). Bulbs with no roots will not keep as well.
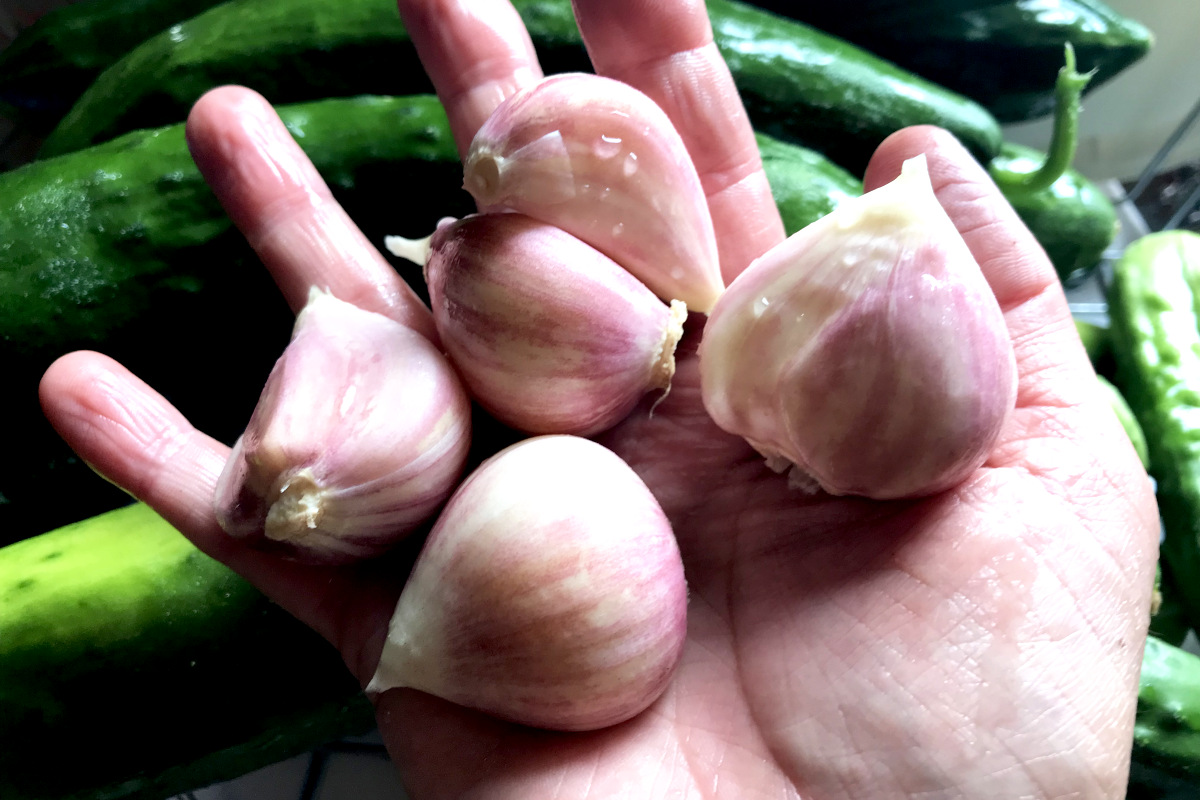
The best and largest bulbs should be kept for planting, and whatever is left, use to flavour your life: Spaghetti, Gnocchi Soup, Macaroni Salad, Cuban Burritos… This fall I’m also going to prepare a Fire Cider for those sniffles that inevitably find their way around.
Garlic should be stored, preferably in a well-ventilated area between 10-20°C (right in the middle is perfect), to prevent sprouting, with humidity of 45-50% – high enough to prevent dehydration and low enough to prevent root growth. Depending on the variety, garlic should keep for four to eight months or more. Wayne just keeps his in his basement!
Rapid Garlic Plot Expansion!
Grown as above, each garlic bulb will produce 4 -10 cloves. This is not a lot of “seed” per bulb, especially for those wanting to expand their garlic plot substantially. If fact, they are not seeds at all.
By leaving several plants to continue growing their scapes and flowers, they will produce true garlic seed, in much greater number. This is also more effective for producing garlic that is hardy your particular garden, as opposed to the clones produced from cloves.
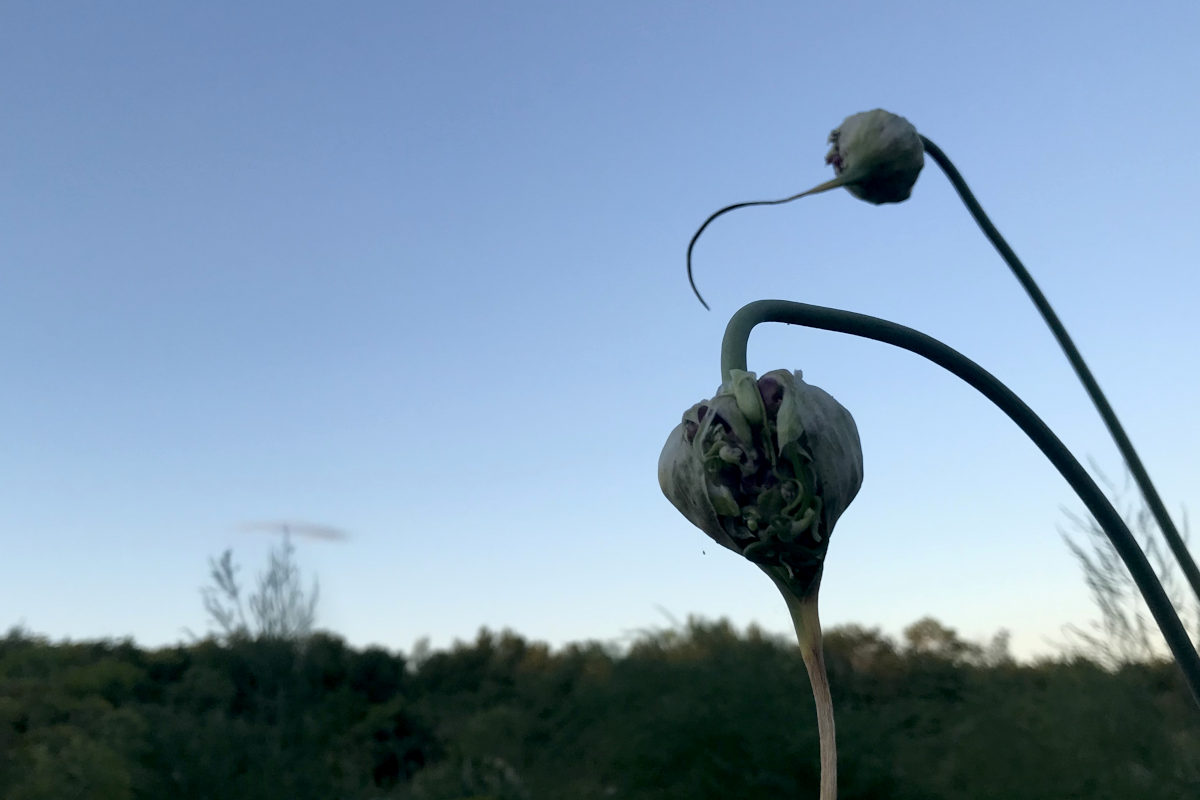
Scapes produce flowers. Flowers produce umbels, and umbels produce bulbels. Bulbels are harvested a few weeks after the garlic bulbs, when the bulbels have pushed through the capsules. An umbel might produce 40 to over 1-200 bulbels. Now that’s more like it!
These bulbels are planted at the same time as garlic cloves. They can simply be broadcast or planted in rows, covered and mulched. The next year, harvest the bulbs (rounds) when brown, and replant them with proper spacing and in renewed soil. Most garlic will be ready the following year, though some might be planted again.
I’ve been growing the music (porcelain) variety, very hardy, slightly sweet with 4-6 huge cloves. But of course, I like to experiment, so I pick up some of Wayne’s wife’s favourite – a Creme de la Rasa, developed in British Columbia, a marbled purple stripe variety with rocamble variety complex flavour described as a heart and palate melter. I also acquired some Russian Red, a purple stripe variety with 4-7 large cloves, popular in roasting and cooking.
This all makes me excited about growing your own garlic again! So off I go. Let me know if you grow your own garlic, and your favourite varieties.
Check out these related articles:

How to Grow and Dry Milky Oat Tops
 I'm Erika, I live on eighty acres in the northern prairies of southern Manitoba with my husband and four kids. Here, we enjoy the outdoors and try to be more self sufficient as we try new things in the garden and learn about our land and the world around us.
Leave a Reply