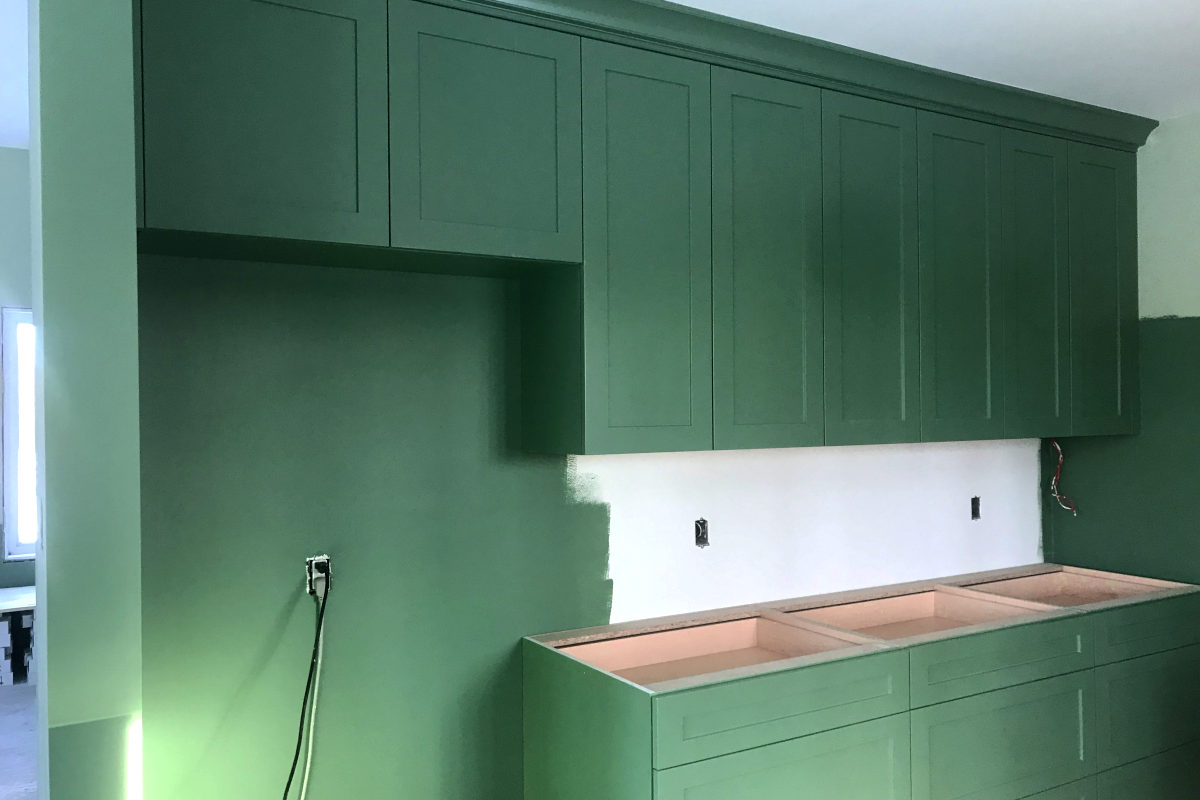
Ok, time for a kitchen update I our old house remodel. In keeping with our country setting and love of rustic, our kitchen is a definite reflection of this, with its green cabinetry and butcher block counters. Check out the progress we’ve made!
I’ve made several false starts on this update because the kitchen is not completely finished. But since we have moved in, I will post now and give an update another time. You’ll have to stick around!
Planning the Kitchen in our 80 Year Old House Remodel
I came up with the basic configuration of the kitchen back when we were figuring out plans for the house. Now it was time to get some serious details. Emailing with a kitchen rep with McMunn & Yates, her name seemed familiar. Fourteen years ago we updated the cabinets in the old house with stock from a certain big box store. Sure enough, it was the same kitchen designer from back then! What are the odds?
When we did those cabinets I chose a cider stained maple colour because it reminded me of my grandma’s cabinets in her old farmhouse. I was “saving” the white cabinets for a new house.
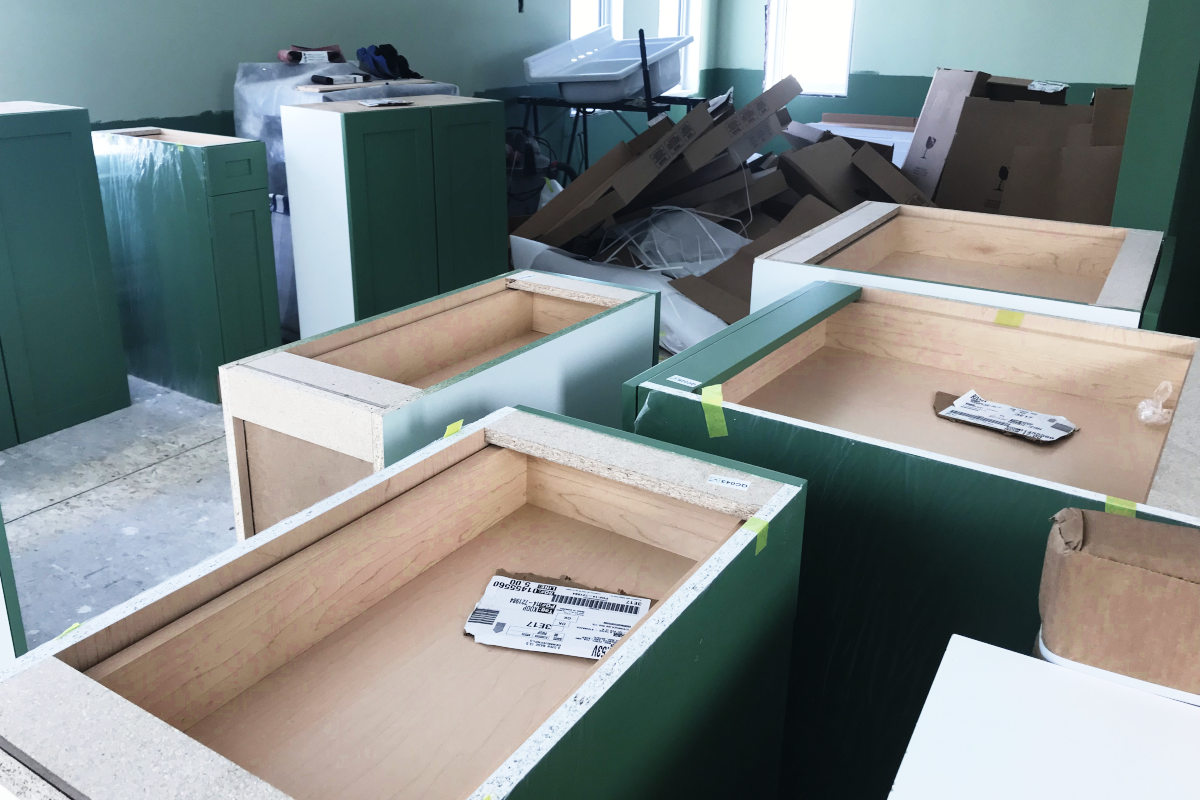
Since then, I’ve developed an aversion to white. Living in the country, with a gravel driveway, with kids who play in the dirt (who plays in the sandbox, anyway?!) and then touch every surface on the way to the sink, if they care to wash at all, white will not stay white.
Ok. So while I had a season, or many seasons, of blue wishes – Light blue cabinets? Benjamin Moore Hale Navy Island? – I CHANGED my theme to green. But you already know that because I painted my walls. So…the cabinets are Sico’s Restful Green.
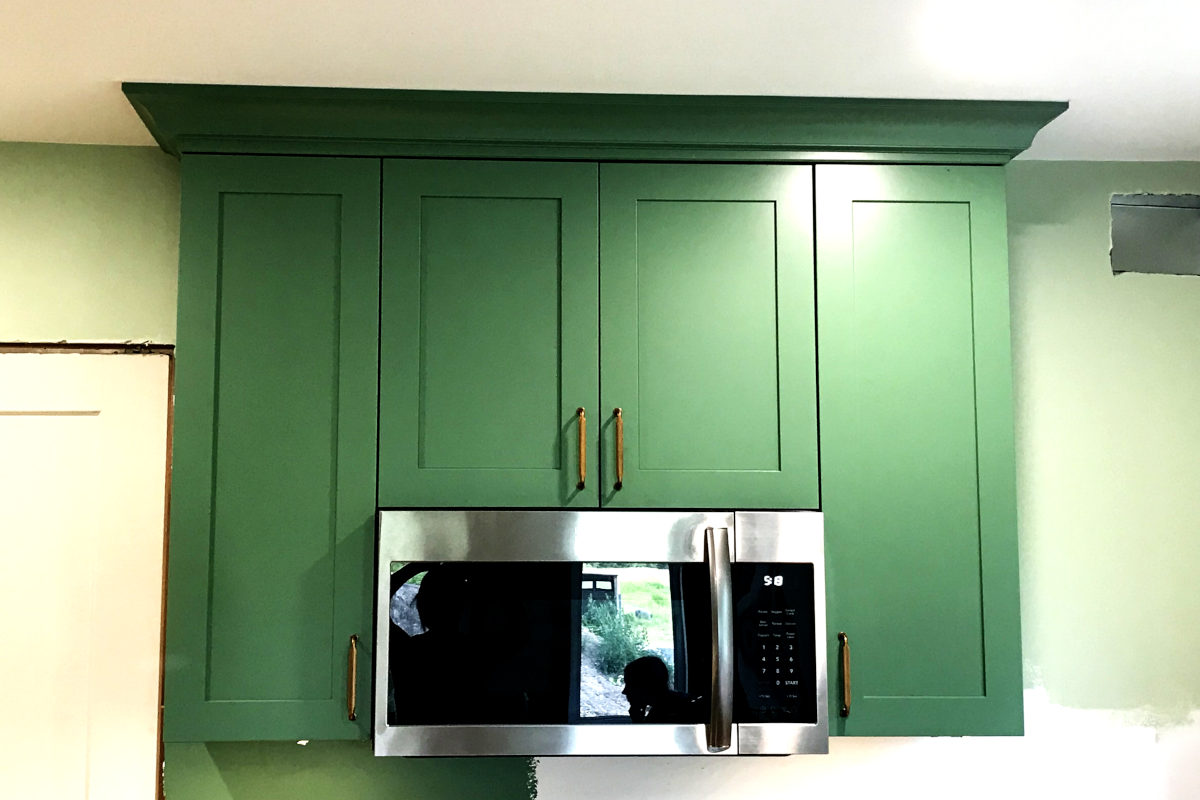
Behold, that crown molding on top of the cabinets! I’m so glad we did that. It adds a lot of class to a simple design.
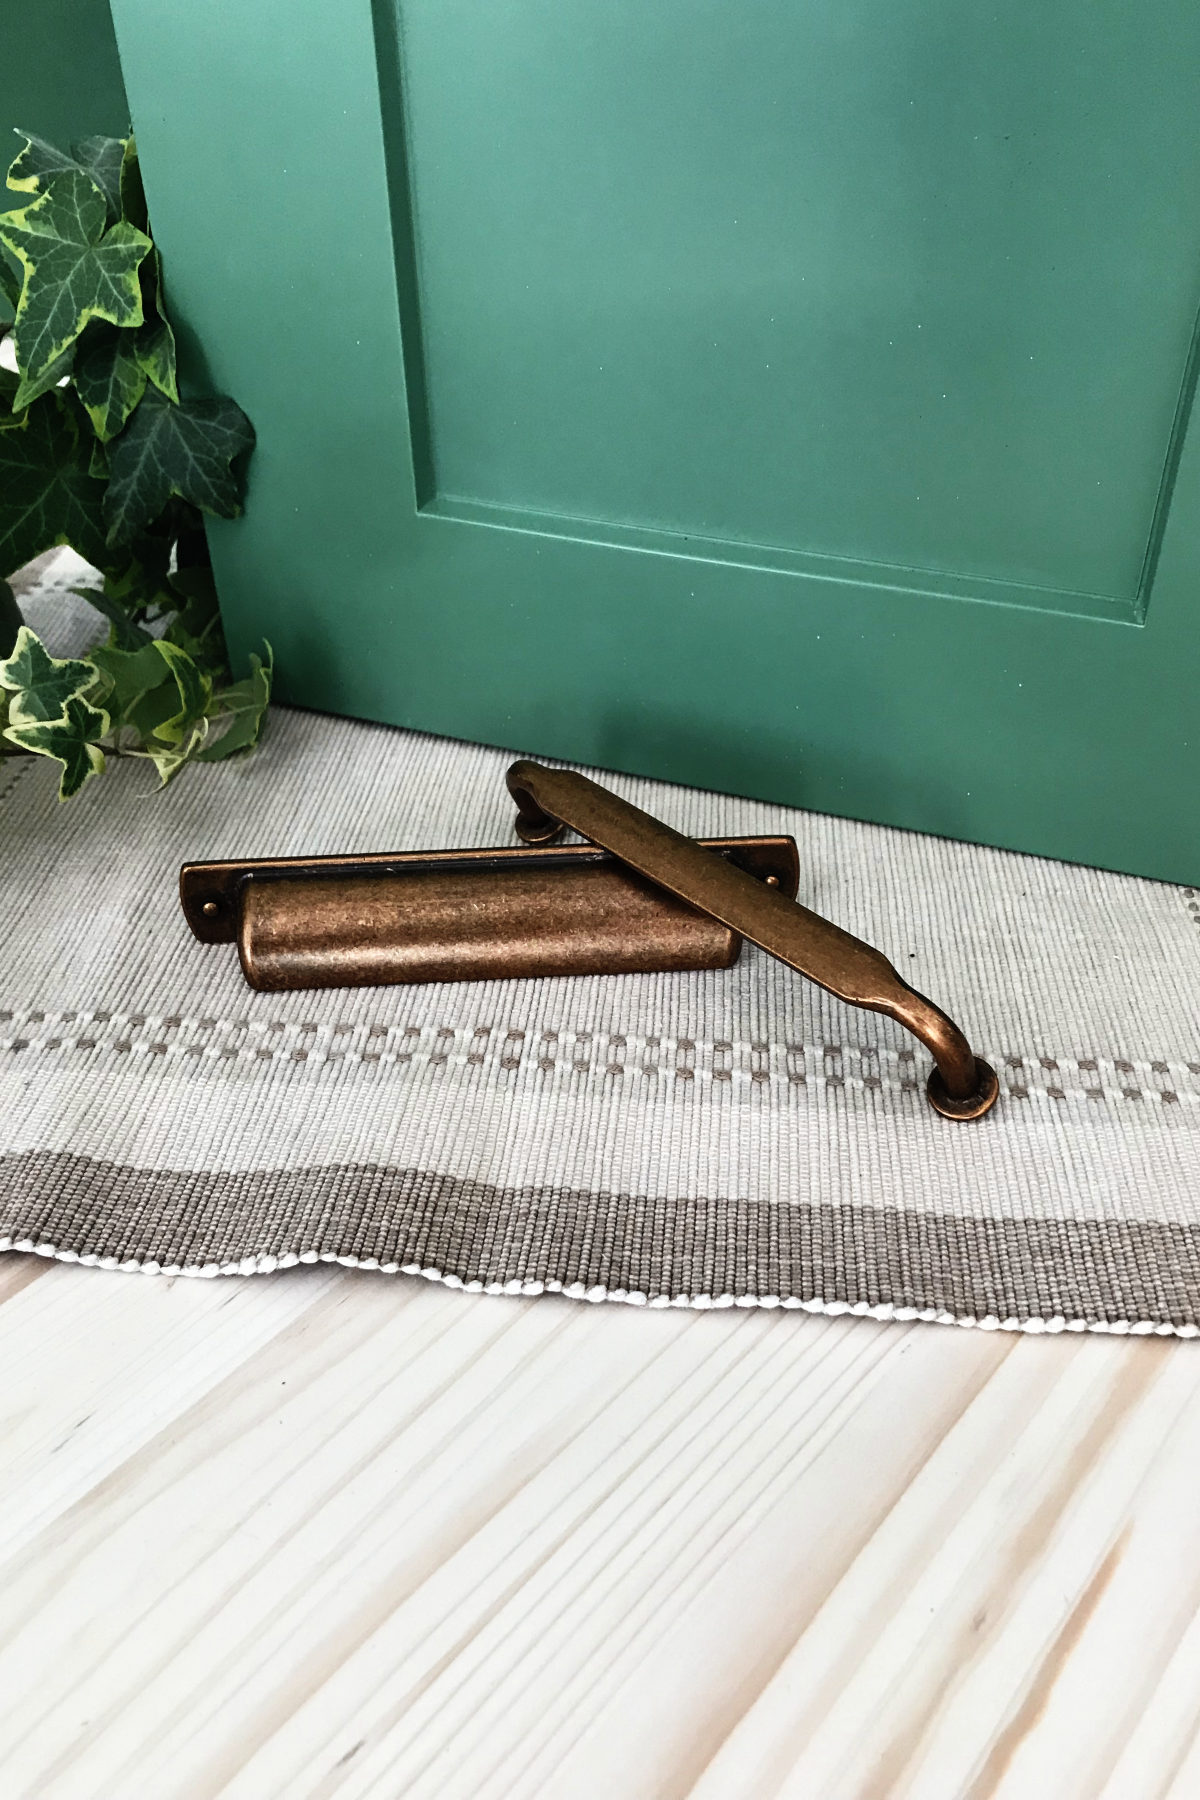
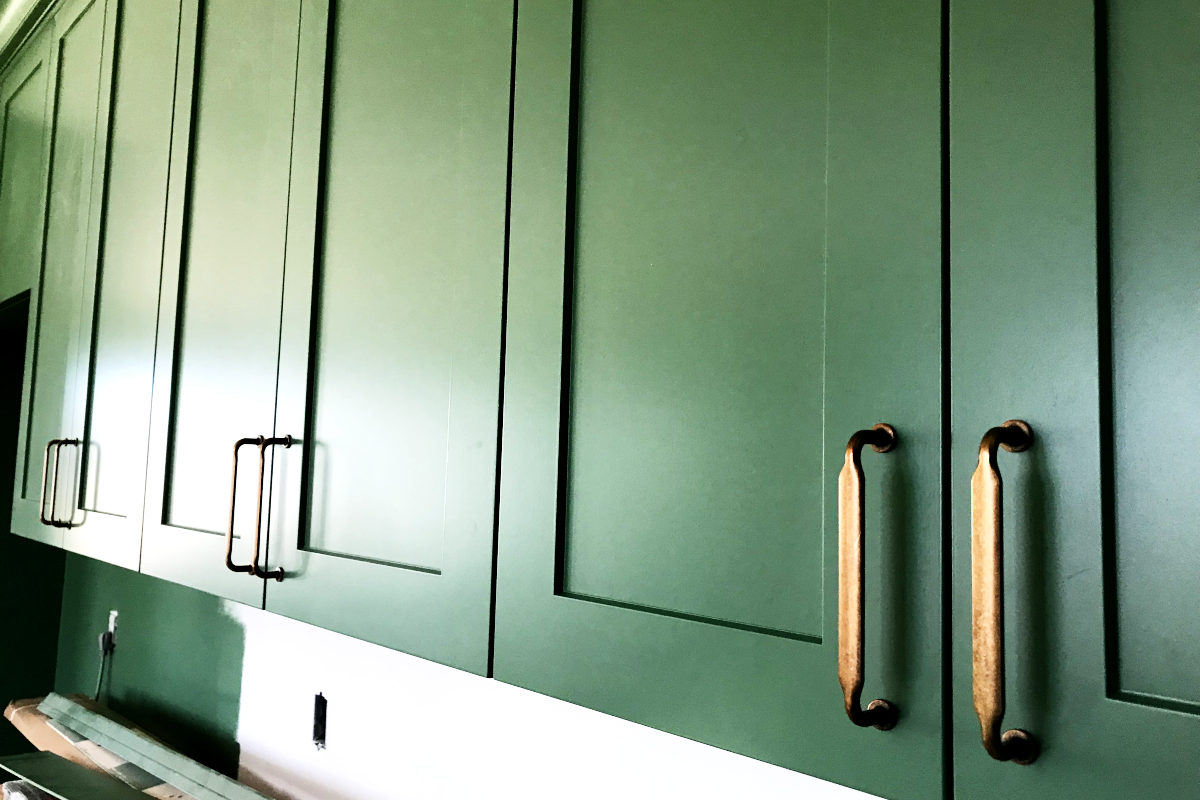
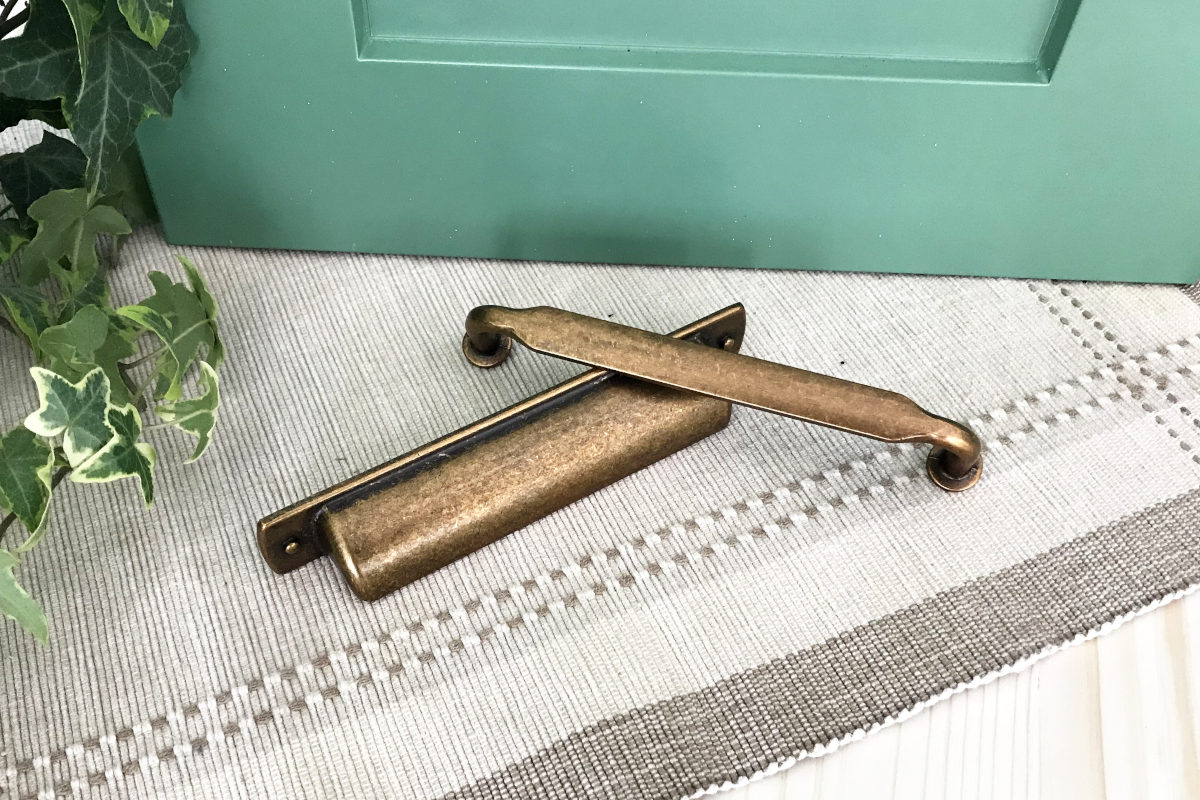
I rebelled and ordered the coppery brass cabinet pulls from Amazon instead of the local hardware store, which seems to be behind the times on new old brass finishes. I love the patina on them. It gives the cabinets depth of colour.
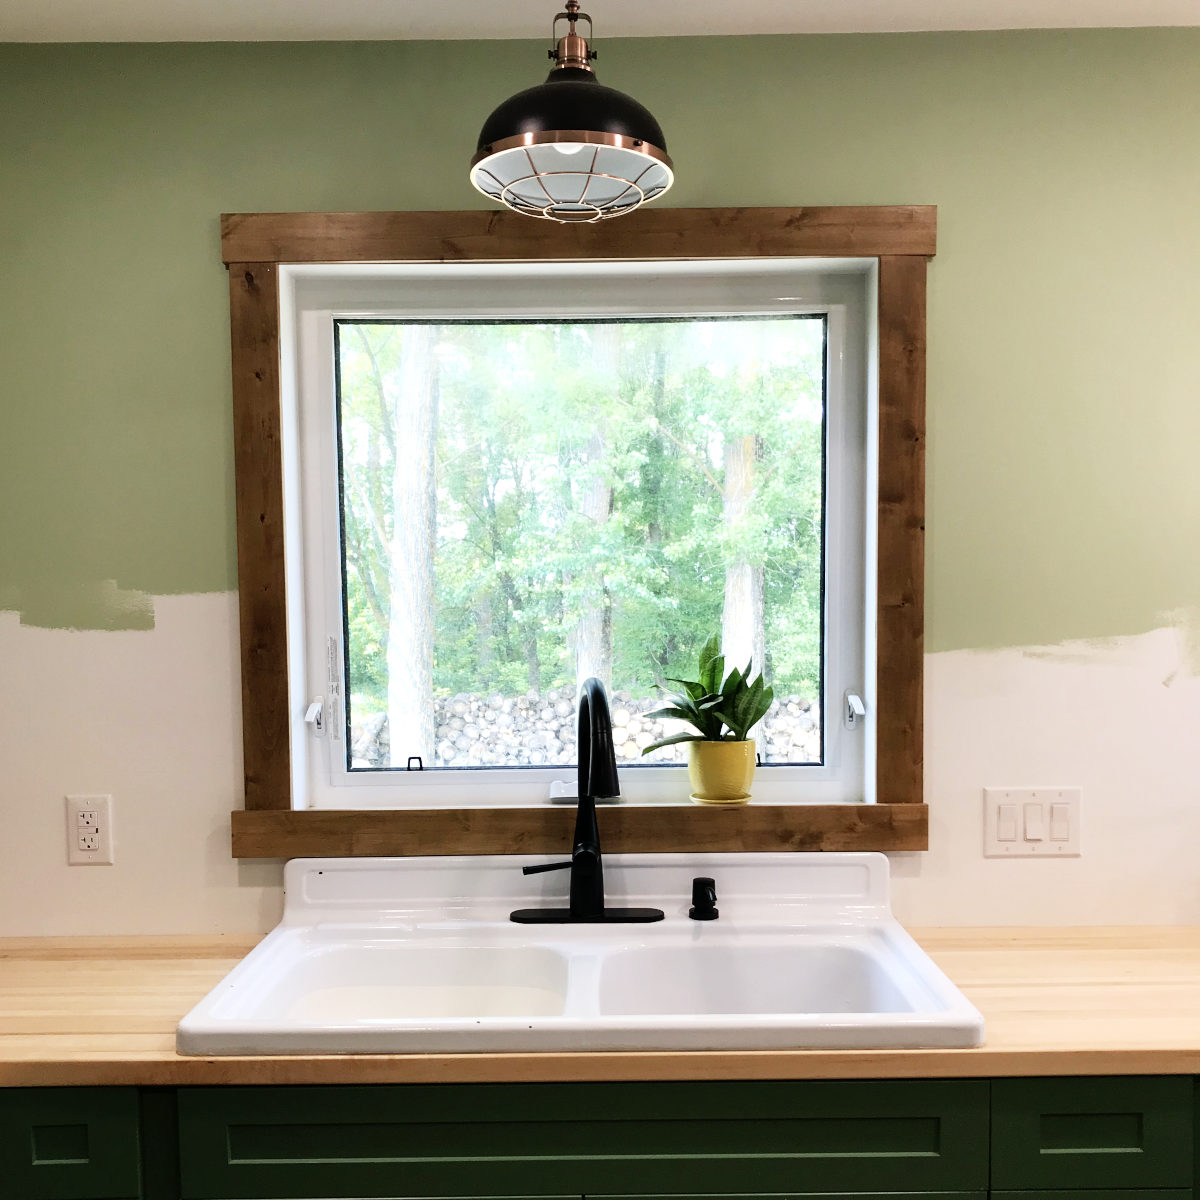
I previously wrote about our found farmhouse sink. Check it all out in this link.
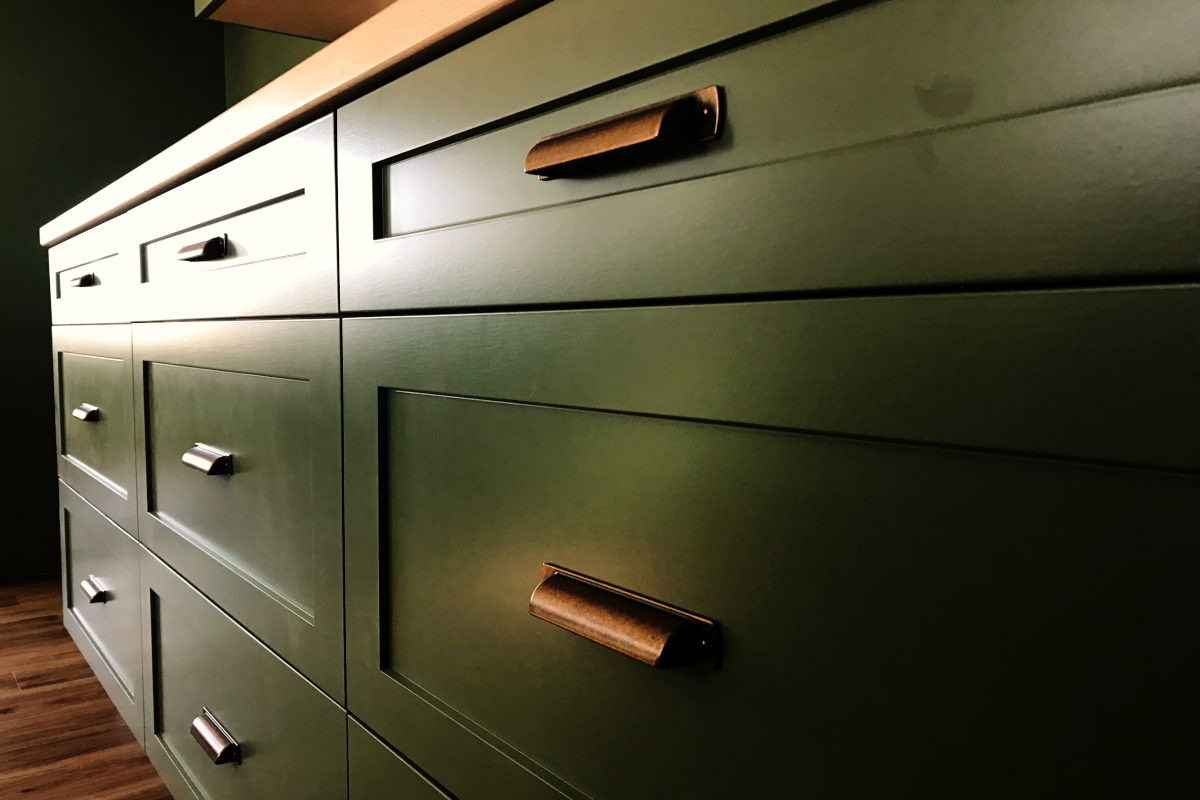
Most of the lower cabinets have deep drawers – lots of space in them. (I need some organizers in my plastics drawer.) The corner cupboards, while deep in the corner, hold boat loads of stuff – even my slow cooker, canning pot, and skillet, all on one shelf! No lazy Susan can do that!
And hey, after a year and a half without, we have a non-human dishwasher again! It’s funny, too – we’ve been without a microwave as well for about that time, but our new one rarely gets used so far except for the fan above the stove.
There’s one thing where we are not sure what happened. While the “U” shaped area is a complete “U”, it gives very little space at the entrance to the kitchen. Our fridge doesn’t even open up all the way, and we had to remove the door to get it in place. One day when we get a new fridge, we will have to get one that is counter depth.
I have checked some counter depth refrigerators out. You have to be careful on those – some brands call it counter-depth if it’s only two inches narrower than the standard depth of 34” including handles. Actual counter depth is 25”. So you could still have a counter depth fridge that sticks out 7”! Can you say false advertising?!
Then we will save over 9” in the kitchen entry. One day.
The counters are maple butcher block from a local cabinet builder. Maple is a local hardwood, easier on the pocket book than exotic woods, but not that easy. It’s nice! Perfect for our green cabinets.
Honestly, the kitchen – including the cabinet company (Kitchen Craft), our installer friend, and the countertop guys (Shray Doors) may be the only trades that cared about and stuck to a decent time schedule – kudos to them.
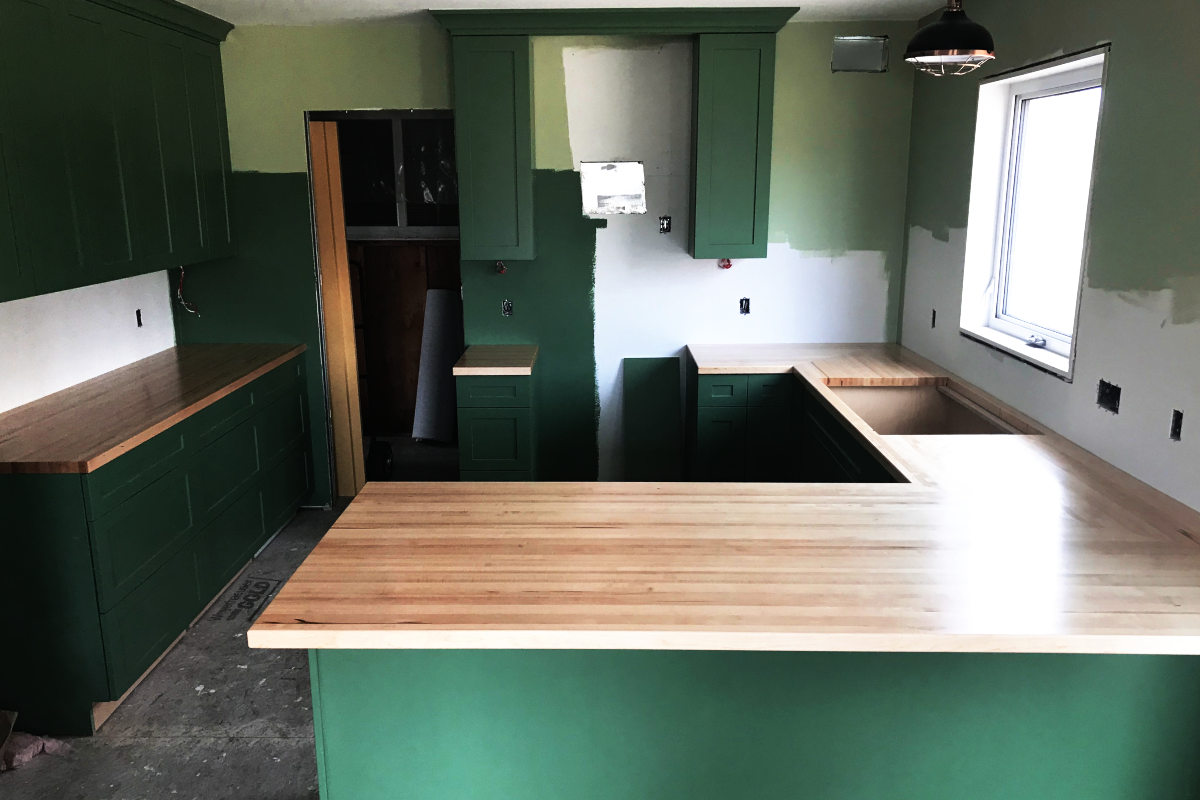
There’s an awesome little black and copper pendant above the sink. I like it better than the under-cabinet lighting. I’m glad I didn’t get matching ones for the peninsula. My kitchen isn’t massive enough to support all that, visually. The pendants above the peninsula, reminiscent of mason jars with wavy glass, match the sconces in the living room and dining room. It’s a nice way to tie it together.
I grabbed a set of stools for the peninsula off of the local classifieds. They are white. They might need a spray can application in the future. They aren’t too bad as they are. They are sturdy, and don’t have backs that block the view of the beautiful countertop.
You’ll notice I did not paint the walls all the way down to the counter. My grandma nailed it when she said it must be to make sure the backsplash gets installed sooner than later. Smart-thinking, 93 year old lady.
For the backsplash I would like to do a vertical bead board or tongue and groove, in the same Restful Green as the cupboards, about two thirds up the window.
Then, there will be two levels of open shelving wherever there are no upper cabinets – the sink wall and beside the stove. These, of course, will be wood, supported by simple black “L” shaped brackets, I’m thinking. You’ll just have to stick around and find out.
The biggest compliment was when we had some friends over recently. It was the men, surprisingly, who said that the addition looked like it fit with the old house – it didn’t look like a new house next to an old house. And Kent is just now working on the openings between the old and new, so currently, there is definitely disparity between old and new.
Along with that, Kent is working on the pantry. We need to nail down our shelf design in there, which is easier for me to think about once the walls are in. Some shelves will be deeper (say, two feet) for canning jars and a few larger appliances. Other shelves will be narrower for single items and pantry staples. Though decently large, this is no second kitchen butler’s pantry. This is a storage beast.
Ok, there it is, finally – the kitchen story of our old house remodel. As an addition renovation, we live in it and work in it simultaneously. Just keep going.
You might also enjoy these stories:
80 Year Old House Remodel – 5 Raise the Roof
 I'm Erika, I live on eighty acres in the northern prairies of southern Manitoba with my husband and four kids. Here, we enjoy the outdoors and try to be more self sufficient as we try new things in the garden and learn about our land and the world around us.
Leave a Reply