In the fourth installment of our 80 year old house remodel, the new basement gets a roof. Things start to go wrong as framing begins.
As we continue our old house remodel and addition, things continue to be built in the upward direction. The floor is built, and Kent becomes more involved than he intended.
Old House Remodel: Addition
The guy who delivered the roof trusses and floor joists said his day was getting better. I hope everyone enjoys the drive out. I know I do.
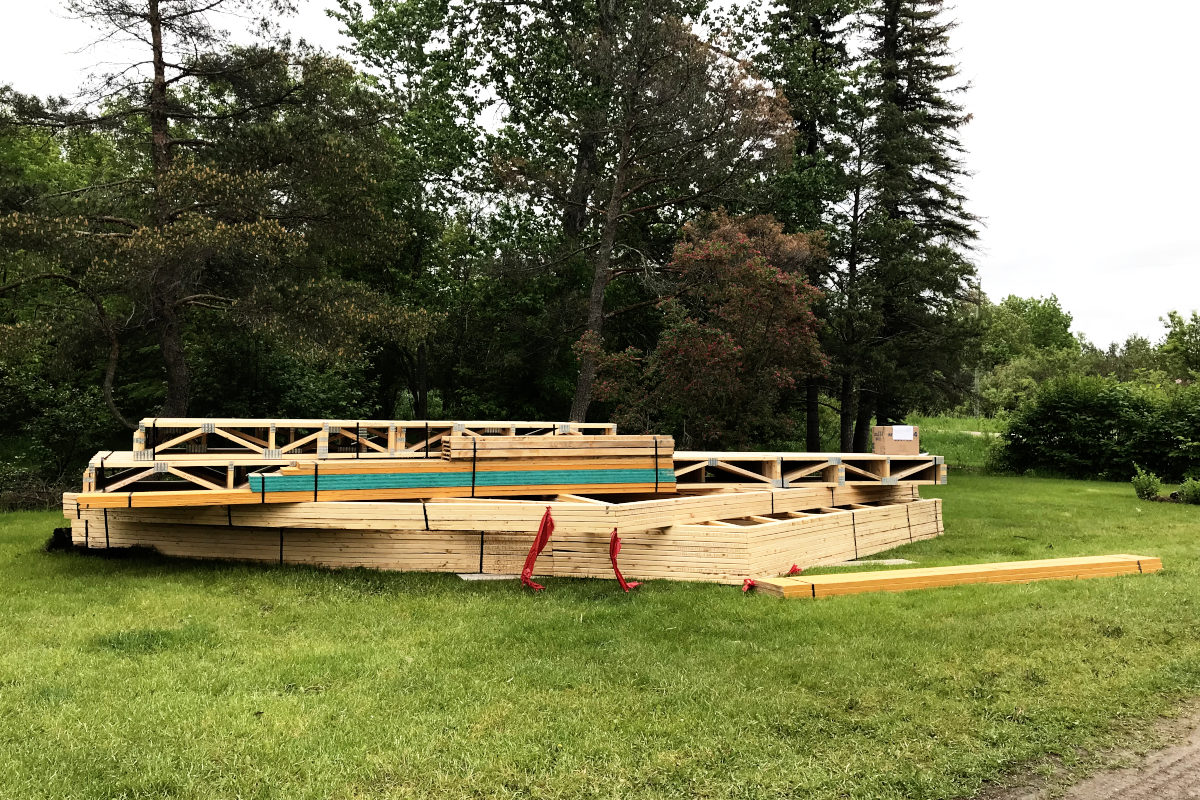
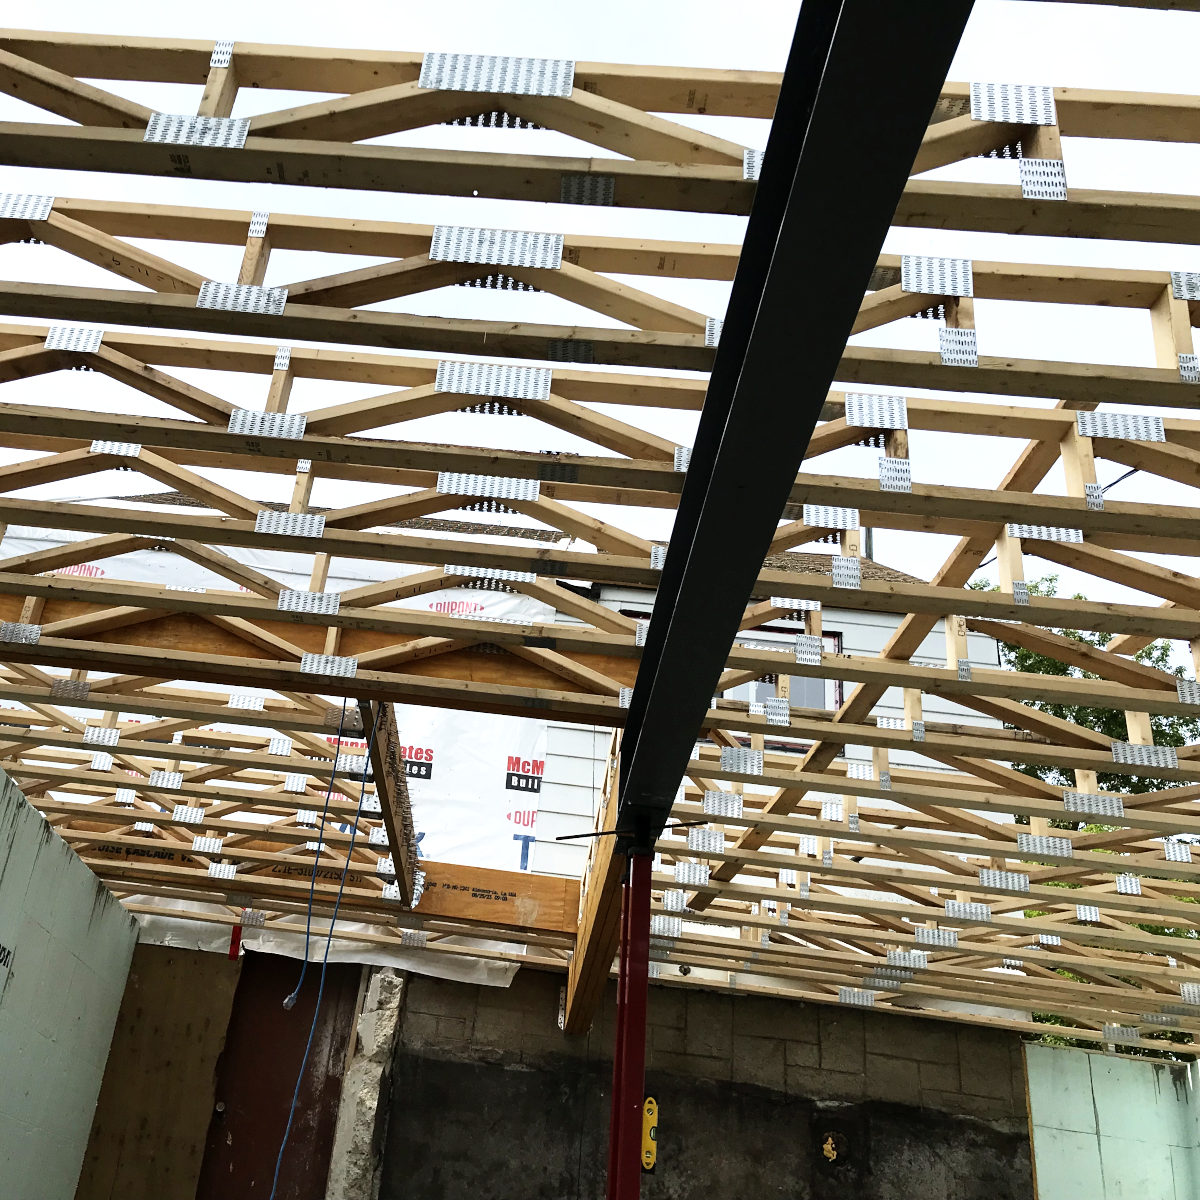
The trusses slide right off a roller system on the back of the truck like a conveyor belt. Nifty.
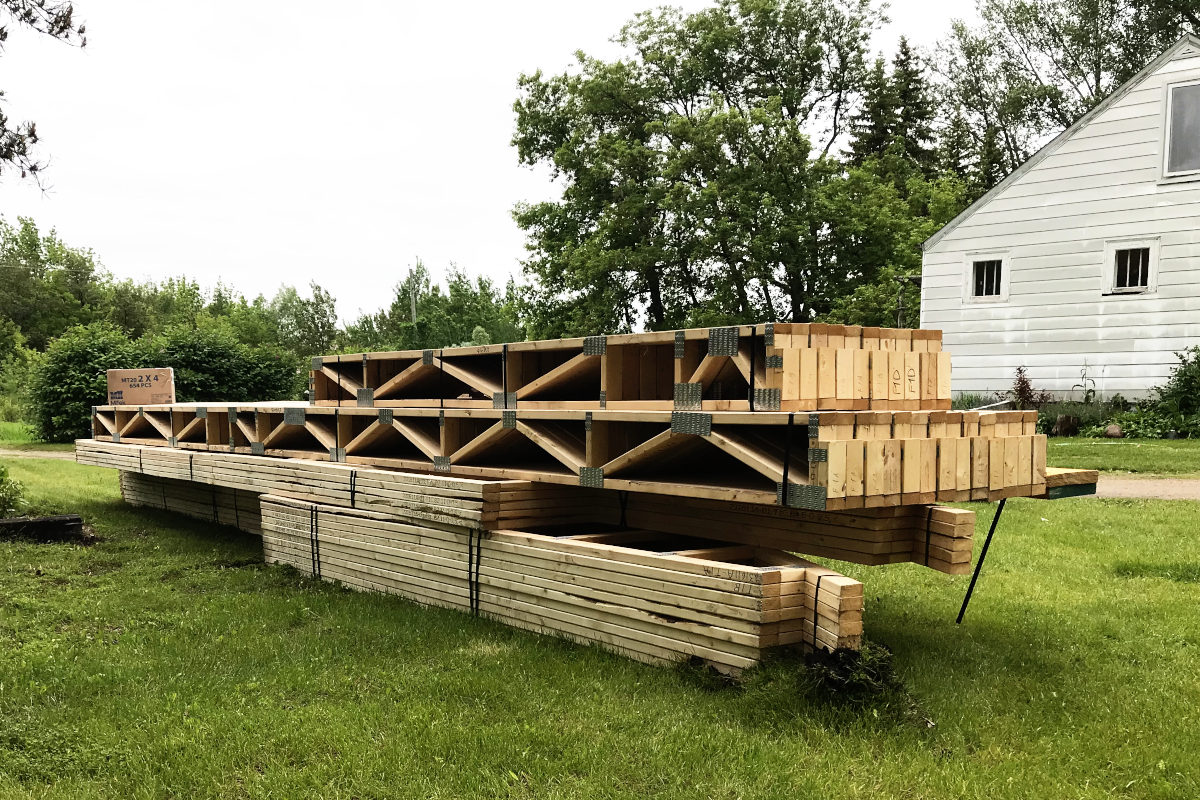
As you can tell on the photo of the trusses, the ceiling is flat, but the living room is two feet higher. I appreciate the change in height as opposed to a flat plane stretching across the expanse of three rooms. (Another idea Sarah Susanka writes about). But Kent really just wanted room for his moose antlers!
Sooo…the framing crew canceled – too busy. In fact, instead of our place, they are working on a job for which Kent is the salesperson. He finds the irony amusing enough to cover the disappointment.
So Kent bought a nail gun and hired himself. He has done framing in a previous life, and is glad to be out of it. He hopes not to have to use the nail gun after the house is finished, but he talks of many projects…
First up is attaching the sill plate to the top of the concrete wall. The floor joists will be nailed to this. Kent does not like his hammer drill as much as he did before this project.
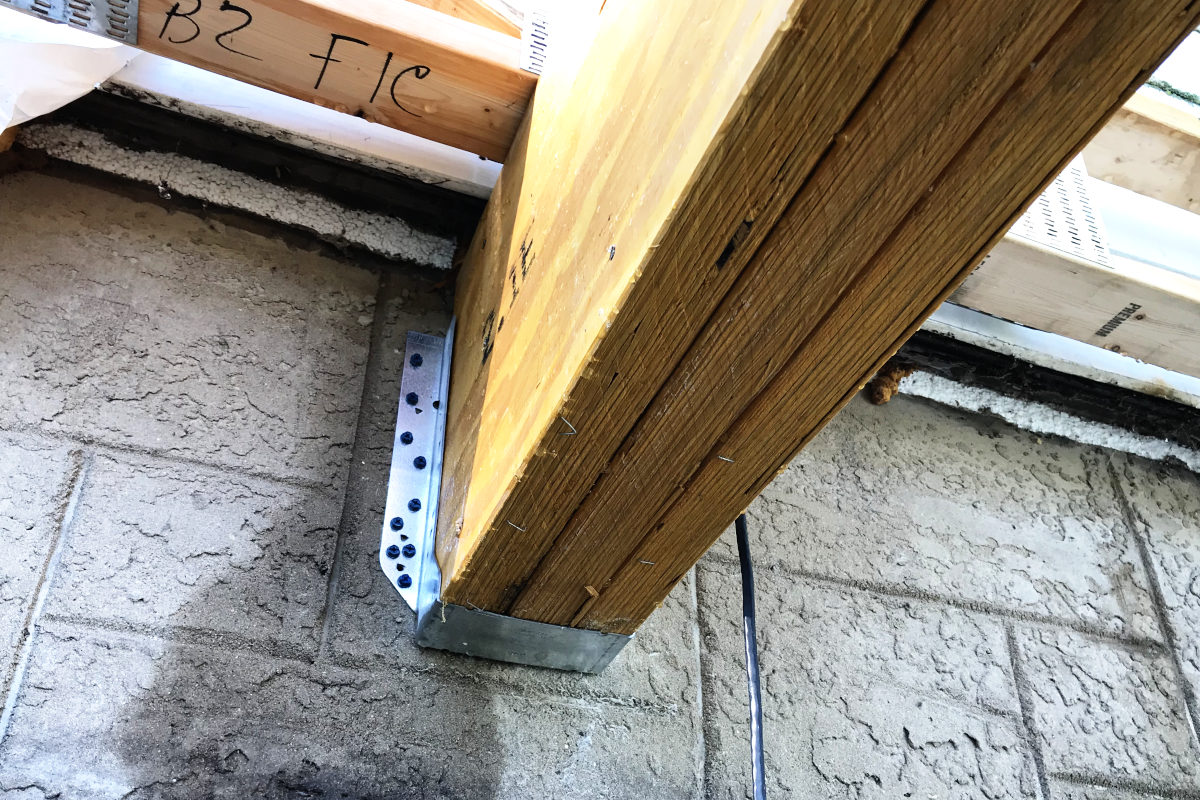
The hanger for the wood beam initiated all kinds of discussion with the engineer. This hanger will attach to the old basement, holding up the wood beam which will support the new floor joists. Everything from the hanger itself to the screws required approval. It still looks little compared to the beam.
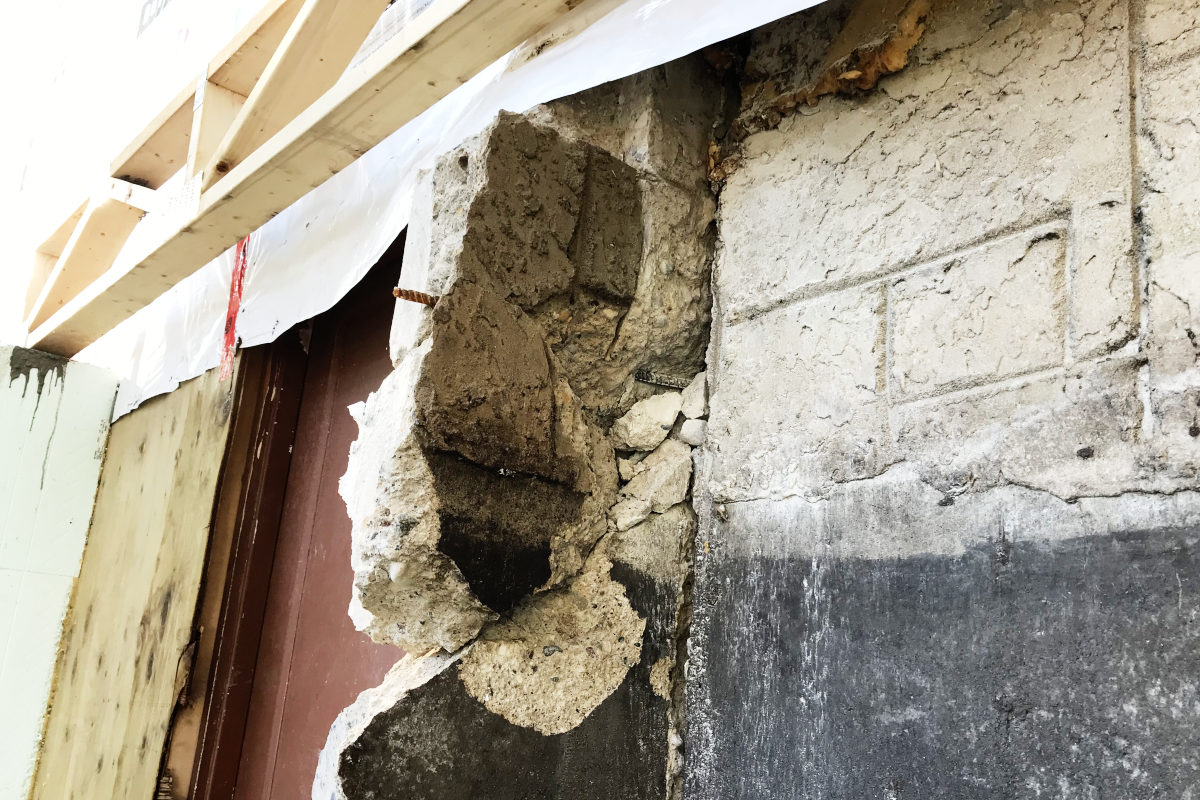
Another hiccup is where the basement below the old entrance was removed with the excavator. Kent scored the concrete with a concrete saw, but there was major breakage of the concrete. Cracks run the width of the wall.
We could just saw off that part of the wall, but that is exactly where a beam sits on in the old basement. Probably another tele-post will be needed? This will have to wait till there is a roof on the house. That is the priority.
June 16: We hand-bomb the floor joists onto the basement walls. There was a size of joist for everyone, and the whole family helped out. The best homemade iced coffee for break time.
It rained hard all night. The leak in the kitchen roof objected. Several gallons of water leaked into pails in the night. It smelled like stale cigarette smoke a few decades old. Gross.
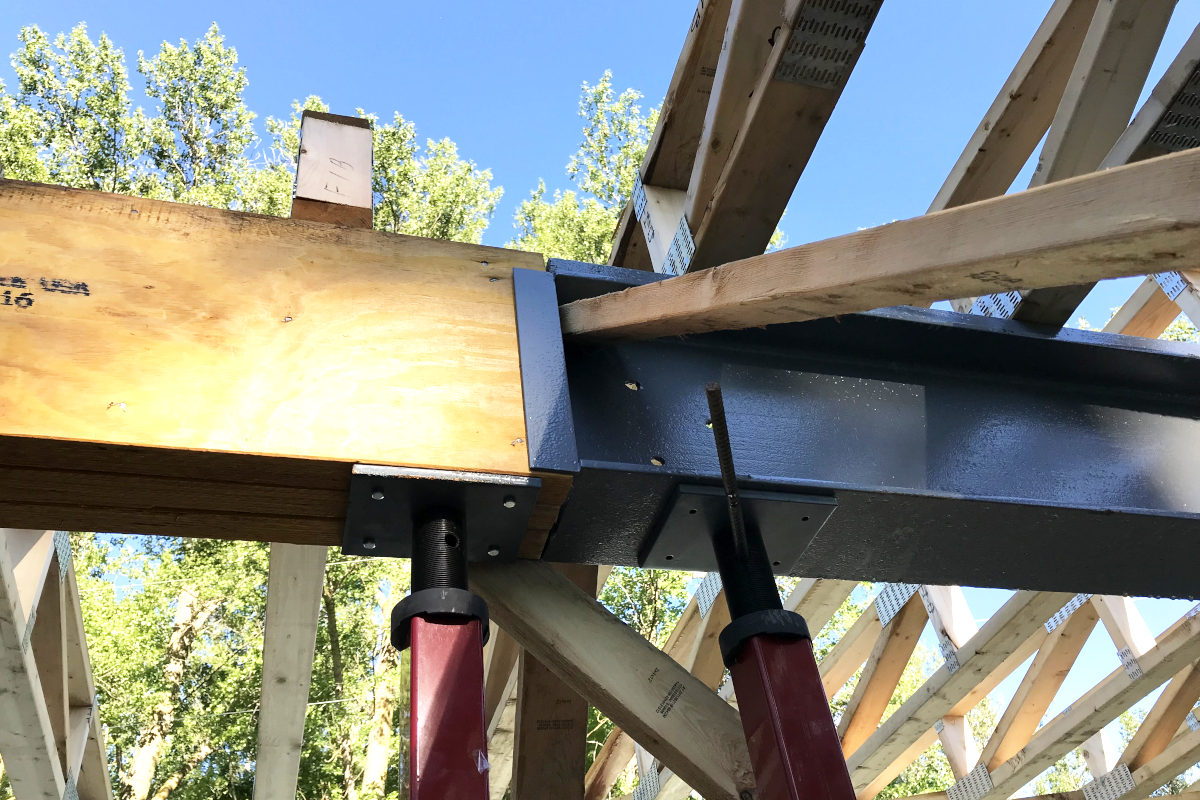
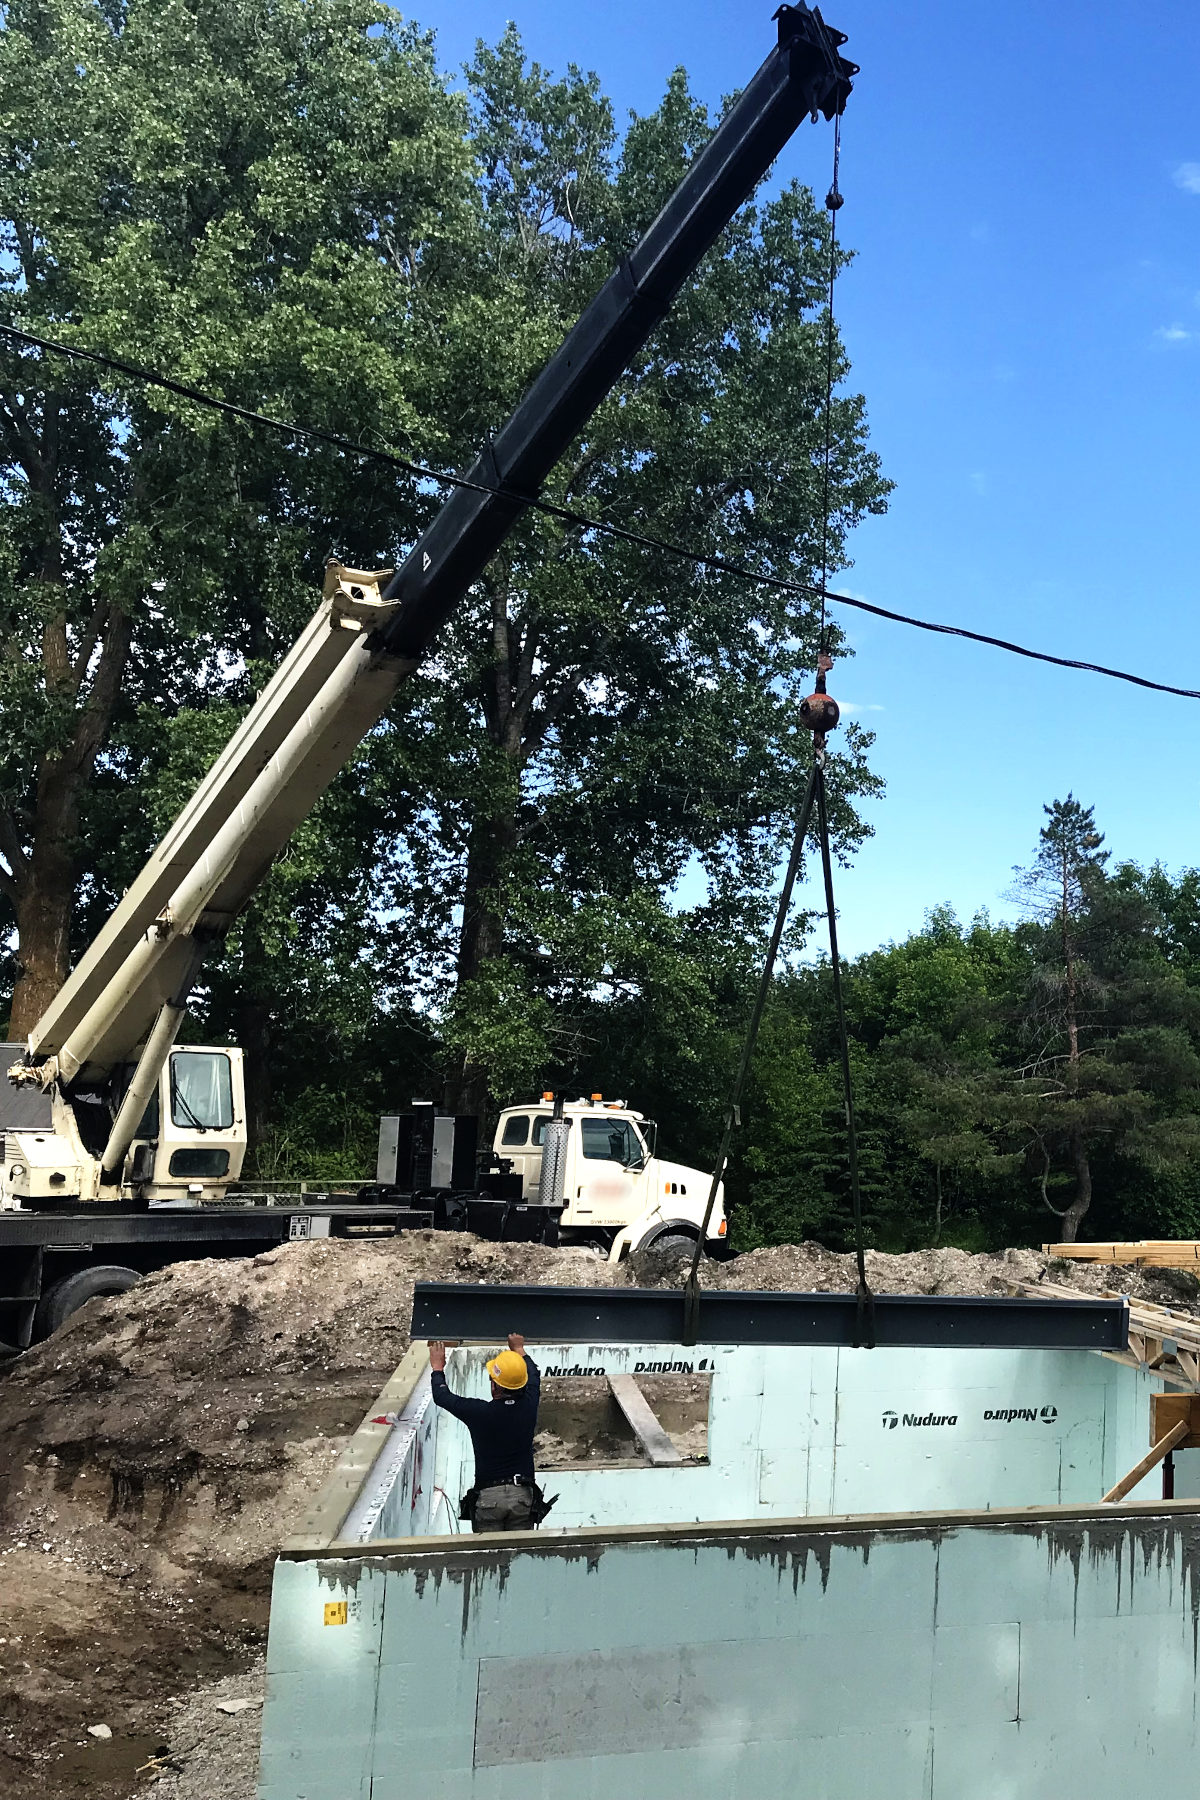
June 17: Our neighbour crane operator and Kent make quick work after their day jobs to put the steel beam in place, opposite the wood beam. It went without a hitch. The crane operator asked why both steel and wood beam. “The steel beam was free.” He nodded in understanding.
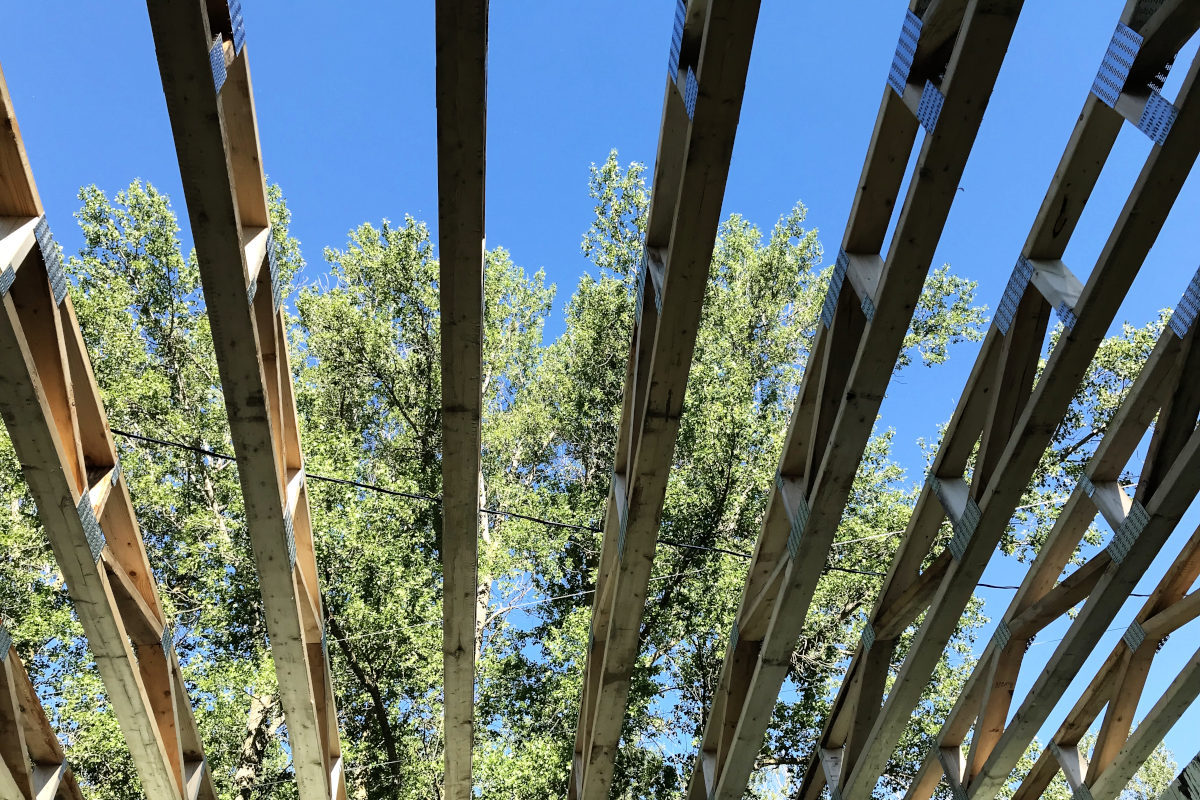
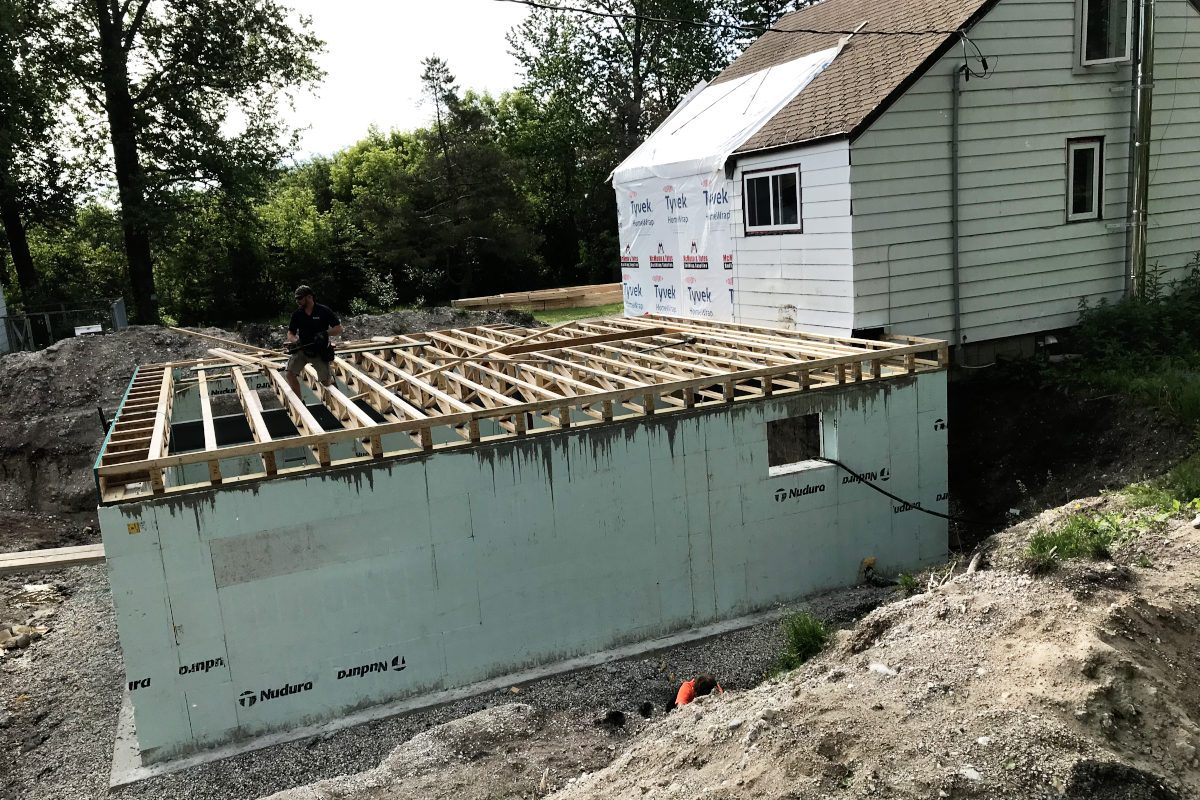
With the beams in place, the open web floor joists were placed and nailed in place with the new nail gun. Still awkward at times.
As with most renovations, things got a little tricky. The basement wall that was built to jut out from the west corner of the old house was placed a bit too far back so that the walls won’t actually line up and the whole addition will be a few inches shorter.
This specifically affected the width of the pantry, the door to the pantry and the placement of the stairs. So there was some sitting and pondering of that jigsaw puzzle. A few inches will be taken from the north end of the addition instead of from the pantry, moving everything over about nine inches.
As “big” as the pantry will be, it can quickly become narrow. Working with our small old house, we are used to making every inch count (Take out the baseboard heater we don’t use anymore so we have three extra inches in the dining room!). Then, in planning the addition, I imagined the rooms with their inner dimensions, but when those inner dimensions become the outer dimensions, we lose space.
Same things with the windows. You can say we are getting windows that are 30” wide, but that is really the outside frame width of the window, so you lose width on the window frame and the glass frame, especially if it’s a window that opens because there is a frame to hold the part of the window that opens, and then a frame to hold the glass. So in the end the thirty inch wide window has only 22 ½” of viewing. Our windows might be smaller than we anticipated.
Moving right along, the perimeter skirting was installed, and then the subfloor. I try to help sometimes, so Kent says our daughter and I can move a few sheets of subflooring onto the joists, and he’ll cut as needed after that. So we move five sheets. I leave for two hours, and when I get back Kent has moved the whole rest of the stack onto the joists. Oh well.

The basement is wrapped in something designed to let water drain away if moisture gets behind it. Window wells are framed out with pressure treated lumber. Another layer or two will be added later.

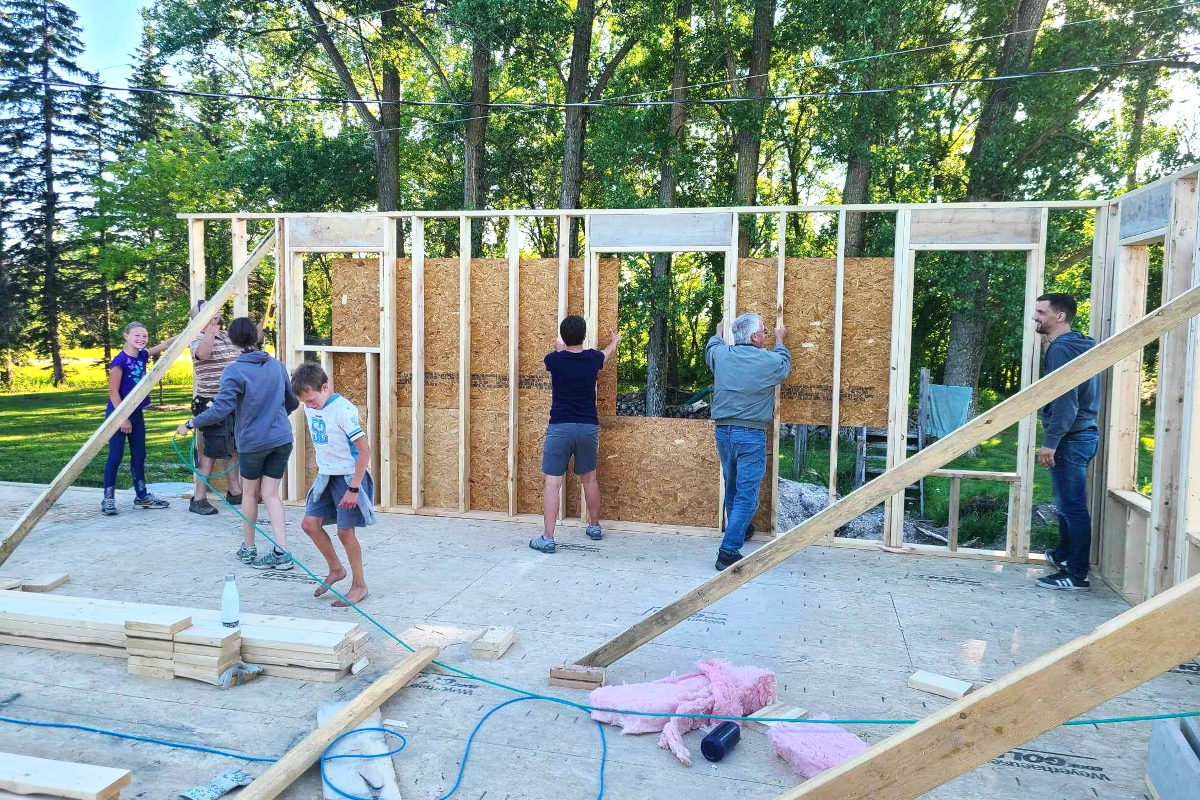
Time for walls. This part can go pretty fast, and make a big impact, make us feel like we are getting somewhere. And now Kent is forced to ask for help! It’s really not too bad, whether it’s with family bringing supper or even the kids. The north wall was put up in two parts, being two heights, but the others were all one piece. And yes, I’m a little more intimidated with holding up a long wall than those guys on the end in the picture!
Join me next time when Kent gets another big toy to play with (skidsteer) and we continue the build on our old house remodel.
Check out these other editions of the 80 Year Old House Remodel:
Old House Remodel – 3: Dig a Hole
 I'm Erika, I live on eighty acres in the northern prairies of southern Manitoba with my husband and four kids. Here, we enjoy the outdoors and try to be more self sufficient as we try new things in the garden and learn about our land and the world around us.
Leave a Reply