This might be the most anticipated room in our old house remodel. At 6×12 feet, this pantry is almost as big as our old kitchen. Let’s explore how we build a pantry and what we have planned for this workhorse of a space.
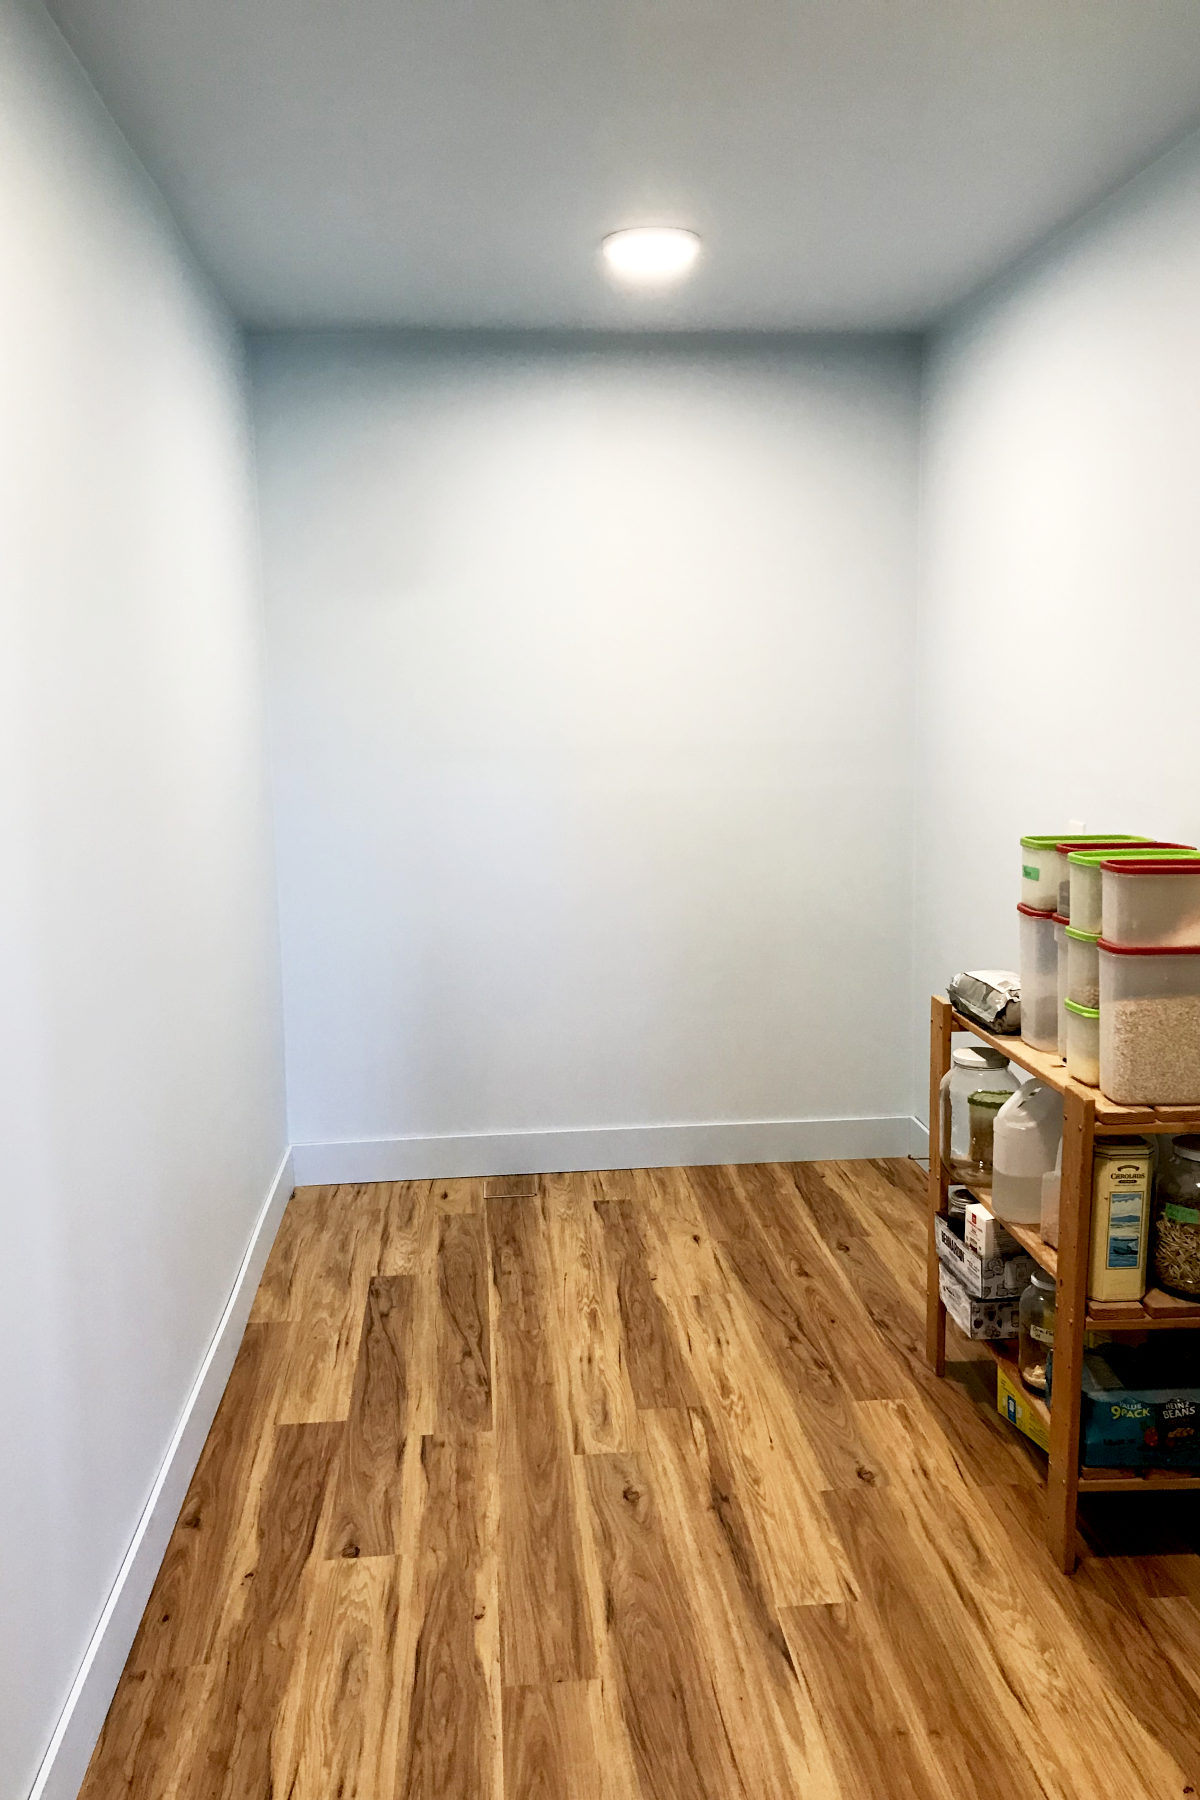
Our old kitchen was an 8×12 foot walk-through. It had the tiniest pantry ever, but it was the saviour of the kitchen. Under the stairs, there was a door with twelve inch deep shelves, and one deeper shelf on top. (Behind these shelves was my bedroom closet.) I had various nooks and crannies in the basement, wherever and everywhere I could find to store dried and canned goods, as well as canning supplies, food processor etc. – laundry room, furnace room, under the stairs, back corner. I even stored kitchen towels in the living room.
How We Build a Pantry
Needless to say, it was not only I who looked forward to having all food stuff in one place, near the kitchen. No more, “Kaycie, can you get a jar of tomato sauce, please? Carmen, could you grab a roll of paper towel?” With six people in the house, we like to buy in bulk, and as the kids grow, they eat a lot in general!
Our new pantry sits directly behind the new kitchen. It has two sliding doors – one to the kitchen and one leading to the entrance for easy grocery run access. It does pose the annoyance of having people (the husband) take the short cut to the kitchen just a we are cooking up a storm and making a general mess of things – the very reason the kitchen is not open to the entrance. Younger boys still like to run loops through the kitchen and pantry, though usually they remember not to bring their nerf guns with them. Keeping doors closed does remind people that the pantry is not a thoroughfare, as long as I remember to do that after admiring this cozy corner. One day we will have handles on the doors (they are sitting there, waiting) and trim on the door frames, and maybe even a lock on one door. That might help, too.
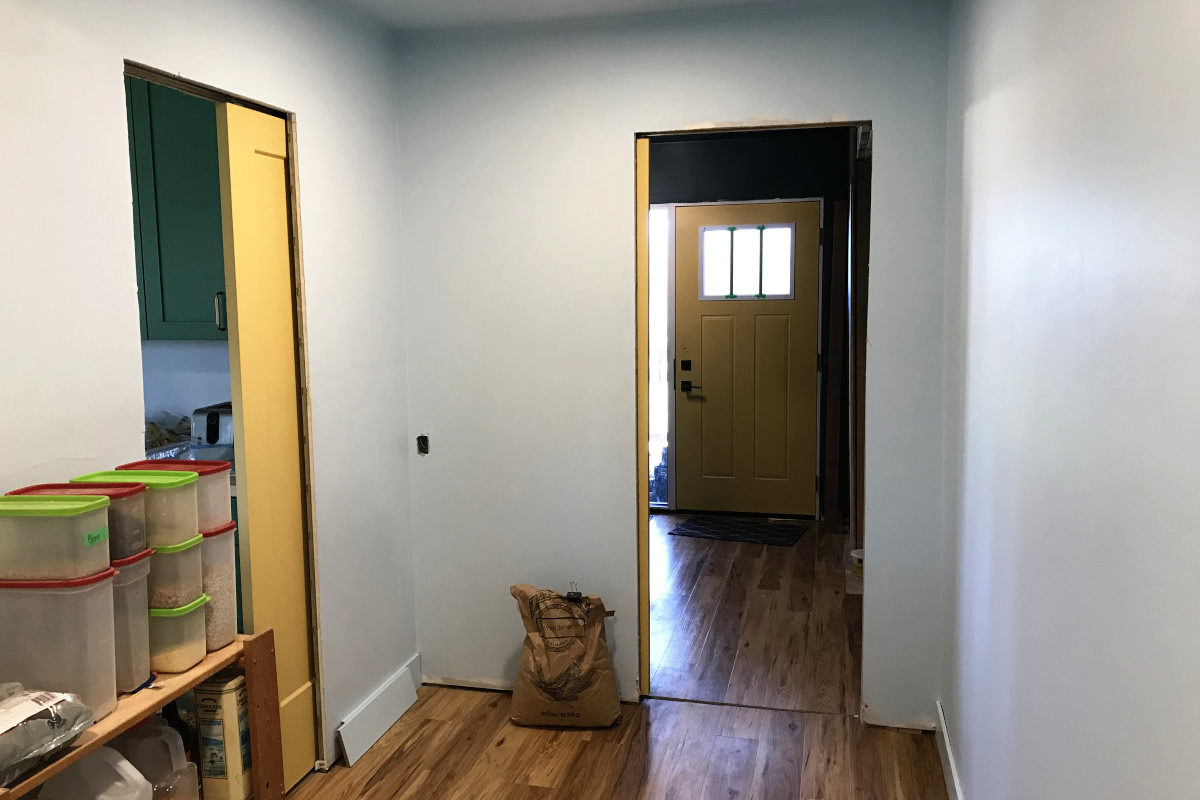
One of the big things holding up the completion of the pantry, besides a summer slump of motivation, was moving the wall of the old house back. We needed room for the door to the entryway (the stairs were already moved forward to help in this regard). This partly goes back to the concrete basement, when it was built to jut out the side of the old house instead of entirely behind it. Kent also wanted this weird corner in the pantry gone. Besides, this wall was nicely rotting and needed replacement anyway.
Opening up this wall allowed us to see the make-up of the walls for the first time, with two layers of concrete plaster board, held in the corners with metal lath – awful stuff to try to cut neatly. Beneath that there is a layer of ship lap. Some of you are drooling right now, but this is not particularly nice stuff. It is pretty rough, even for my taste. I think it was always meant to be covered, maybe similar to the lath layer of more typical lath and plaster. It explains why it is so difficult to find studs, and why we don’t really need to, at least for hanging things on the wall.
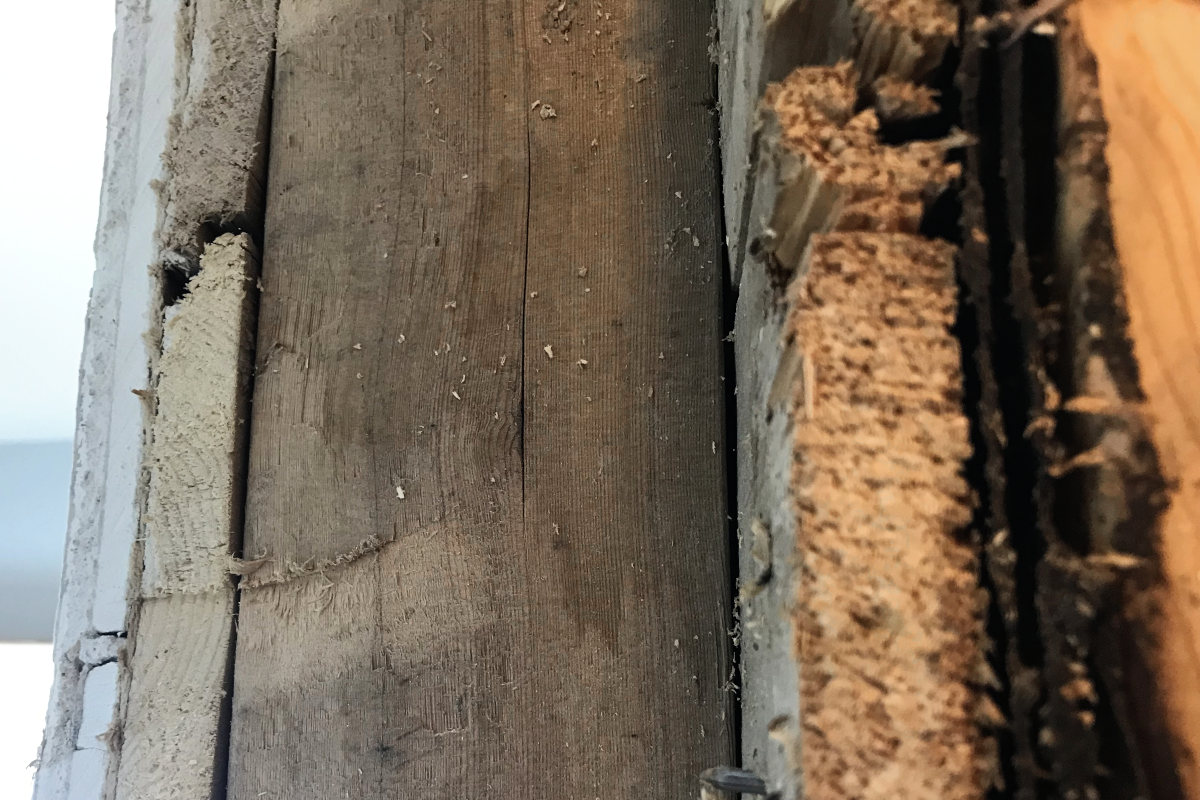
The 2×4 walls are insulated with wood shavings, and the exterior originally had wood lap siding, which was covered in metal siding at some point.
Now that the pantry wall is taken care of and finished completely, I painted it Benjamin Moore’s Mystical Blue. It is a light, true blue with no green or gray. There was a point I considered painting the entire interior or cabinets this colour. Instead, it is brightening up the back rooms.
Up until the last minute, I planned to build shelving from scratch. Then one day, I realized that pre-made metal shelving would solve a lot of problems. It doesn’t have bulky supports that wooden shelving would have. I wouldn’t have to spend any more hours designing how it would all fit, and then cut, sand, build and apply a finish.
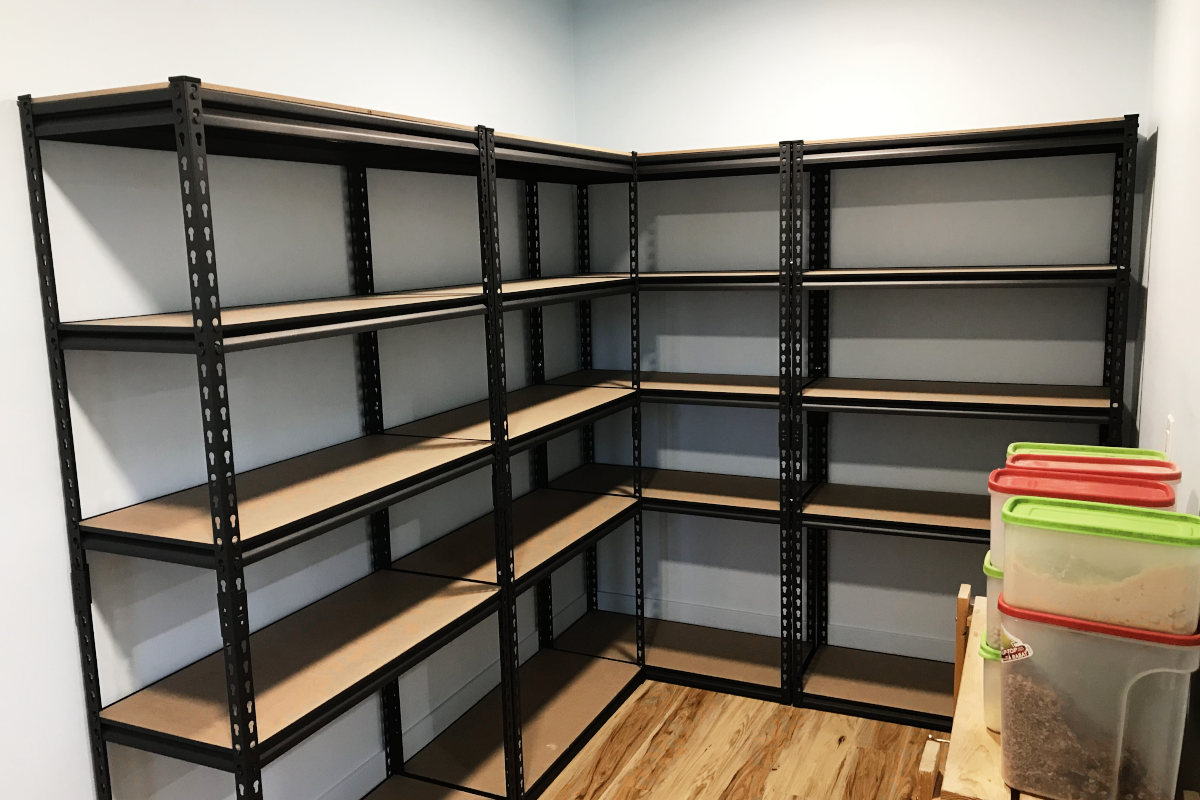
Canadian Tire had 40% off their garage strength black metal shelving (although most kitchen and garage shelving have good weight ratings, if the castors are removed). Although a little narrower than I would have made the back shelves, it is all wonderfully uniform, at a great price point.
By the way, when it says wood, it doesn’t necessarily mean real, solid wood. But this must be some well-engineered MDF in order to hold 330 pounds on each shelf. Best of all, they only took 20 minutes to put together – time savings of the essence.
Wall anchors give me peace of mind that all my long hours of canning will not end up shattered and splattered on the floor. The bottom shelves I left taller for bulk dry goods storage, such as flour, wheat berries and rice. I need to find some nice containers for that. Ultimately, I used my big dehydrator as the measuring guide – 20” tall.
Canning jars go on the middle back shelves. Other pantry staples will be stored on the side shelves. Canning pots and accessories go on top along with paper towel. There is room in the opposite corner for an upright freezer. One day I will put some narrower shelves and hooks for broom and mop between the metal shelves and the door.
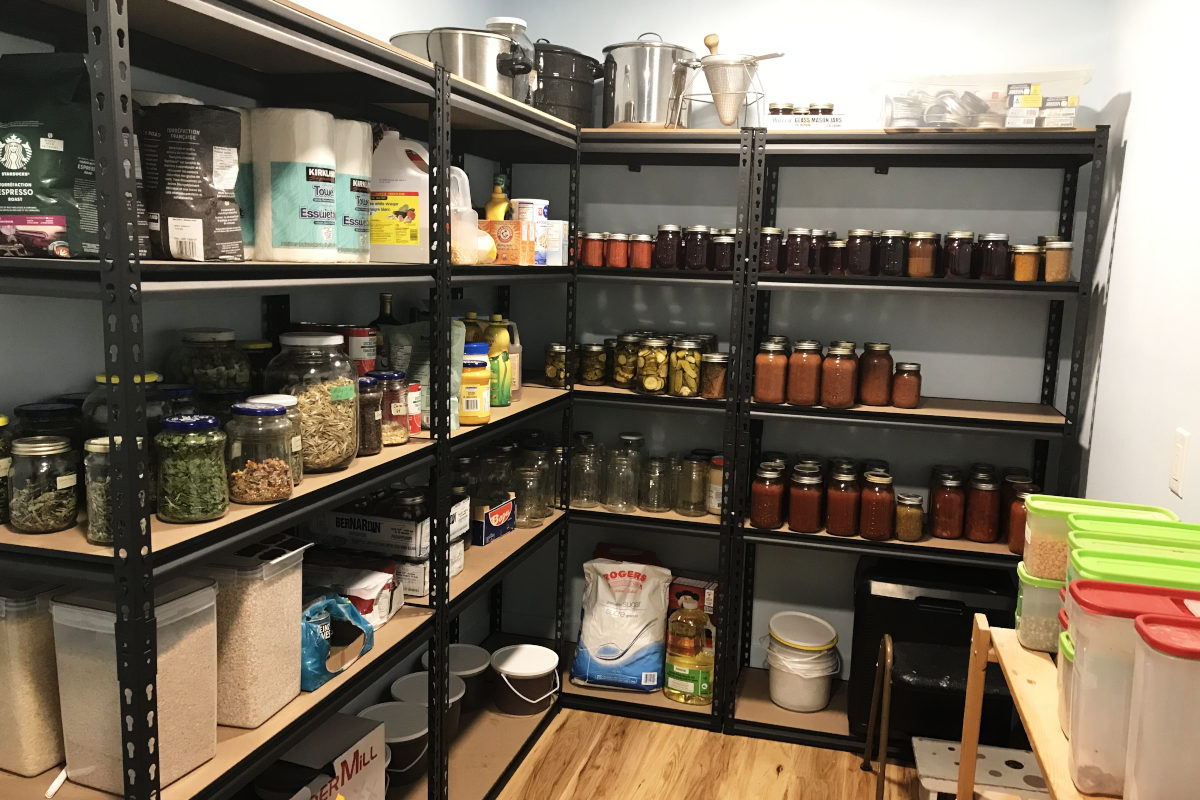
The other big item – I do want a counter after all. Then appliances like the dehydrator and grain mill don’t have to be hauled to the kitchen. This counter unit will go between the kitchen door and the back shelves. I may end up building that one myself so I can get the dimensions I want. I think I need to do a few other projects first, like a boot rack in the mud room.
I didn’t think I would have this much to say about a storage room, but that just goes to show that this pantry is the hidden gem of our old house remodel. I’ll even have room in the kitchen to bring up grandma’s china and other things hiding in a dark corner of the basement. Stick around for a final update, as we build a pantry!
Check out these posts too!
80 Year Old House Remodel 5 – Raise the Roof
80 Year Old House Remodel 6 – Floor Plan
80 Year Old House Remodel – Kitchen
 I'm Erika, I live on eighty acres in the northern prairies of southern Manitoba with my husband and four kids. Here, we enjoy the outdoors and try to be more self sufficient as we try new things in the garden and learn about our land and the world around us.
Leave a Reply