In this edition of our Dear Old House Remodel, excavation begins and rain continues. I prepare a giant steel beam for the basement, and concrete work commences.

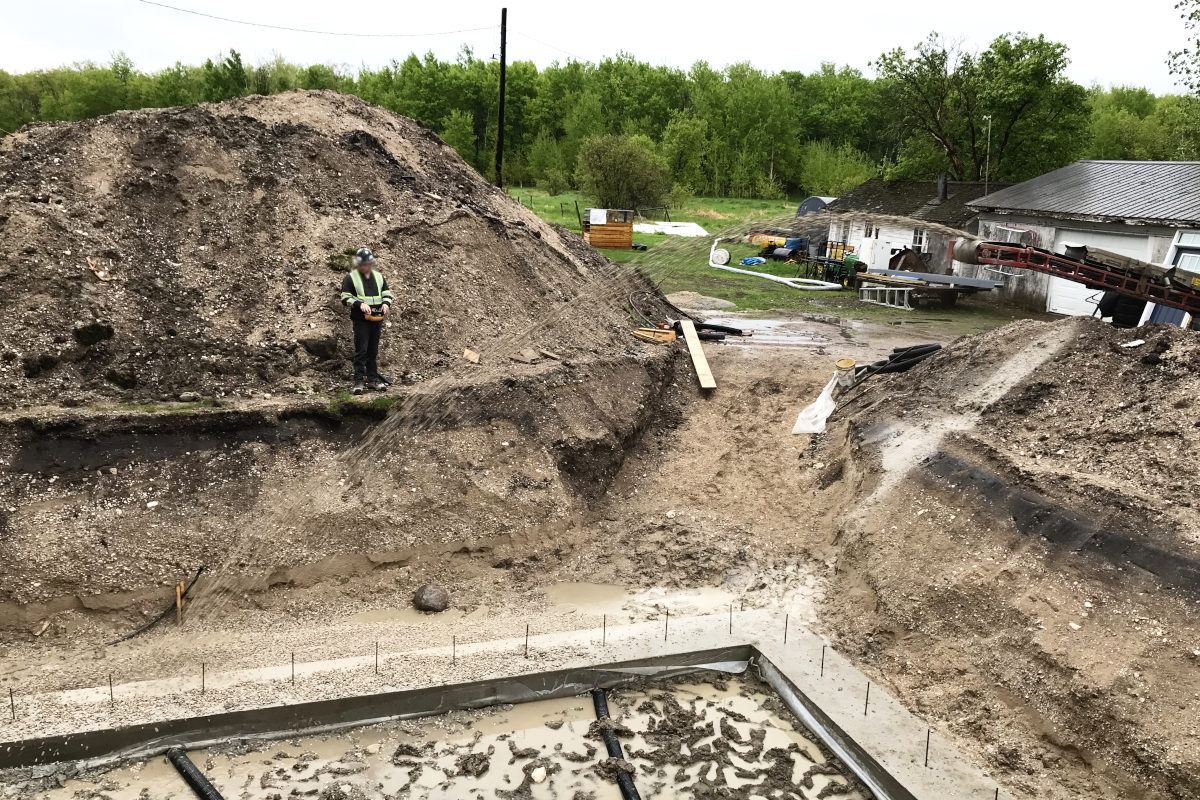
May 16: Once upon a time a giant hole appeared in my yard. That’s about how fast things go once they start on our old house remodel. Kent rented a concrete saw to score the basement walls that were beneath the entrance that was torn off. These walls were removed to prevent moisture issues in the future, as there will only be a veranda over that spot in the new build.
Dig a hole…and fill it up – on our Old House Remodel
I keep thinking of this book I read to our kids when they were little called “I’ll Teach My Dog a Lot of Words” by Michael Frith. In our abridged version it begins, “The first words I will teach my pup are…dig a hole! And fill it up!” So, that is what we call our excavation – “The Hole”.
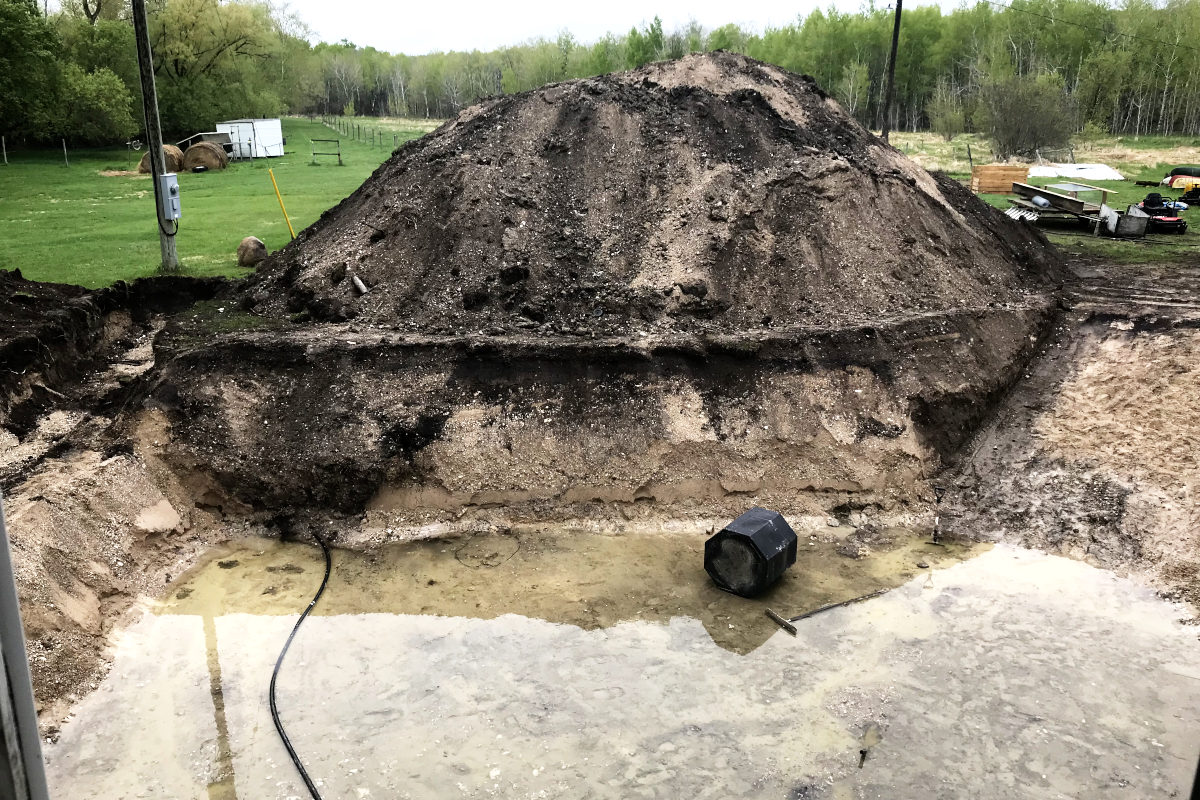
Rain. And more rain. It rains almost every other day. The excavator operator asked if we were building a pool in our backyard. Very funny.
Some years the sump pump doesn’t run at all. Some years it runs for a few weeks before the water table lowers and drains away. On very wet years, however, it runs every few minutes from spring thaw into the next winter. This might be one of those years.
My garden loves all this rain. You can almost watch it growing. But just this once, I wish it wouldn’t rain so much. Well, the kids learned, “You get what you get and you don’t get upset.” Work continues, despite the weather.
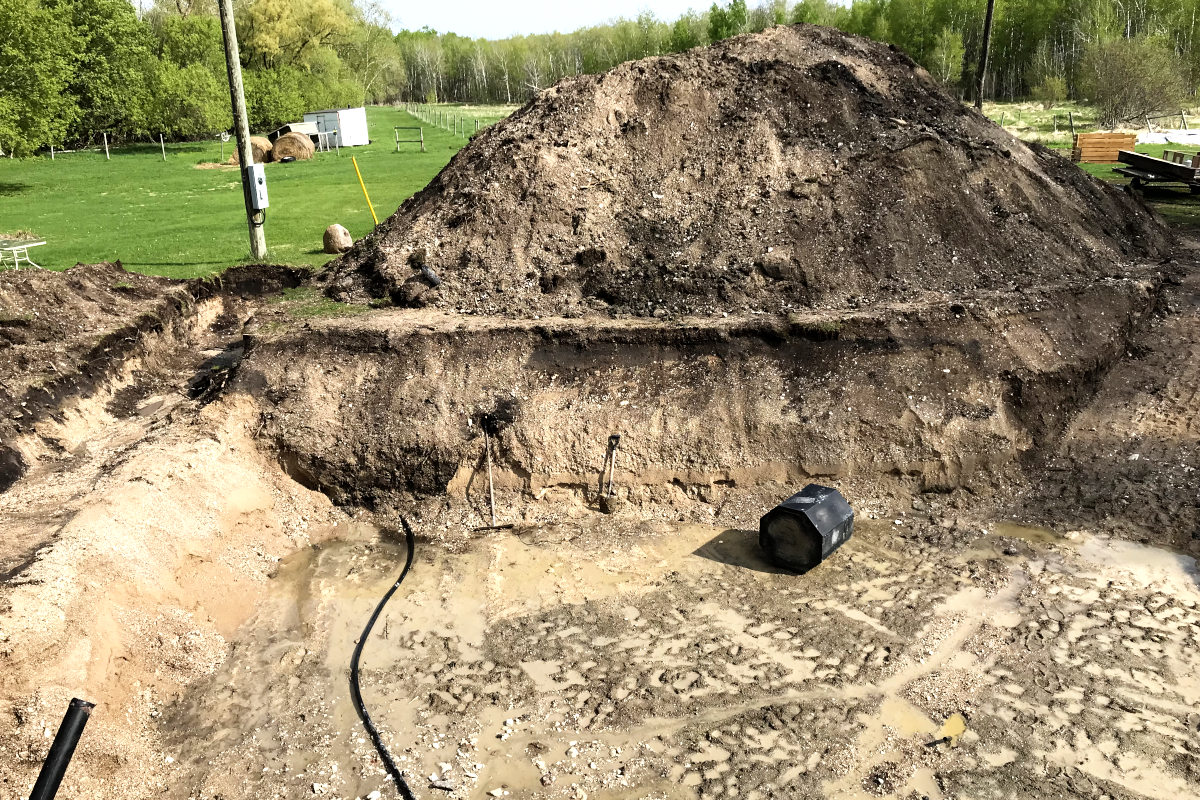
Kent dug temporary sump holes to pump water out of our swimming pool. My son and I spent a few hours digging trenches to encourage the water to drain toward the holes. That is his cup of tea! The water level went down to workable levels.
We live on a gravel ridge. The gravel reached all the way down to the bottom of our big hole, where the excavator found a large clay pocket. Just perfect… perfectly muddy and slimy.
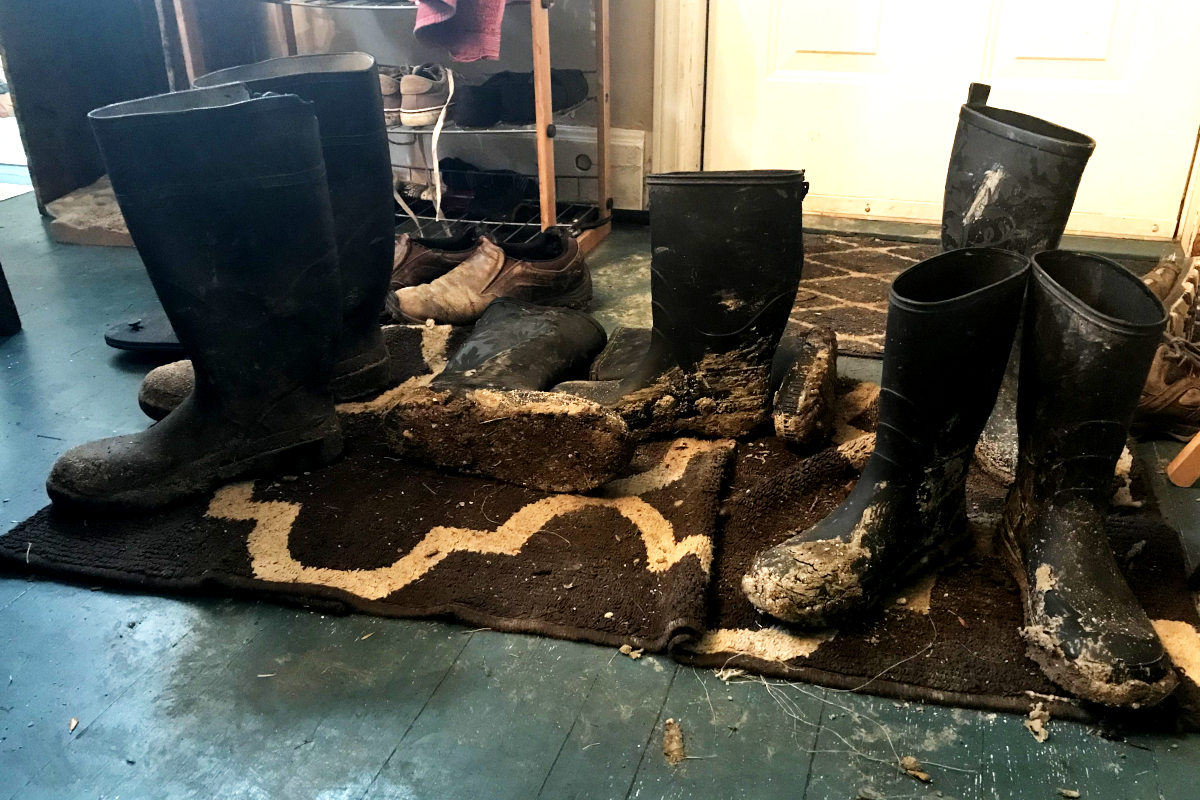
Boots were quickly relegated to the detached garage when our floor became a shade lighter and greyer with the clay slime. Our basement access is through the mud hole, where we still have laundry and various storage and pantry items. We are trying to store things elsewhere, but things always come up, literally.
The Beam
In between rain showers, I prepared a steel support beam for the basement. The beam was left over from a renovation my parents did a few decades ago. It had been sitting out and needed some TLC before installation.
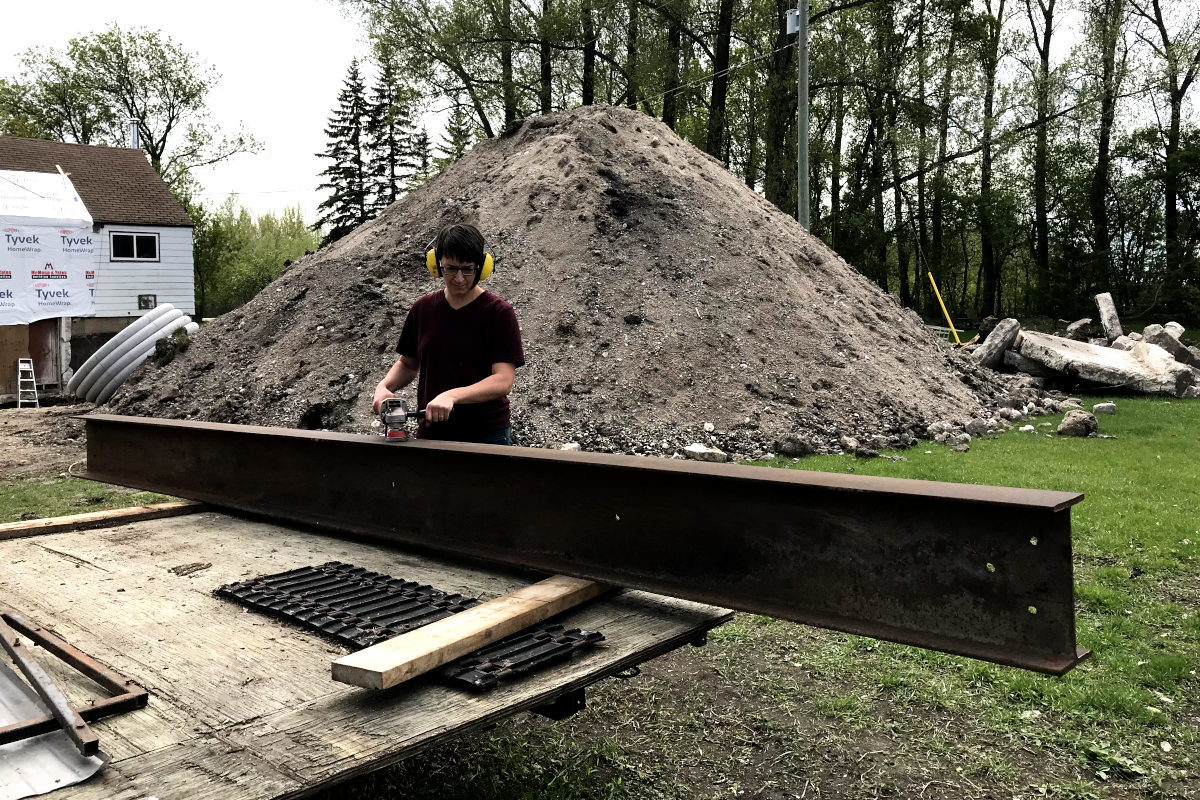
First, this sixteen foot beam got an exfoliation treatment with a bristle brush attachment on the grinder to remove rust flakes.
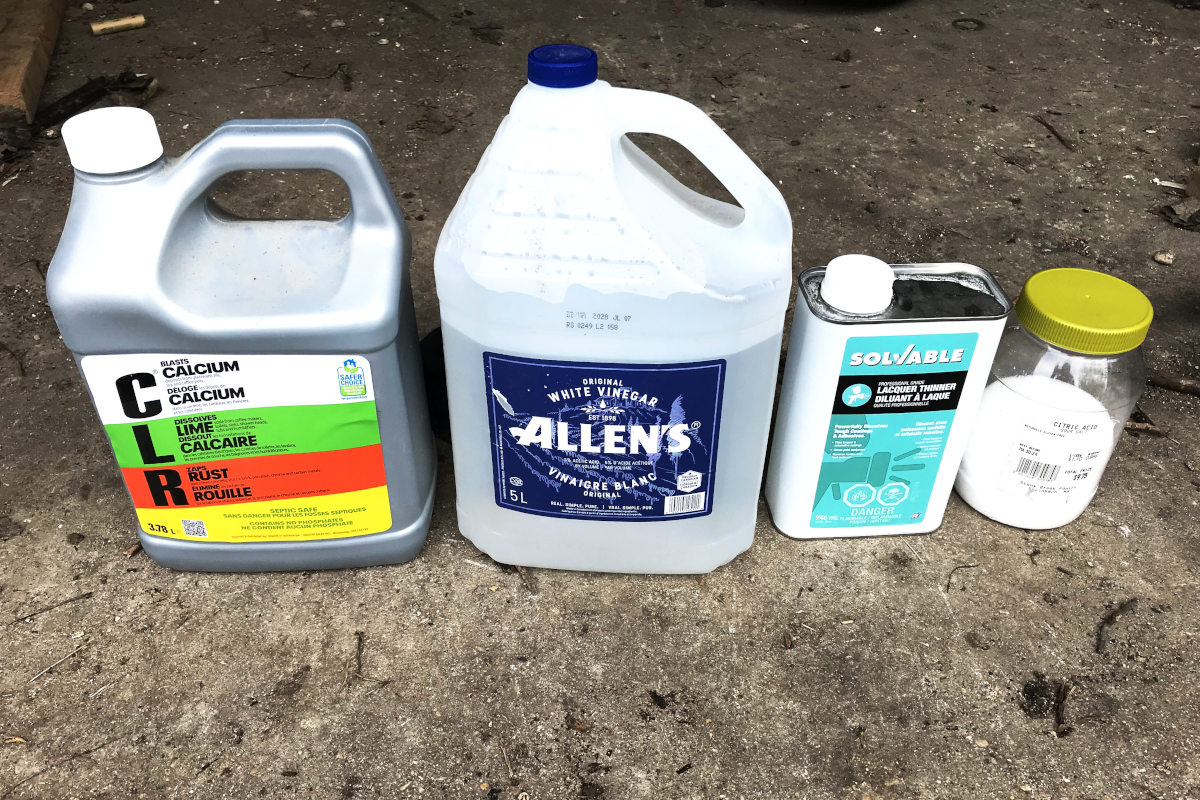
Then I performed a little experiment to see what type of product would remove rust best. These included citric acid (leftover from my cheese-making days), lacquer thinner – a solvent that is oil based and not really meant for rust, C.L.R. and vinegar.
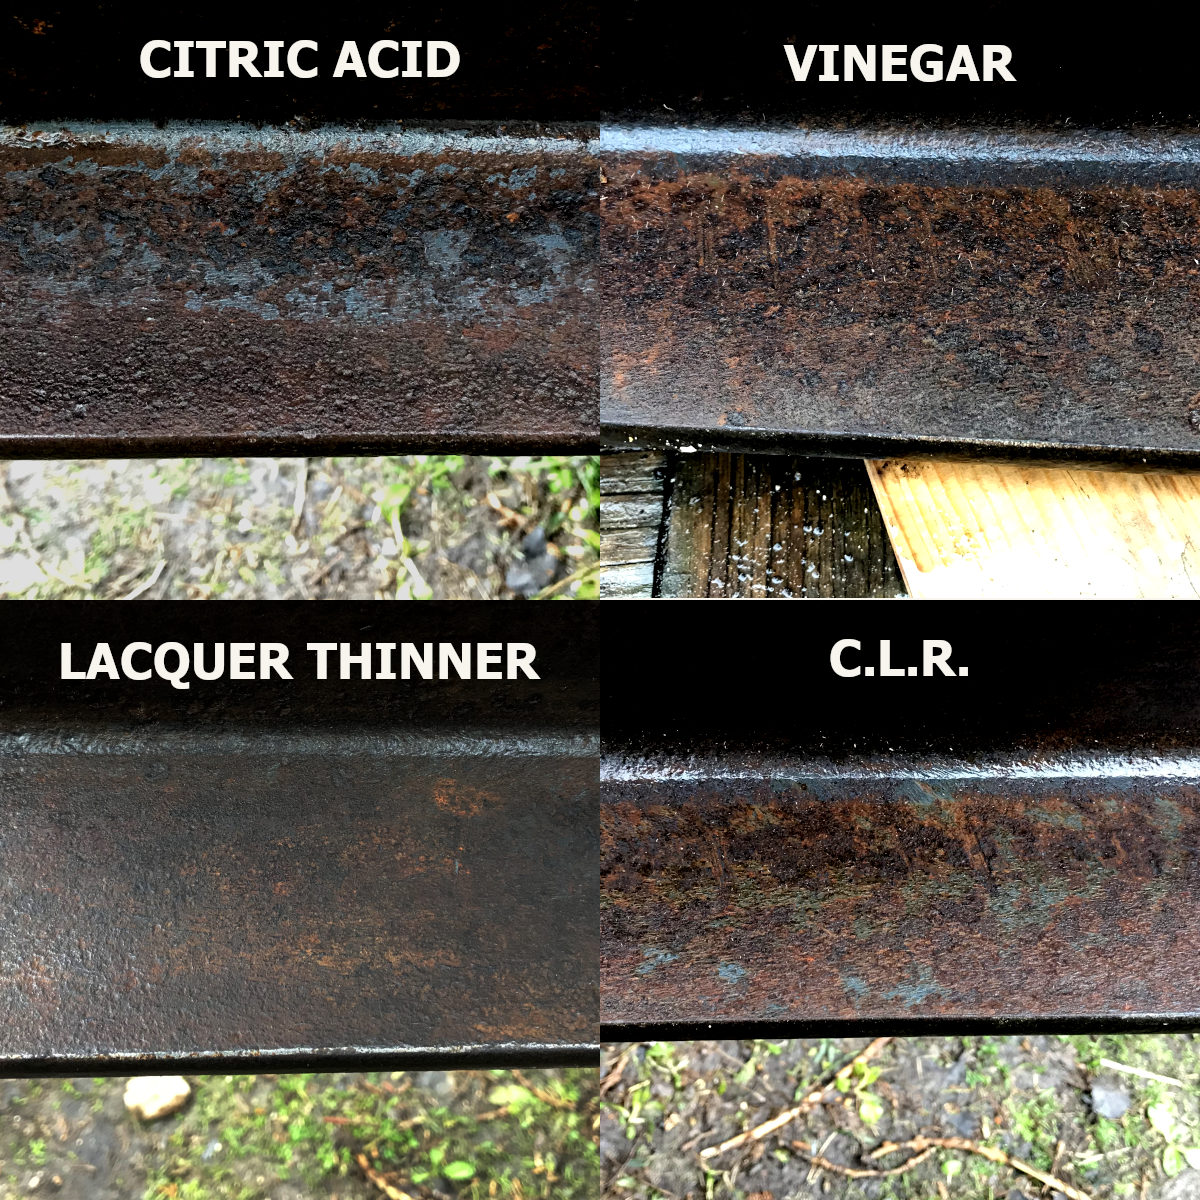
You’ll notice most of these products are acids which are recommended in removing rust. Citric acid, barely dissolved in water, though comparable to C.L.R., won out. It is more economical as well.
To be fair, the citric acid had a hard time moving rust on the vinegar test spot as well. In technical terms, I don’t know the pH of the citric acid solution I mixed up.
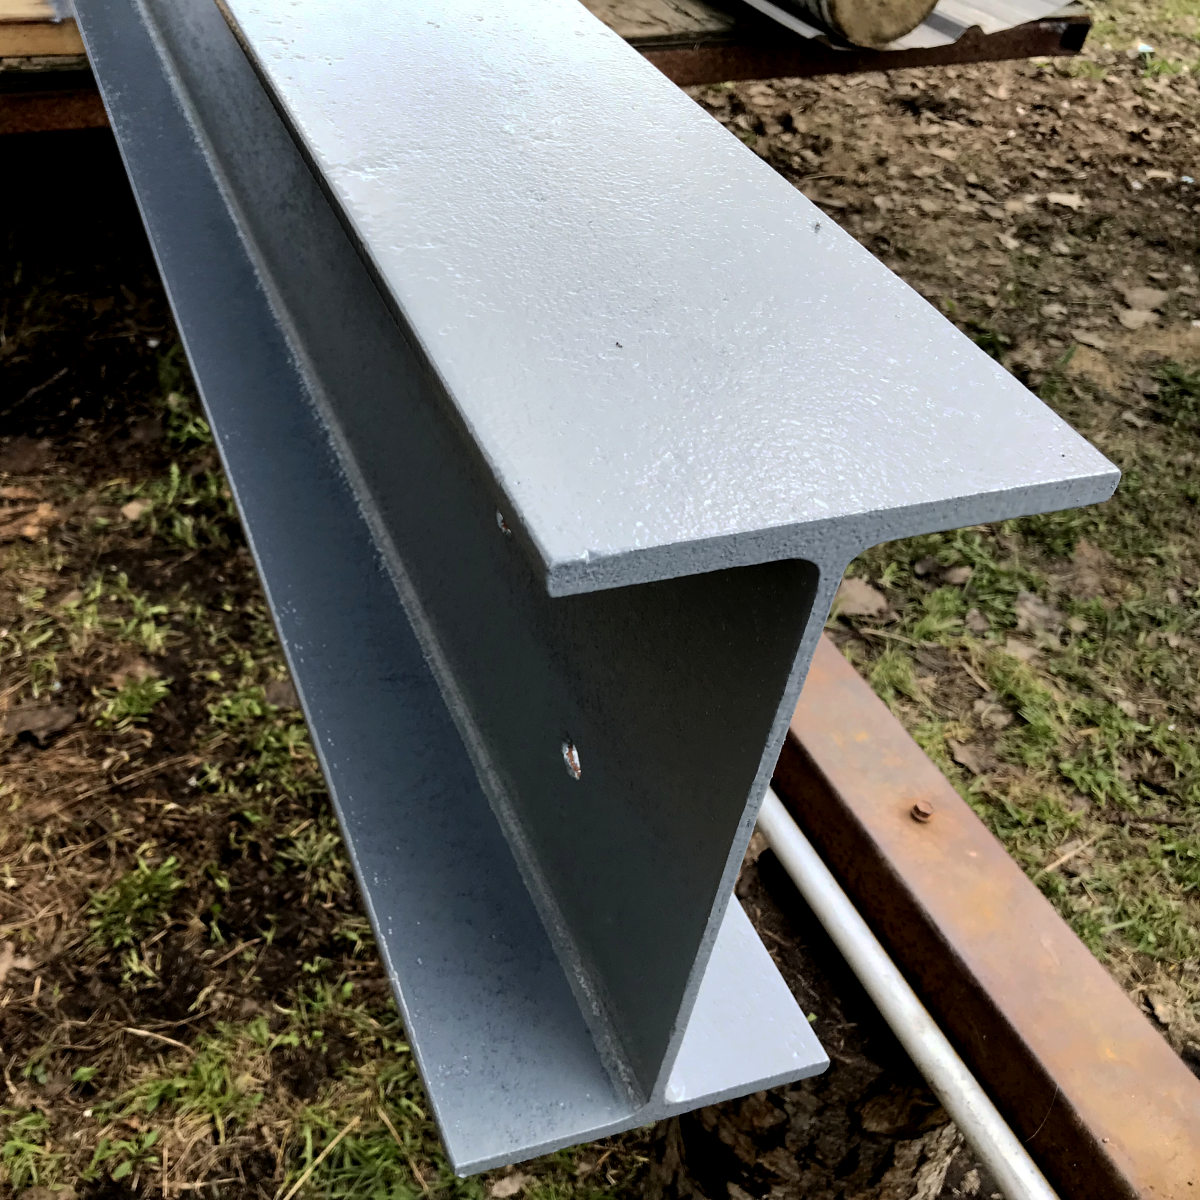
So I used a stiff brush to scrub the citric acid on all surfaces of the beam. I finished off by brushing on a layer of the lacquer thinner – as an oil base it would hopefully prevent rust before painting.

Apparently everyone else who came to the store before us wanted flat black enamel paint, so we went with Krylon Rust Protector Enamel in gloss smoke grey to cover the steel beam. Two coats, no primer required, and the beam was ready for installation.
Water
That giant black container in the hole is the sump pit, to collect and drain ground water. Kent dug a hole in the slimy clay until he found a large boulder. As luck would have it, that was the exact depth the container needed to be. Whew!

With a bit of relief and nervous wonder about how much water would need to be pumped out in a normal year, water began to POUR into the pit through the drain tile and drilled holes in the container. The new basement is a little bit deeper than the old one to accommodate an eight foot ceiling instead of a seven foot ceiling, while keeping the main floor one level. Thankfully, after a few days, the flow reduced to a trickle.
We are also evaluating the drainage around the yard perimeter. There is a drainage ditch at the edge of the yard site, but perhaps the ditch along the road needs some attention.
Concrete
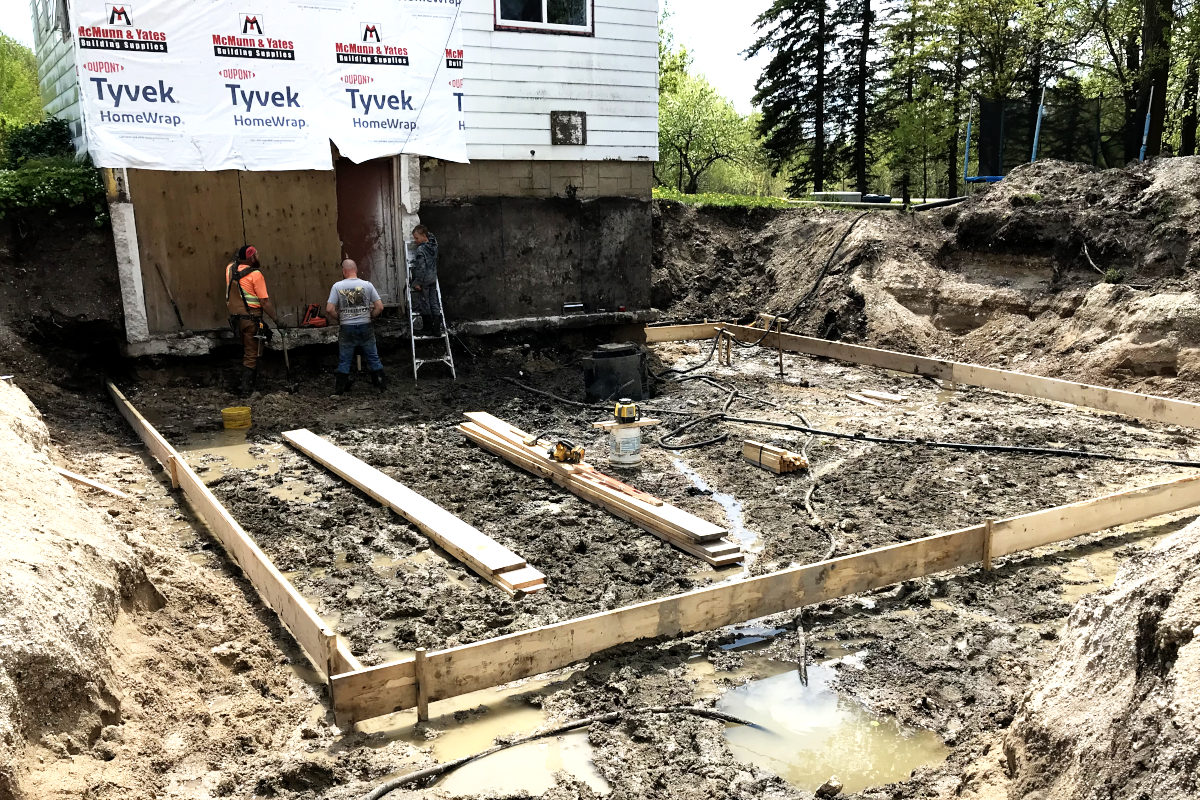
May 22: We hired some help for the concrete work. Footing forms were measured out and set up. A cement pumper truck reaches around the entire basement, making quick work of pouring the foundation footing.

May 24: The same company as the cement pumper sent a stone slinger truck to pour the drain stone in and around the foundation footings. This was pretty cool watching the conveyor belt throw stones all the way across The Hole. My grandma is amazed at all the automation. Just two people – the concrete guy and the stone slinger guy made quick work of the job. It is very pleasant to not have a mud hole down there.
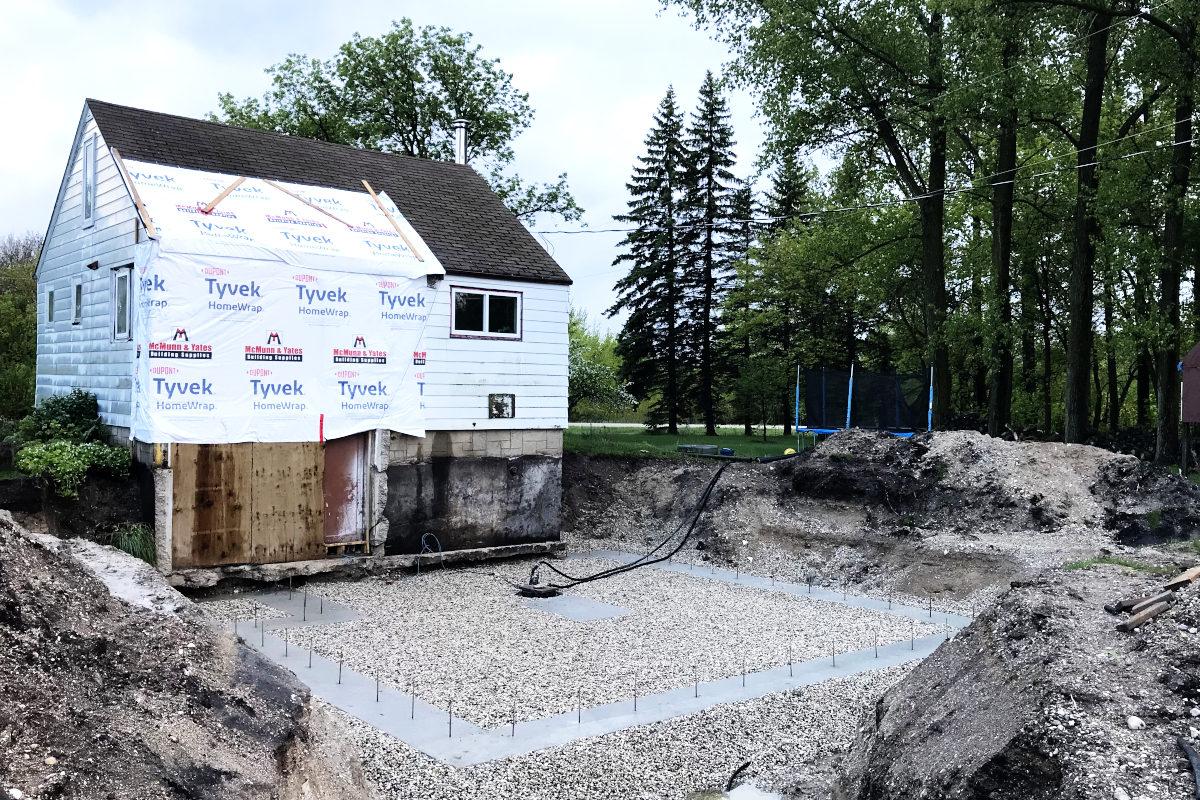
June 1: The basement wall forms climb up in the next few days. Windows are framed out. Laundry is moved to my parents’ house. Thank you, Mom. “And the laundry never ends…”
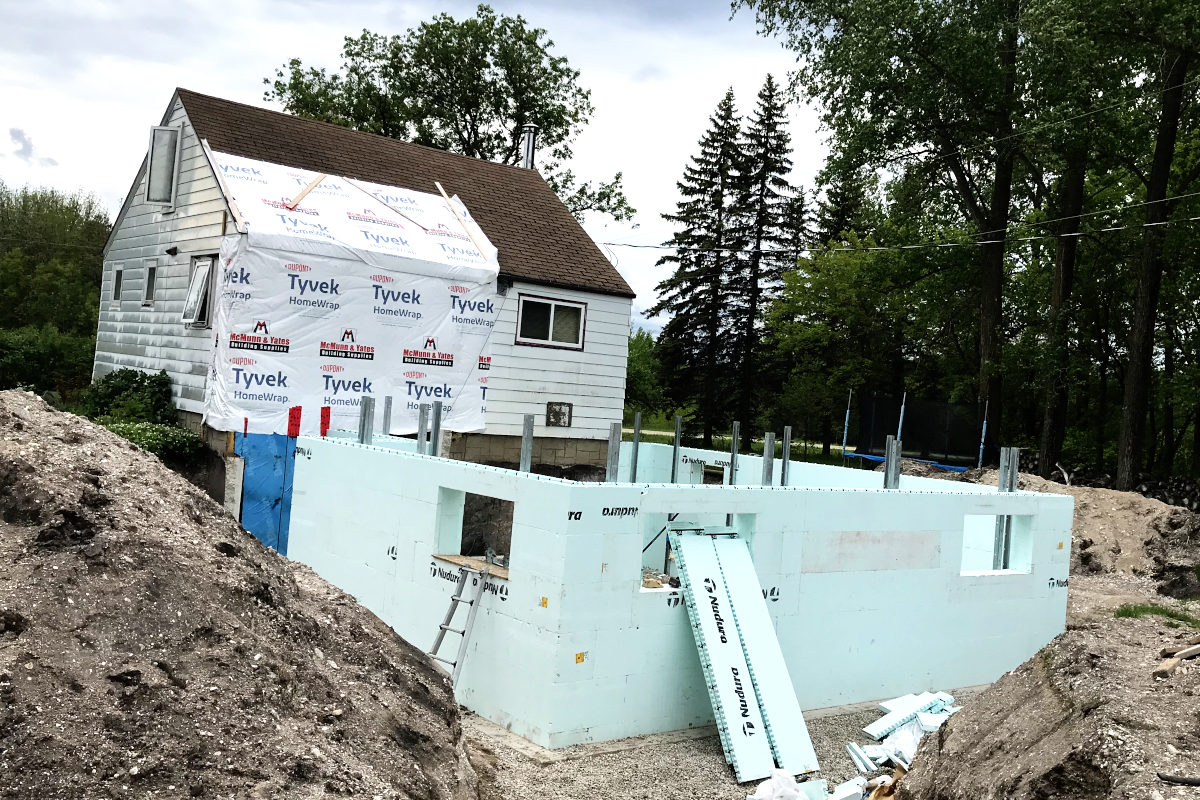
June 5: The cement trucks and pumper truck return. Concrete is pumped into the wall forms. No major calamities, thankfully. The concrete guy did have to get the concrete saw back to cut out a ledge for the steel beam to sit on. Oops, forgot to frame out that bit.
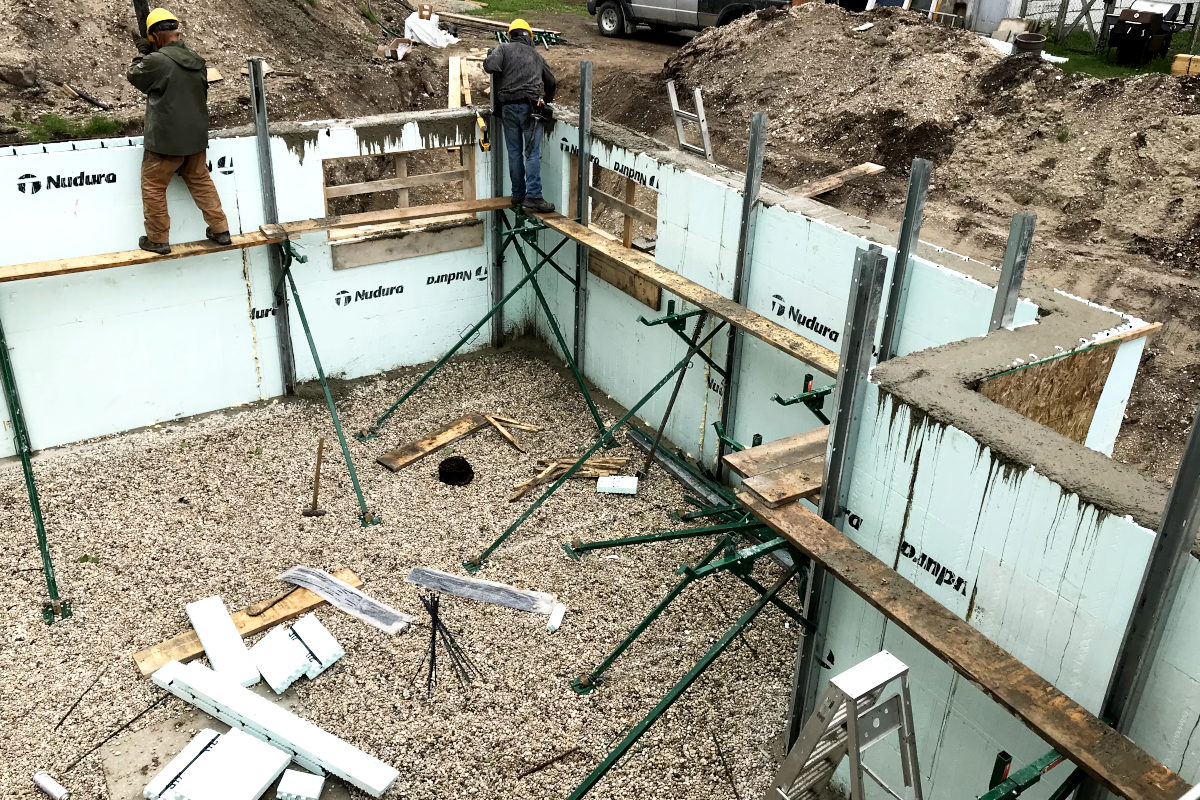
The concrete guy is doing this as a side job, and Kent usually only works on the house after his day job, so sometimes the work seems to crawl along, especially when some work days are only a few hours long. Kent would like to get the shell of the house enclosed as soon as possible to keep out the weather and preserve our building materials. At the same time, it is exciting to see things happening! Stay tuned for more on our old house remodel.

 I'm Erika, I live on eighty acres in the northern prairies of southern Manitoba with my husband and four kids. Here, we enjoy the outdoors and try to be more self sufficient as we try new things in the garden and learn about our land and the world around us.
Leave a Reply