We’ve had several projects on the go in our old house remodel. Check out how we applied epoxy on the basement floor, foam rollered paint onto some doors, and got a concrete paver hearth for our wood stove. Things are getting close to being livable in our addition!
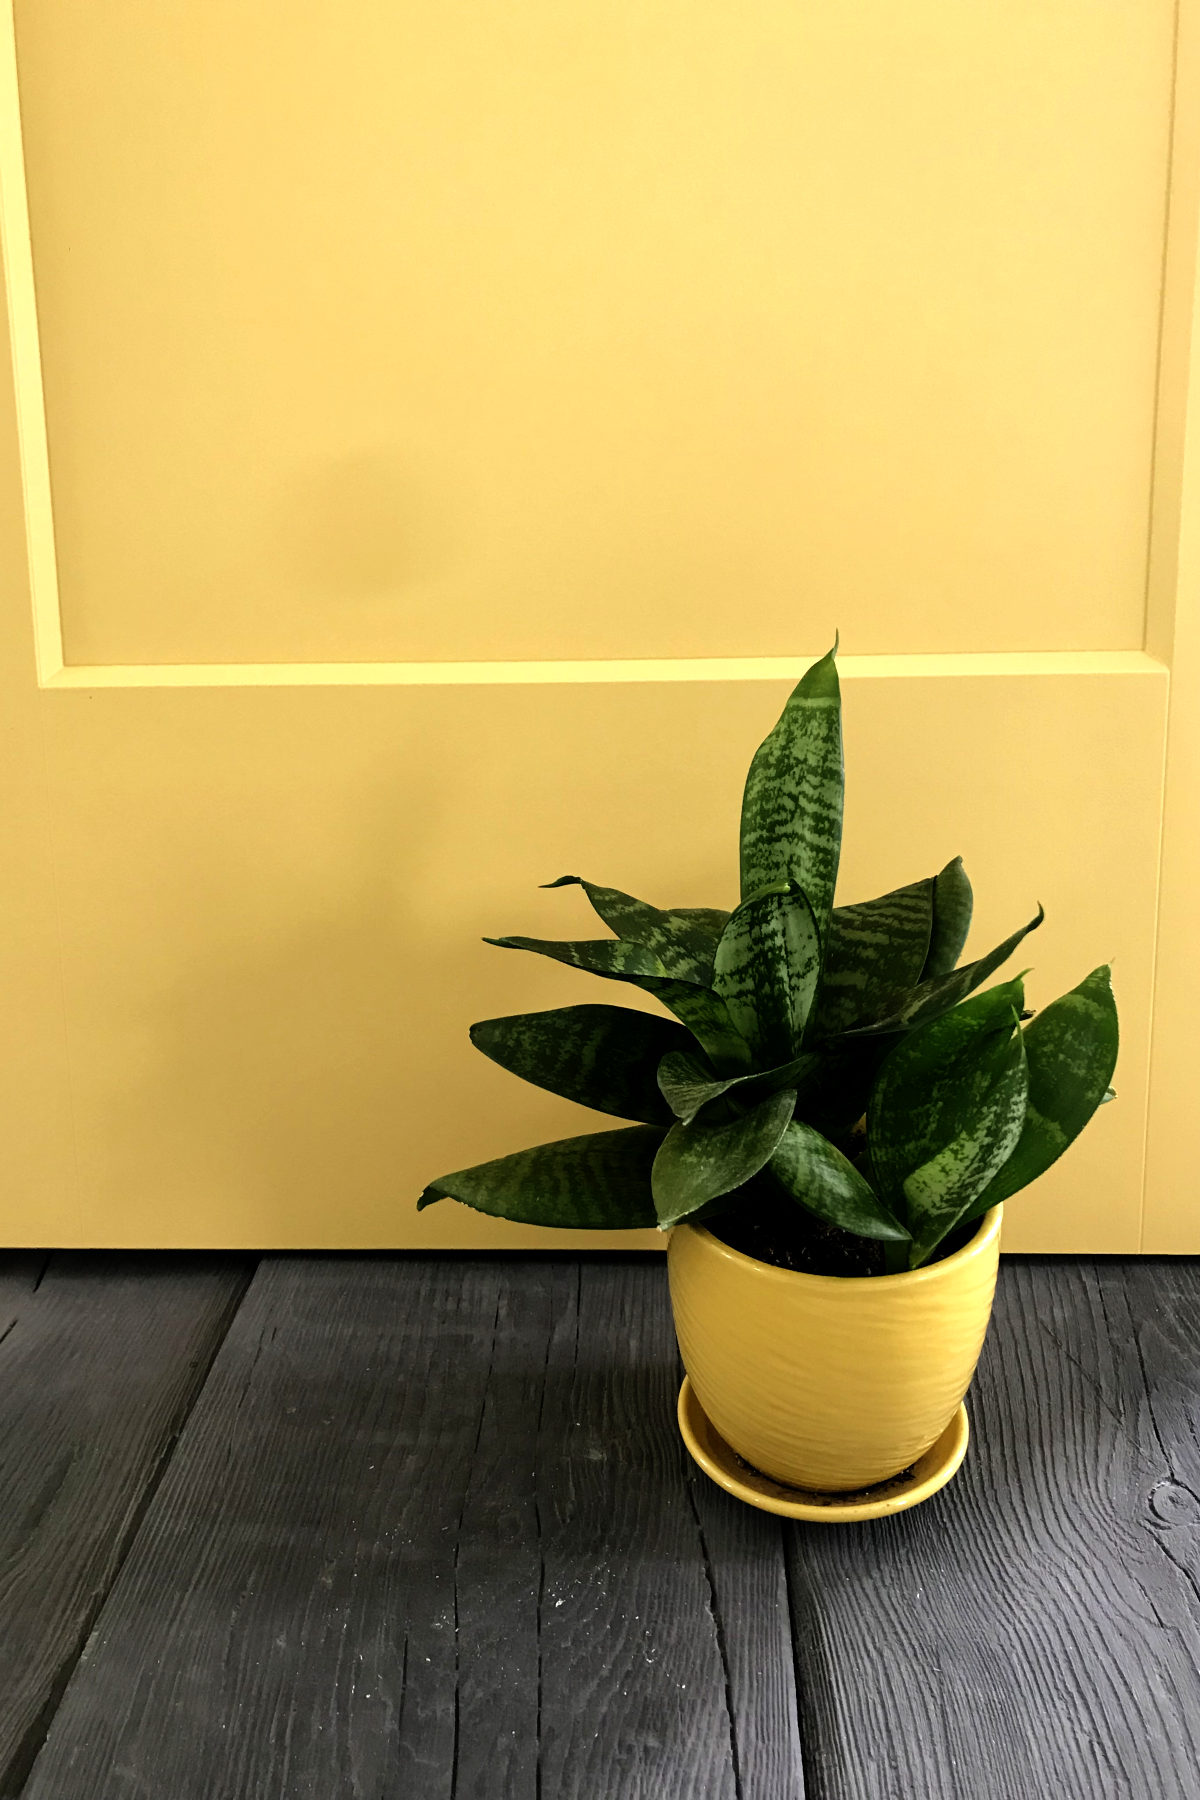
In the meantime, I have started some seeds. The most exciting (and relieving) is my own onion seed that I harvested last year! All the seeds sprouted! The boys have had their bikes out, and have been sailing bark boats in the ditch, although now March is going out like a lion and it is snowing again.
Sealing the floor of the Old House Remodel addition
These days it is a must to seal new concrete floors with epoxy. We did not do anything fancy, just a grey epoxy floor, completed in a weekend.
The first step was to grind the floor. You’d think a new floor wouldn’t need this, but the company we got product from said the only complaints they receive are from people who skipped this step. So we didn’t. Kent ground the floor with a (very heavy) large orbital grinder. It looks similar to the power trowel.
We didn’t grind the little step into the old building, and there are a few spots where you can tell there are some imperfections where the epoxy didn’t seem to bind well with the concrete. So we would agree that following the guidelines to grind the floor is a good idea!
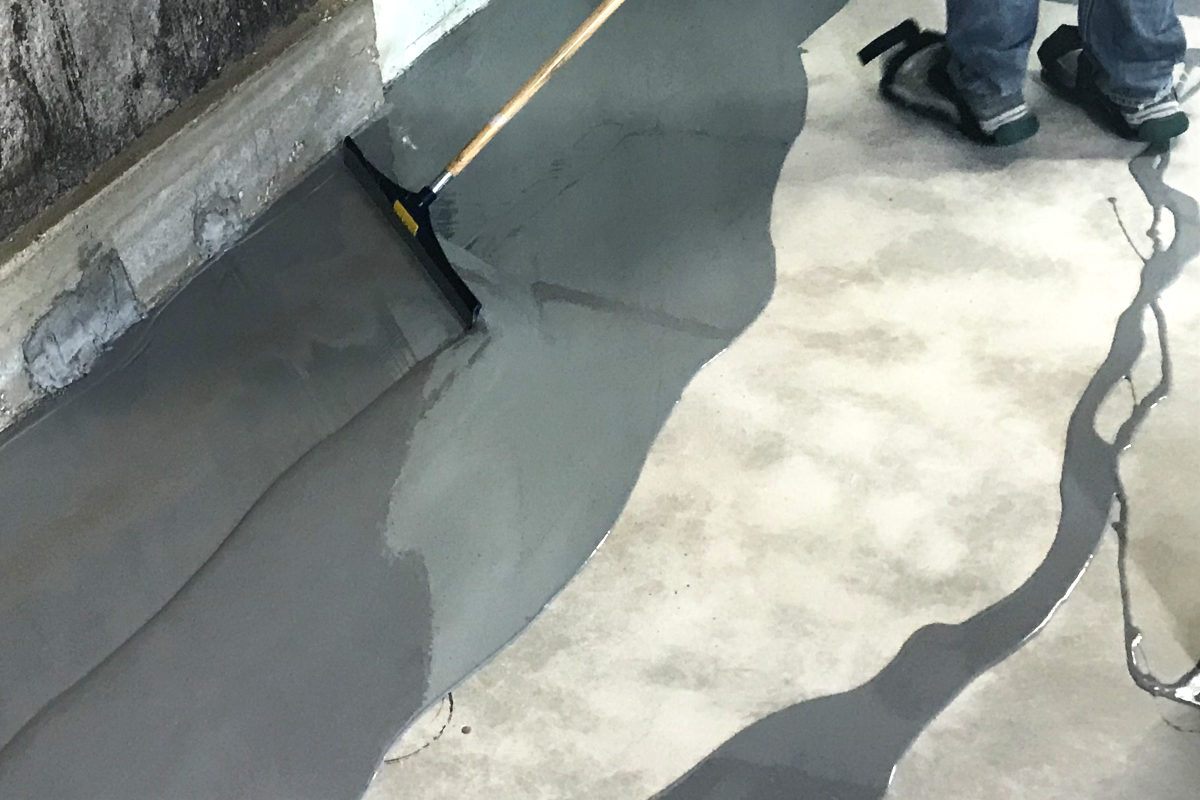
We used a two part epoxy, which has a chemical set, not just a drying set. It is powerfully odorous, but fairly easy to apply, which is good, considering the set time is fairly short, about an hour.
Some videos showed to cut around the edge of the floor with a paint brush, which I started to do, but then Kent got ahead of me, and we found it really wasn’t necessary. Perhaps if you didn’t want to get epoxy on your walls it might be an idea, but at this point, it doesn’t matter to us.
The basic application process is first to actively mix the two parts for several minutes, while your brain cells start to die, and then pour it over the floor. Squeegee the epoxy around the floor. This is a special squeegee that has grooves like a rake to keep a certain amount of epoxy in an area. Then go over the epoxy with a paint roller.
There are special studded platforms to strap to your shoes which allow you to walk over the epoxy, if you don’t trip over them first – a small learning curve.
There were two coats of the coloured epoxy, and then a clear top coat. The floor is extremely shiny, and with just a bit of imagination it looked like we had a swimming pool in our basement because it was so reflective. We could see the walls all the way down to the bottom of our eight foot pool. I almost posted a “no diving” sign!
Of course, nothing is ever perfect. Our hiccup was Asian beetles. Asian beetles are invasive beetles that look similar to lady bugs, and were brought in to combat aphids in the soy bean fields a number of years ago. But I think they like my house better. And I still get aphids.
Initially, when Kent ground the floor, he found Asian beetles that had been buried in the concrete, and now they created little pits in the floor. Then, as he was painting epoxy, beetles would land on the wet floor, and were ultimately buried in epoxy. So there are little random bumps of bugs on the floor.

Overall, though, the epoxy floor is super smooth, easy to clean (though it shows every speck of dust, of which there is a lot during construction), and will save the socks, which is always a bonus with boys running around.
The plan for this area is mainly a recreation room. Currently there are puzzles and Knex down there, and a blanket on the window sill – someone found a new place to read. There will also be a corner room for storage.
In the last post I talked about paint and colour. Since then I also painted the pocket doors for the pantry, which are Benjamin Moore’s Marblehead Gold, a deep, muted, mustard yellow.
I painted them with a 6” foam roller in an attempt to reduce brush or roller marks. The roller package said it works best with thicker paints like melamine, but I was still happy with the results (I used latex exterior paint because I will be painting the exterior doors the same). It was a little tricky minimizing the mark from the edge of the roller (finish with a light handed roll), and it took some getting used to in terms of amount of paint for most smoothness (Less paint in an even application works best).
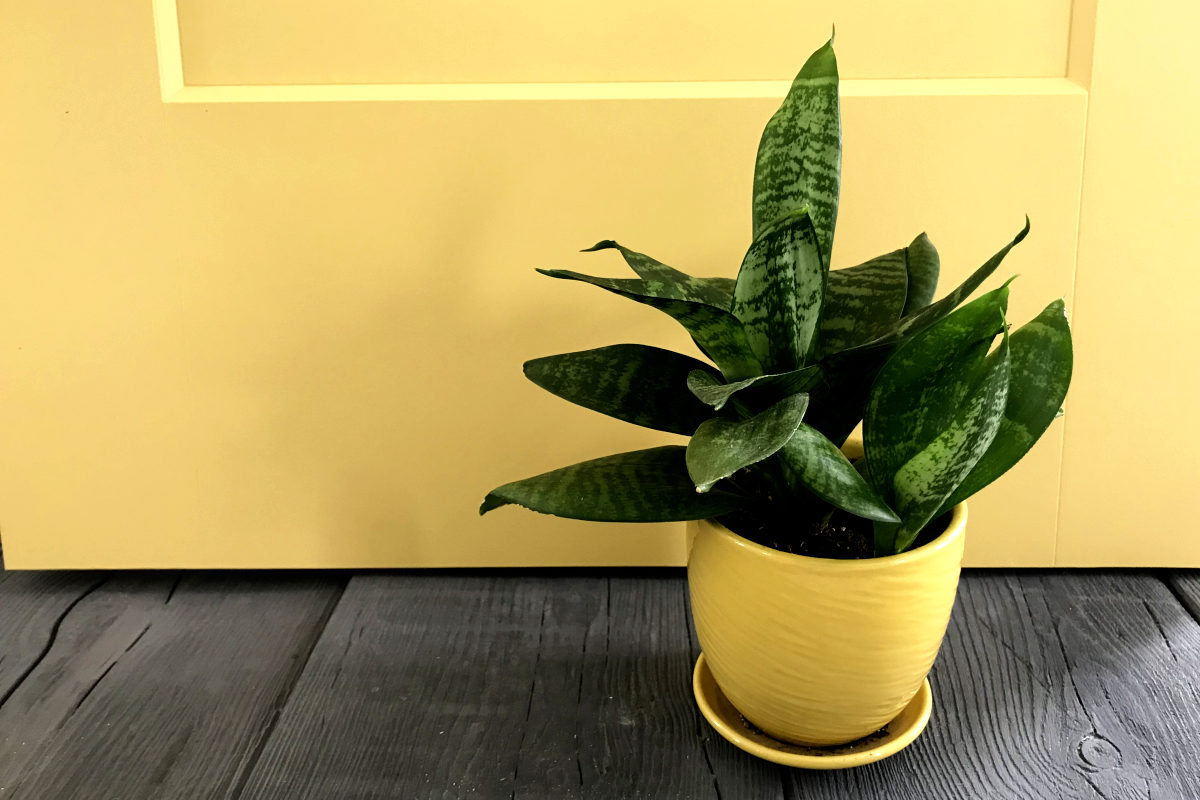
It worked well enough that I used the foam roller on the painted base boards and chair rail as well. The baseboards and chair rail surrounding the deep green on the lower part of the walls are the same Restful Green by Sico, as the wall. I am really liking that colour.
Kent also picked up some concrete pavers for underneath the wood stove. They look like charred wood, and Kent has been looking for a way to use them ever since he saw them. Some people, while walking on these pavers in a display could not believe they were not wood. They are unique looking, I’ll give him that.
I voted for a lighter brick, but the ones available were made to have mortar in between. These wood looking pavers do not need mortar. But since the bricks do not need mortar, they need metal sheeting underneath for wood stove rules. We had some metal leftover from the roof, and could utilize that.
Slowly but surely we are making progress on the old house remodel addition. There are lots of finishing details, the flooring, and one day maybe the electricians will be back to finish the lighting. Until next time…
You may also enjoy these related articles:
80 Year Old House Remodel 5 – Raising the Roof
80 Year Old House Remodel 6 – Floor Plan
 I'm Erika, I live on eighty acres in the northern prairies of southern Manitoba with my husband and four kids. Here, we enjoy the outdoors and try to be more self sufficient as we try new things in the garden and learn about our land and the world around us.
Leave a Reply