Working on the roof, finding more old stuff, is all in a day’s work at our 80 year old house remodel. And I finally reveal the floor plan for the renovation and thoughts behind the design process, here on the blog.
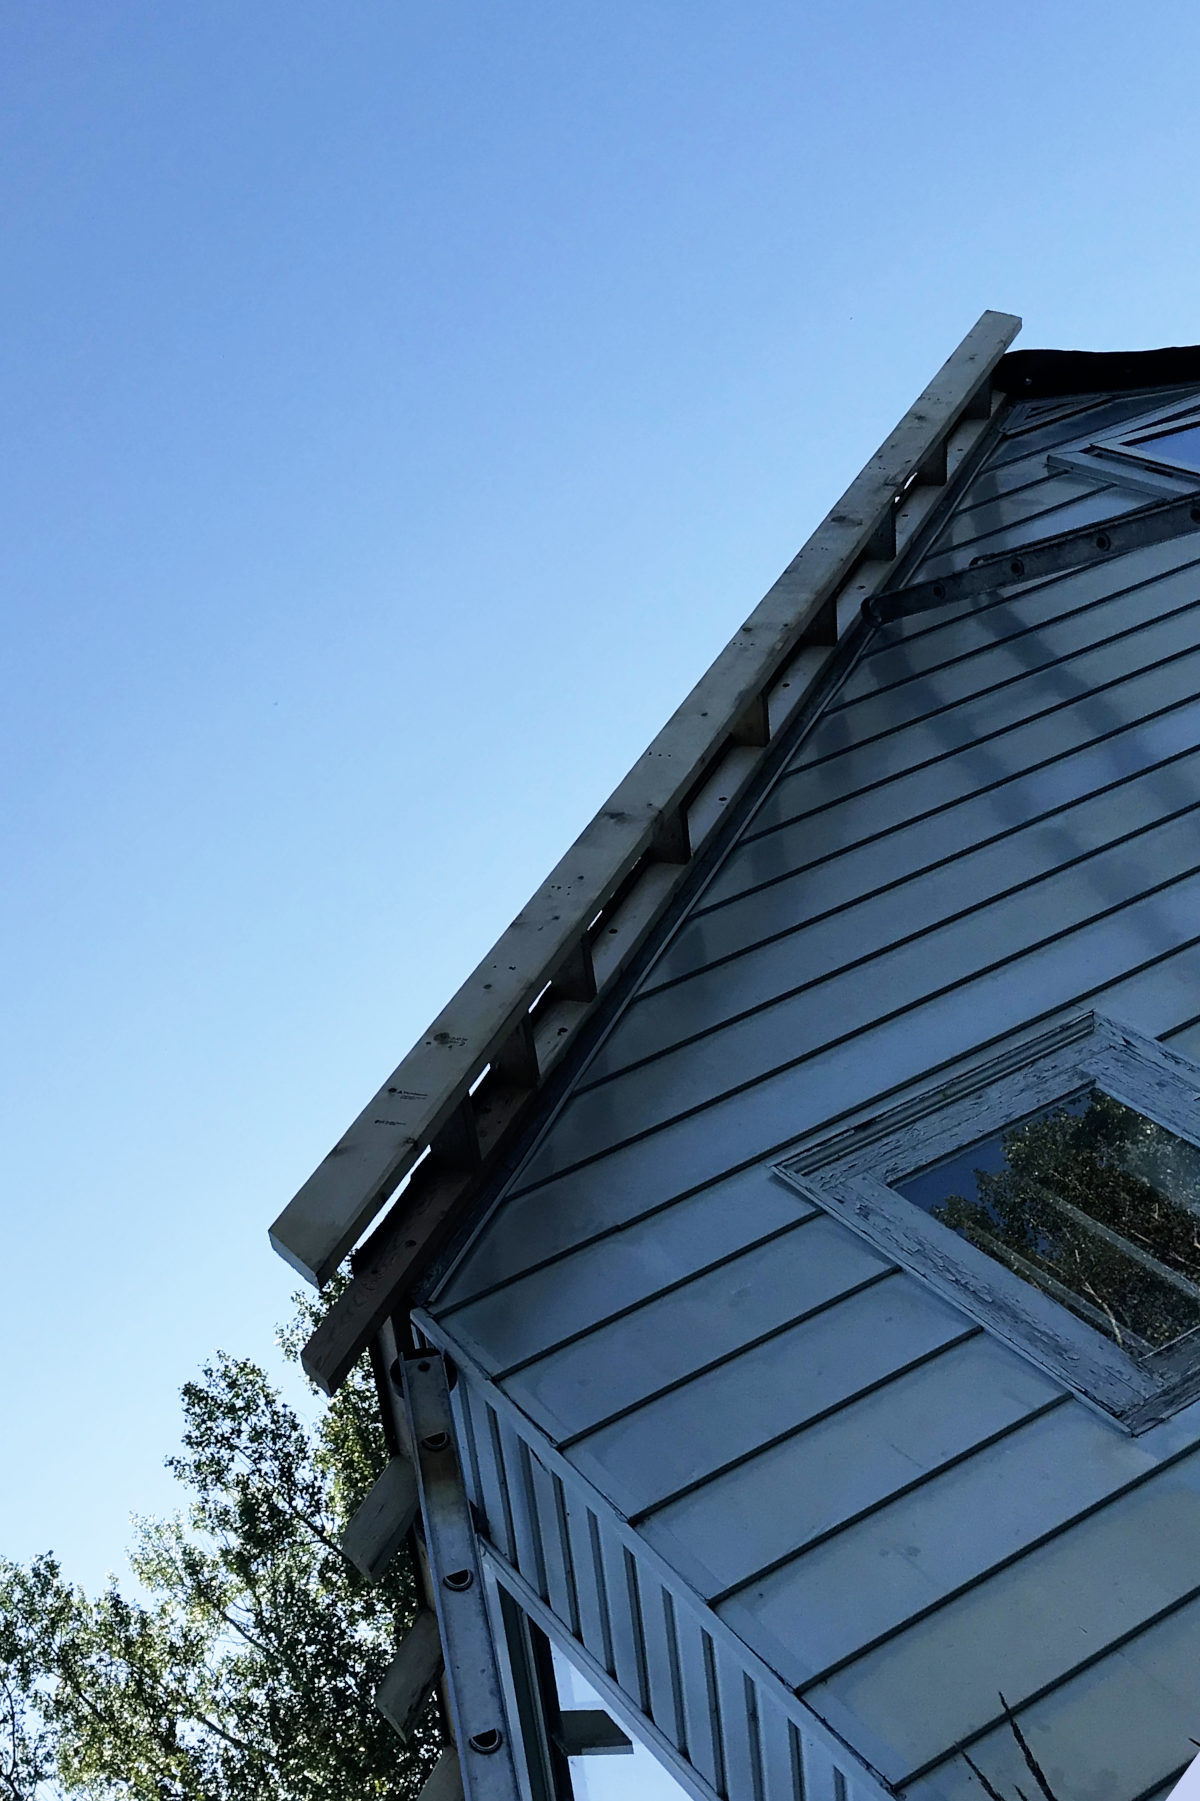
We are getting very close to having the roof water tight on the old house remodel. All the nitty gritty details of attaching an old house to the new addition take time with seemingly little to show for it. Don’t forget to add one more downpour before then…
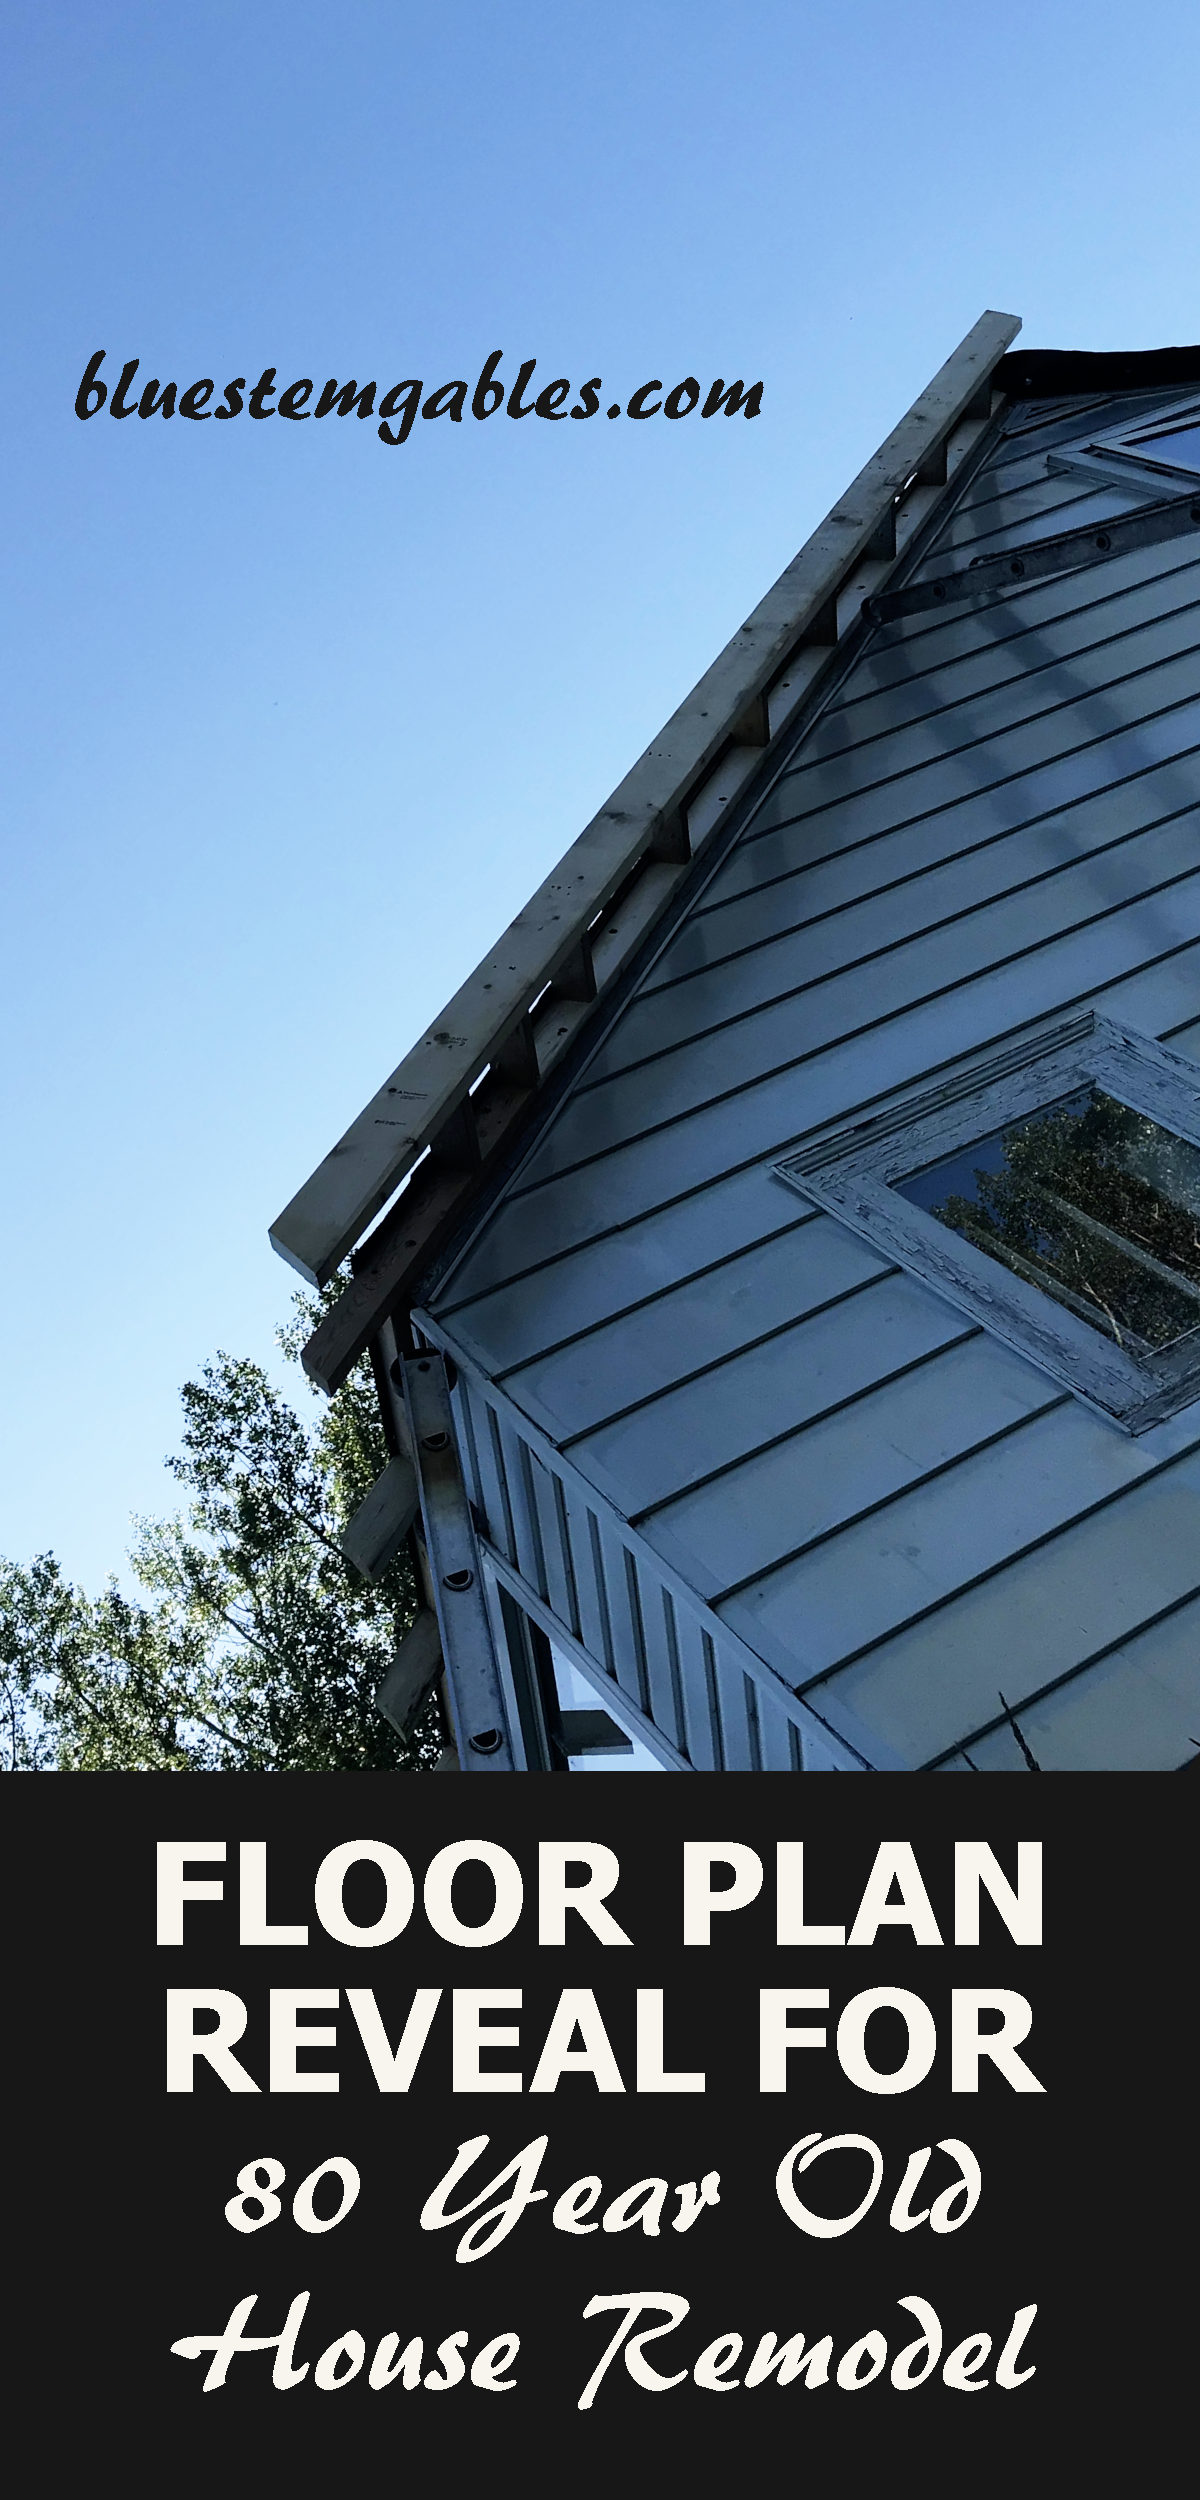
Roofing for our 80 Year Old House Remodel
With the eaves extension, however it is easy to tell that it will look great, so much better than the war/post war money-saving look of no eaves. It will be nice to keep the rain off the windows and walls as well – an extra insurance against moisture.
These eaves extensions are one foot wide. The reason for that is that any longer, and the roof would have to be cut back so that the rafter extensions could be more securely attached to the old roof. Now they can just be toenailed in on the end.
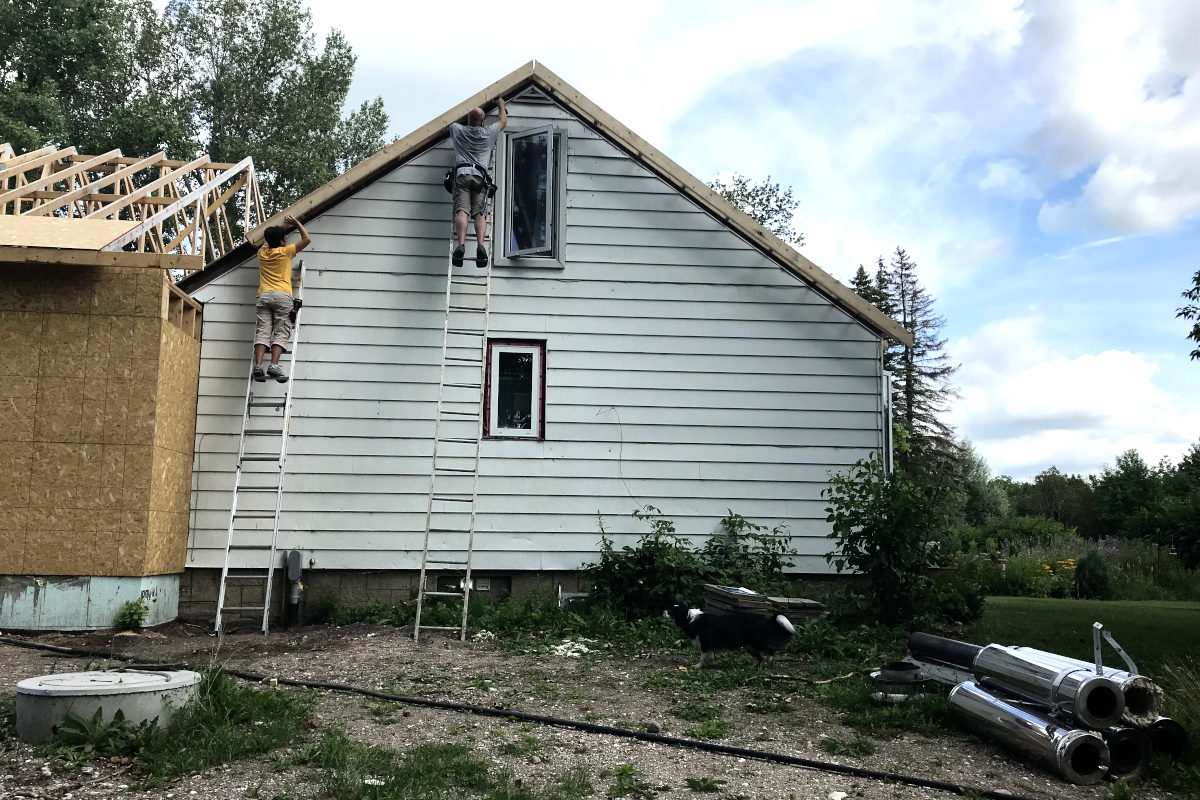
There’s no workout like real work. Up the ladders we go. I hate ladders. What we do for the things we really want…
Now it’s time to attach the old roof and new roof! We seem to know a lot of people in the construction industry. A friend came to loan his brains and brawn to build the rafters to attach the two together. That went very quickly and smoothly one Saturday, done before noon!
These construction people can be meticulous in their terminology. Trusses are the webbed framework of modern roofs, and rafters are boards that run from the ridgepole on the roof peak down to the walls. That’s my understanding.
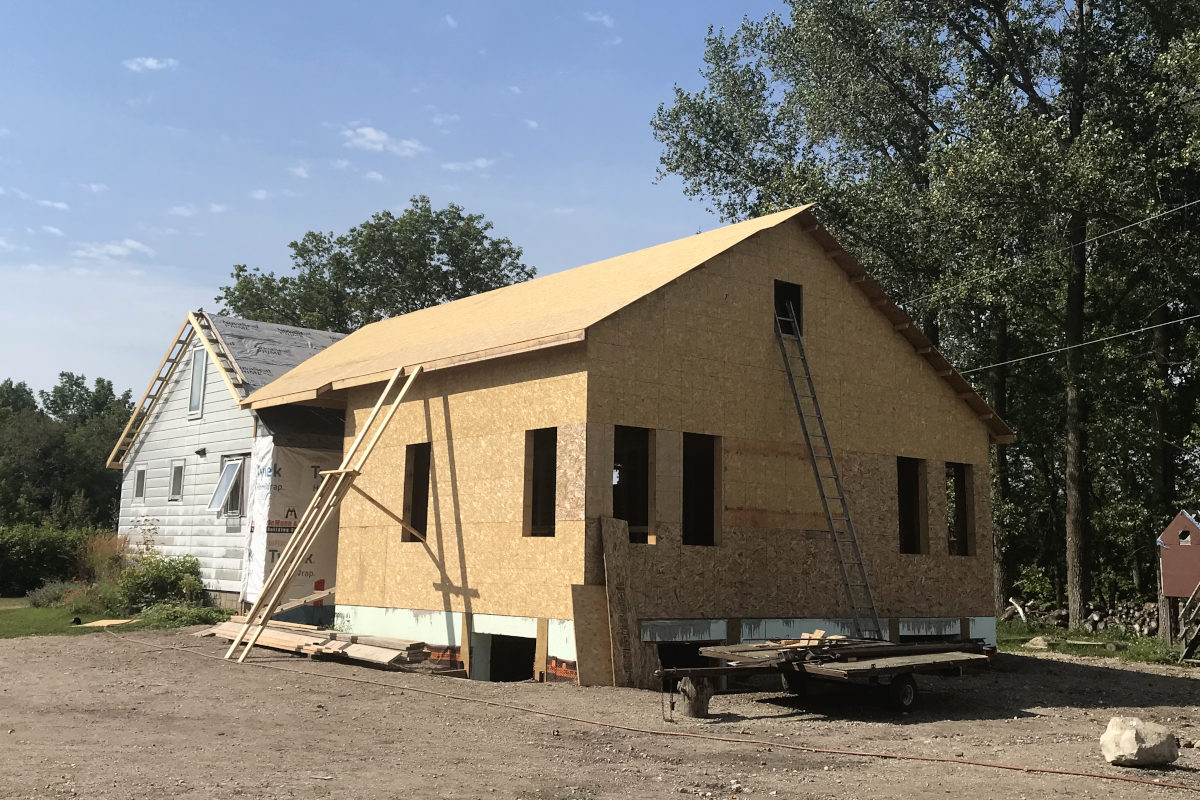
With all the trusses and rafters in place, roof sheeting is applied. The addition has a slightly less angled roof than the old house, but apparently still able to produce painful feet for those not normally involved in roofing. Not mine. I’ll stay off the roof, thank you.
You would think with sheeting on the roof it would start to become more water tight. Not so. It hadn’t rained for the last month (back to watering the garden) – quite the contrast to the wet weather we experienced earlier, but now we got it.
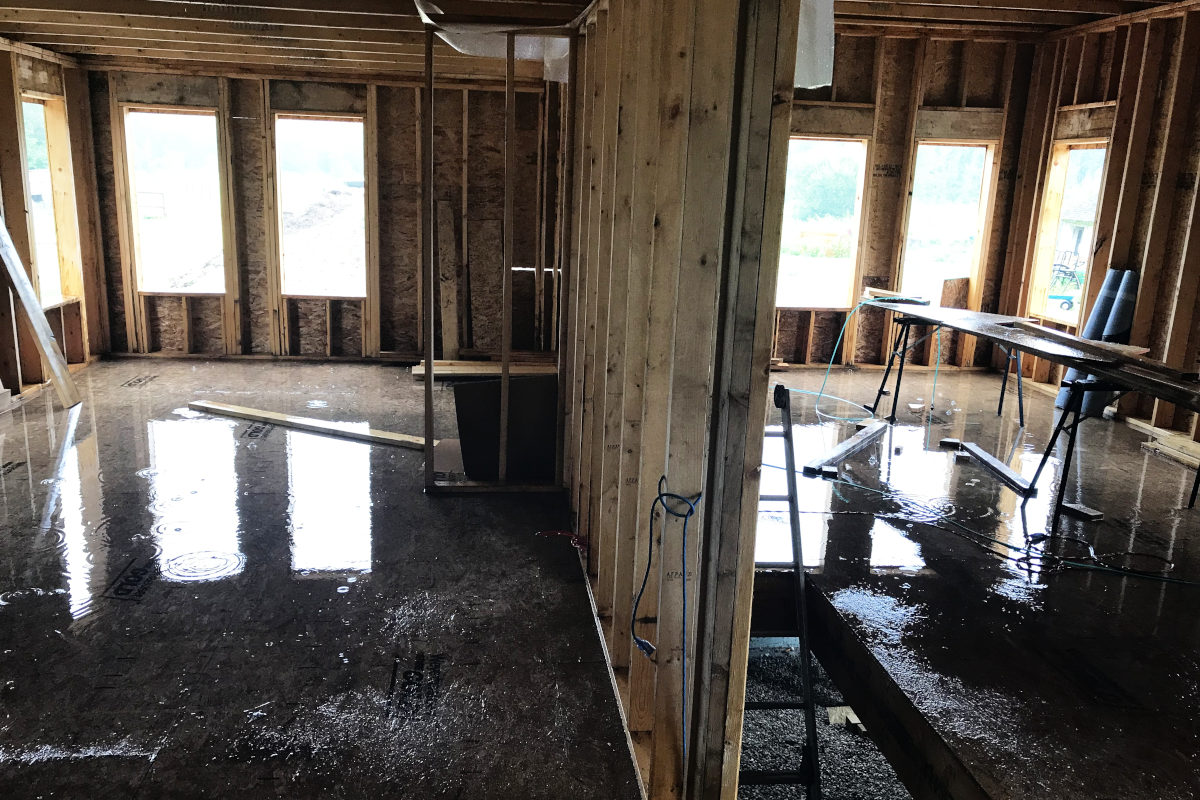
As they say, when it rains it pours. I guess we needed one more downpour before waterproofing the roof. The ground was wet for over a week!
I put the squeegee to work again, and the floor was still wet for several days. Now we are extra thankful for a watertight roof.
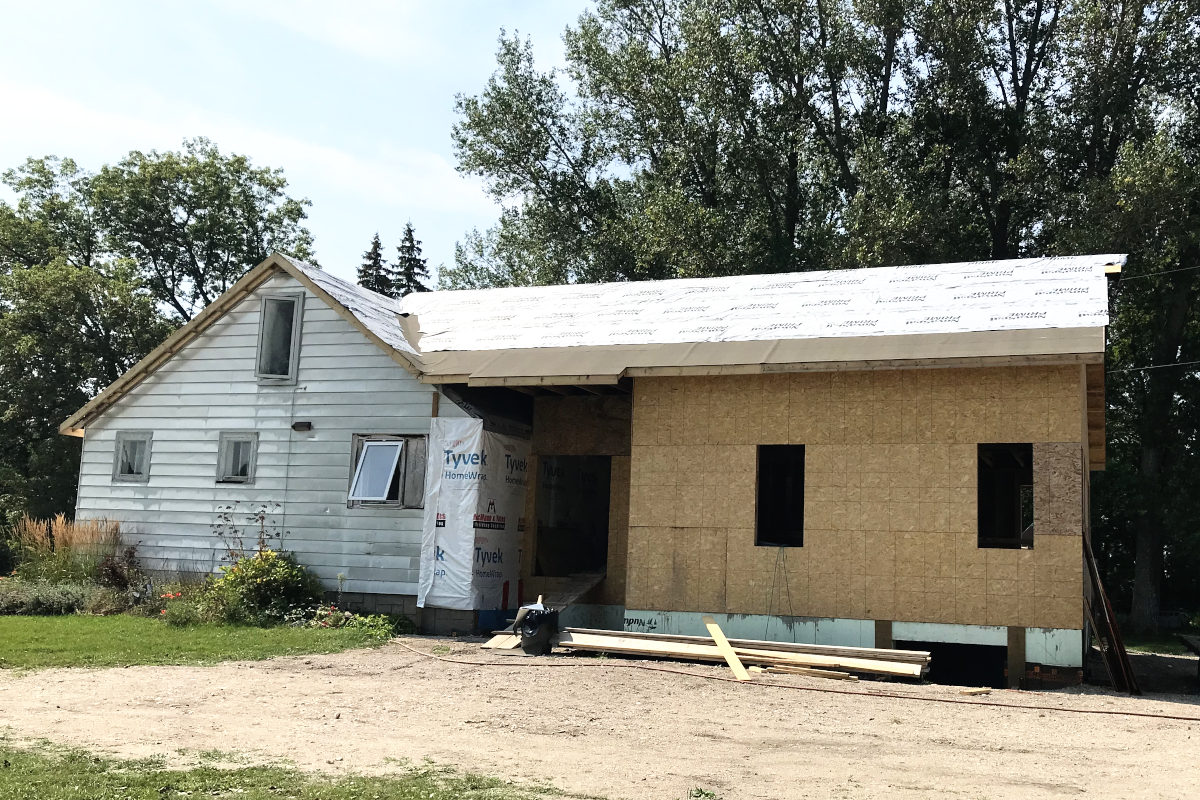
Ice and water shield makes up the layer on the edge of the roof and in the valleys, and synthetic wrap covers the rest of the roof. It’s all an extra layer of insurance against moisture. Déjà vu, anyone?
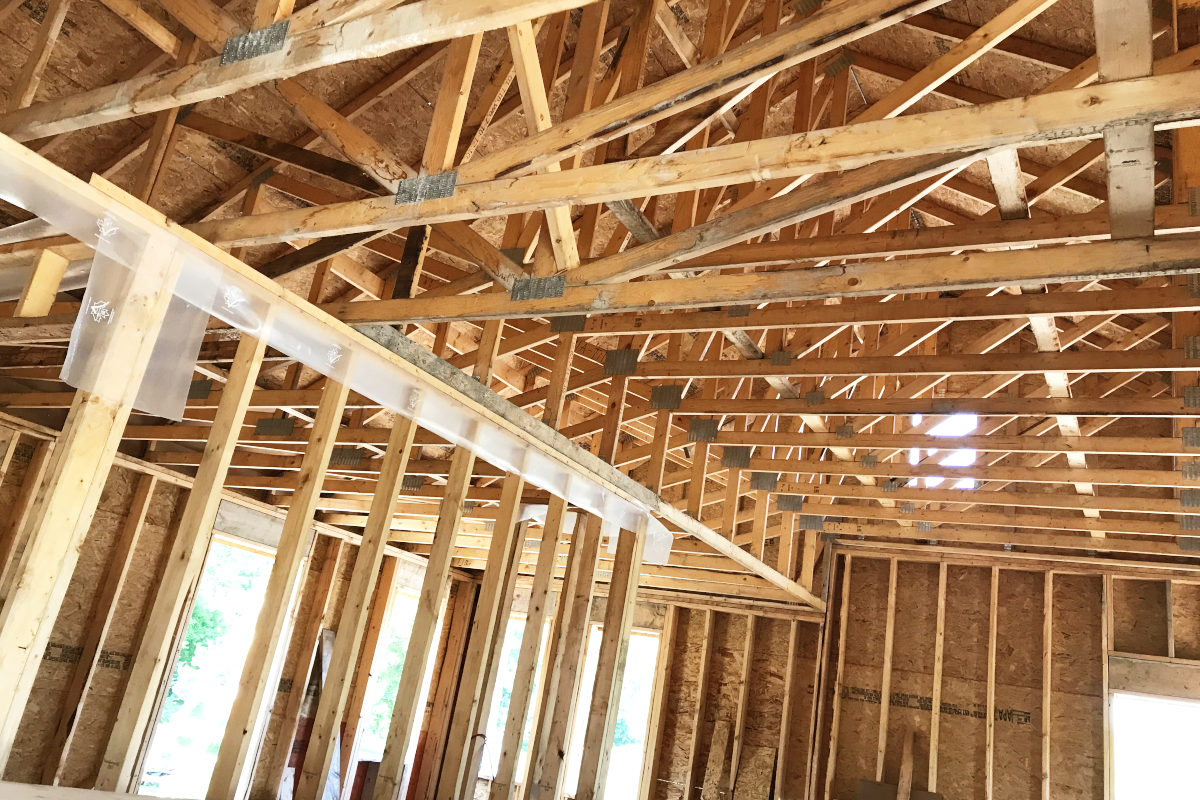
On this picture you can see the ceiling of the living room climbing to ten feet. The dining room and the entrance where the camera is standing, which are both next to it, are eight feet. That might actually be strange for us because the old house has ceilings that are eight and a half feet high.
In the last episode of the old house remodel, half of the hill of dirt and gravel from digging the basement was taken away, so now all those smaller hands that like to dig around, found more old treasures.

We have a lot of limestone in southern Manitoba, which is great for preserving fossils. So some children found shell fossils. They also found sparkly spotted rocks (not just granite), and cool layered rocks with sparkles. Of course, there were old farmhouse finds like a green swirly marble, a creepy headless doll, and if you need canning supplies, just look in the gravel pile where they found some glass canning lids for Gem jars. (I still have a few.)
Now, I know some of you may be wondering what this old house remodel is going to look like. Here is the floor plan! The plan is made up of two squares. The smaller square is the old house, and the bigger square is the addition.
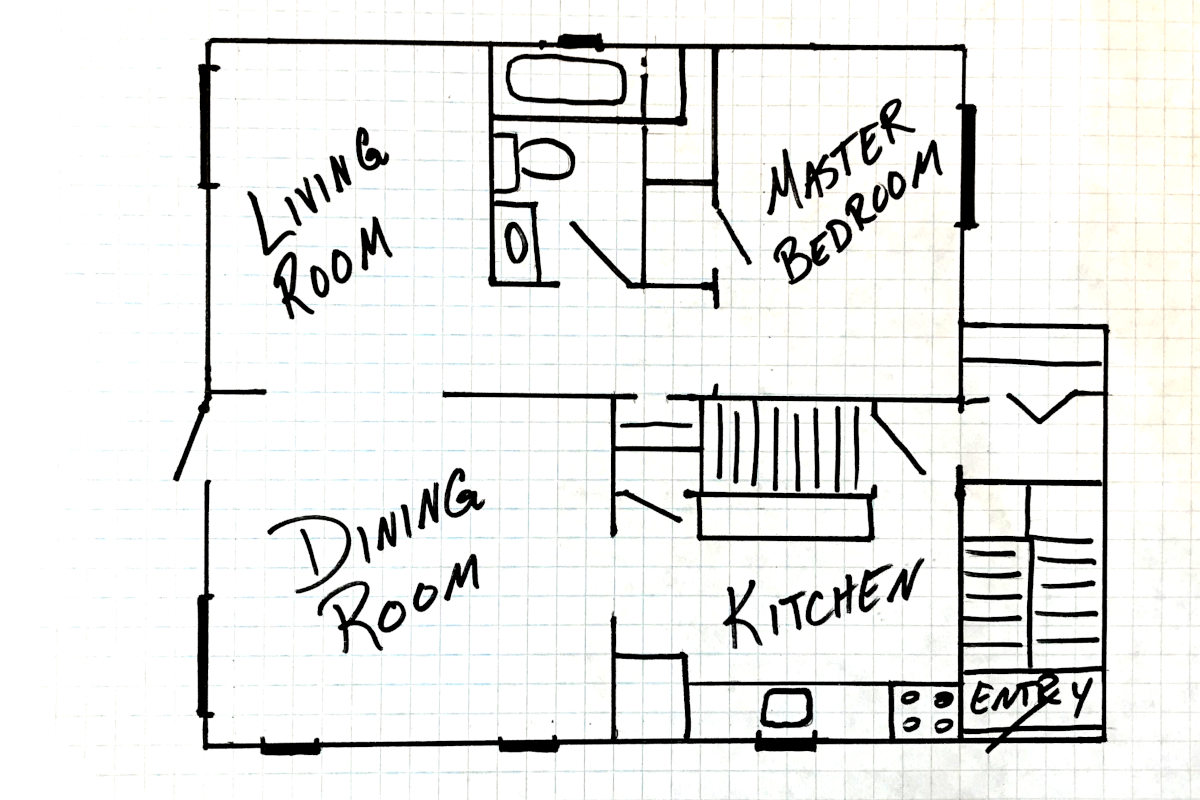
The old dining room will become the master bedroom, and the living room will become the en suite and closet. The old master bedroom will have a hall running through it, attaching the addition to the old house, and the remainder will be a small office. The old kitchen will become a mudroom.
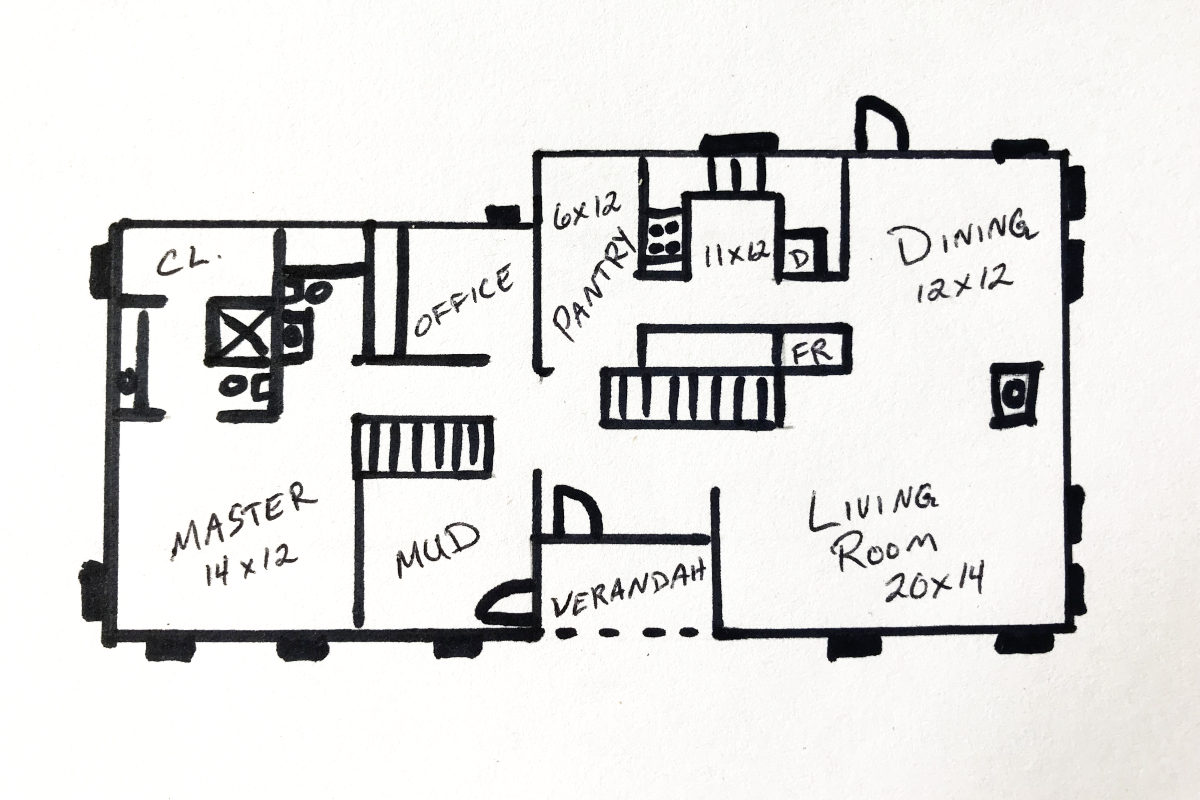
The addition will house the main living areas, including the kitchen and pantry, dining room, living room, stairs and entrance. The master bedroom, kitchen/pantry, mudroom (versus the old entrance) and living room will all roughly double in size. That will make a huge difference for our family of six!
At one point in the design process the stairs got moved toward the living room for ease of circulation in the hall. So immediately I noticed that we should have a second door in the pantry, so that groceries could be brought directly there without going through the living room.
The pantry might be the most looked forward to room in the addition. Currently I have various nooks and crannies in the basement that serve as pantry space. Now, all that can be in one space, next to the kitchen. (However, I may need to figure out a new place for cold storage for things like pumpkins and potatoes. But that’s for another time.)
The kitchen is hidden from the entrance, and is NOT a walk through kitchen (there has even been a mumble to add a lock to the second pantry door!). So someone coming in at dinner time will not be immediately accosted with the sight of a cooking mess.
I like the triangle layout of the kitchen, dining room and living room, so that it is not one long room. The dining room can also be extended into the living room in the event of an event. This was definitely a consideration in the design.
In the Old World, entrances used to be made so low you had to duck to get into the dwelling. It is said that part of this was a forced act of humility upon entering one’s domain. Our entrance will not be quite that compact, but the ceiling will be a mere eight feet, and I have other design ideas that will make it nice and cozy.
The entrance will not have a soaring ceiling to get lost in the depths and invoke awe, but hopefully be big enough to be able to enter without having to swivel around awkwardly to close the door without falling up or down the stairs (like the old entrance), and still be cozy and comfortable.
From there, (barring an urgent trip to the water closet) people enter the living room where the walls and ceiling open up immensely. They will also be drawn to the view out the windows in the far corners, making the space seem more expansive than it really is, because, in fact, it’s not particularly expansive at all. From our perspective, we are going from almost tiny living to average, family sized living.
So, hopefully I’m not giving too much away from the resulting experience of walking through the new addition in our old home remodel, but maybe it gives an idea of where we are coming from, and what we hope to achieve in this endeavour. Till next time…
You might like these other editions of this Dear Old House Remodel:
80 Year Old House Remodel – 5 Raise the Roof
80 Year Old House Remodel – 2 Demolition Begins
 I'm Erika, I live on eighty acres in the northern prairies of southern Manitoba with my husband and four kids. Here, we enjoy the outdoors and try to be more self sufficient as we try new things in the garden and learn about our land and the world around us.
Leave a Reply