This article is packed with everything on finishing wood, from wood conditioner and wood bleach to stain and polyurethane. Join me on the nitty gritty journey of finishing our trim for our old house remodel addition.
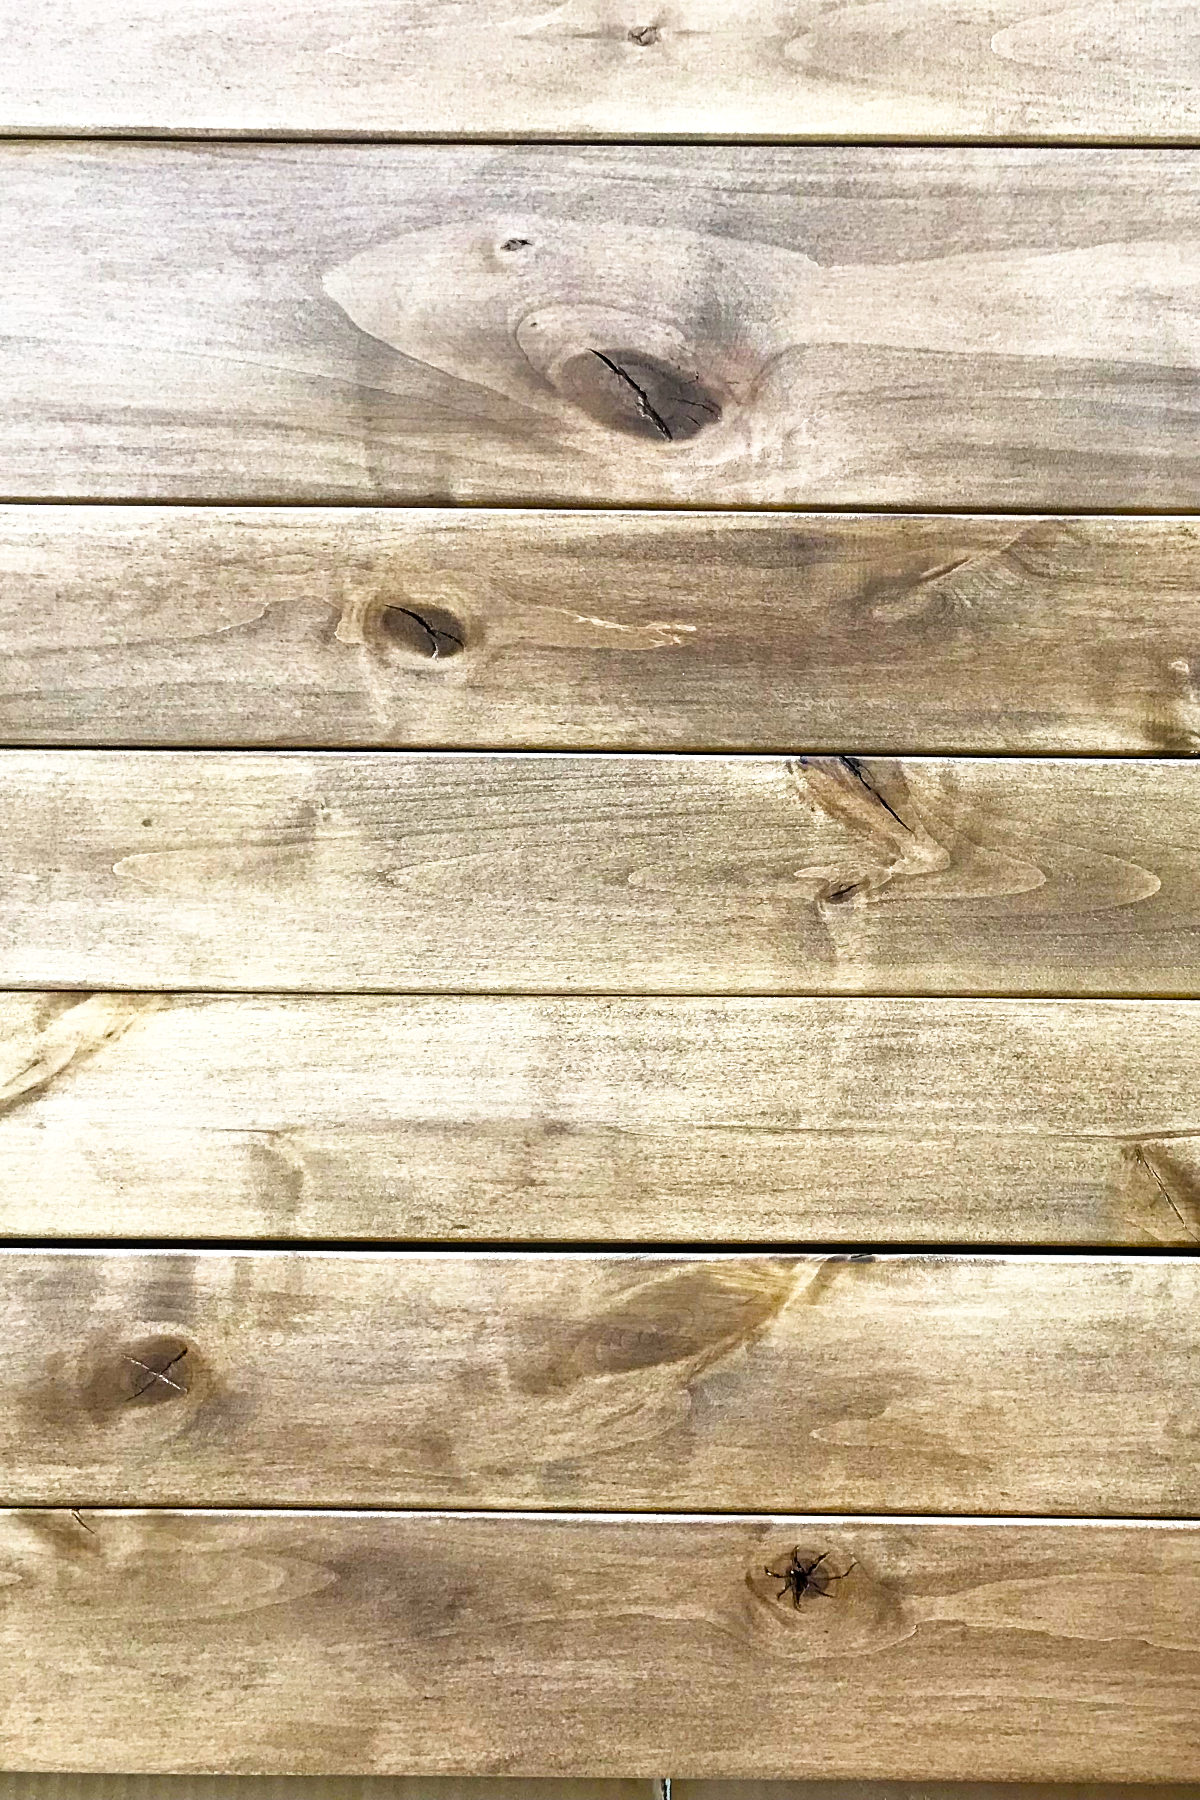
I have completed a bunch of projects involving finishing wood, including building coffee and end tables, a bench, and bunkbeds, replacing side table tops, and re-imagining an entertainment unit as a homeschool bookshelf with an oak top. So finishing a few boards for our addition should be easy peasy, right?
Finishing Wood Trim
One of the differences from all those projects, was that the baseboards and casings needed to not clash with the flooring. So getting the right colour was a priority.
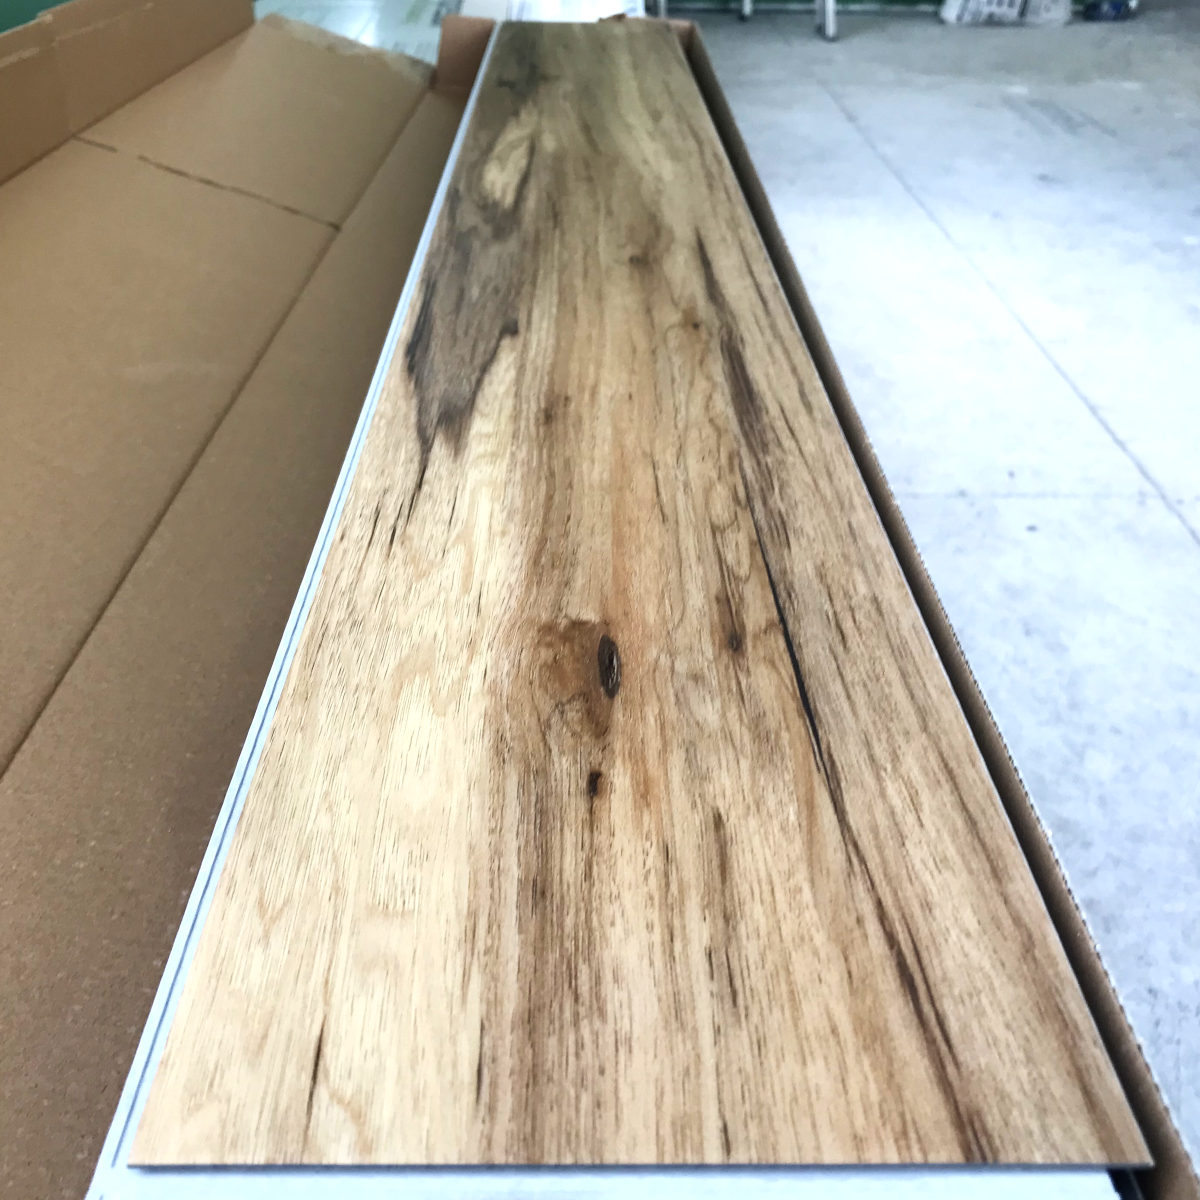
Now, all those pictures on pinterest comparing colour stains, well, they’re a good start. But there are a lot of factors that differ from person to person and post to post. The lesson here? TEST to make sure you have what you want.
Lots of samples are done on oak, which is a dark hardwood. Most of my projects are done with pine, a yellow softwood, which is cheap and available around here. My hubby brought home alder, which is sometimes called poor man’s cherry. Pink. Me and pink? No go.
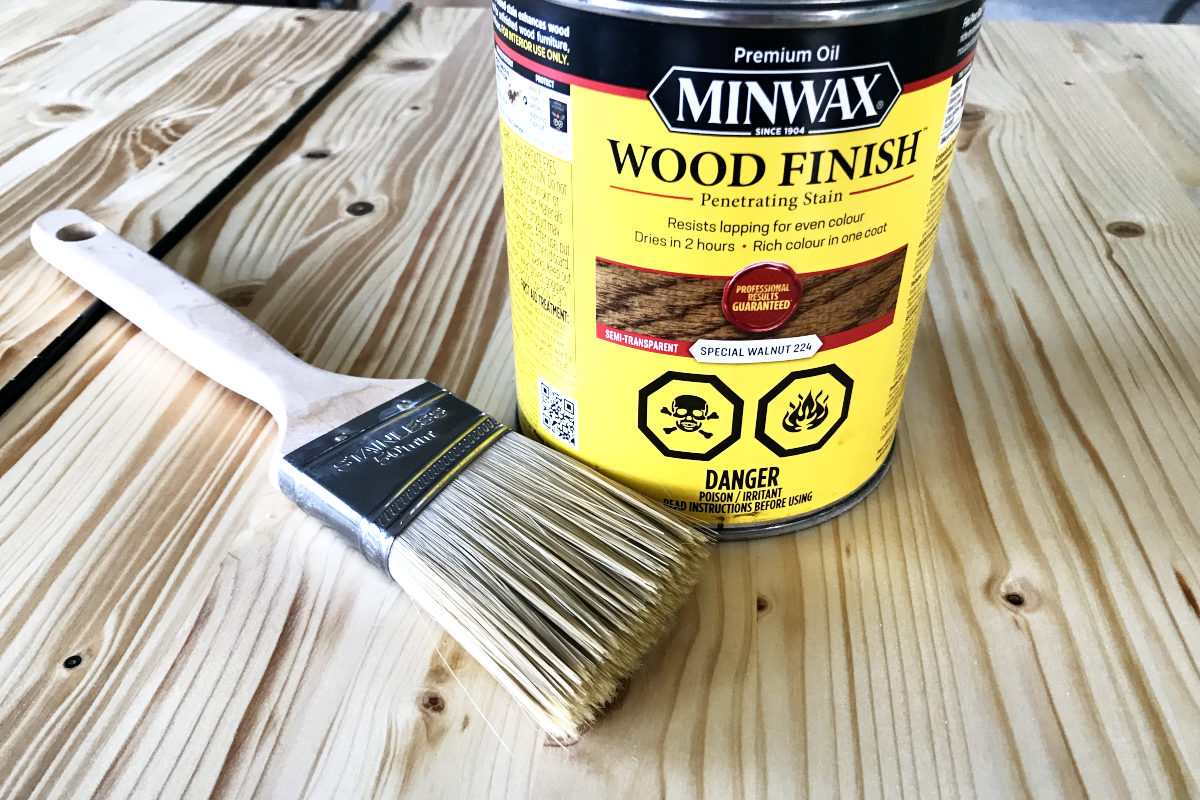
One online sample on pine inspired me to get a can of Minwax Special Walnut stain. Besides variances of computer screens, this gal, I suspect, did not sand her board, which contributed to the stain absorption. Her’s came to a light brown, making the wood look nice and rustic.
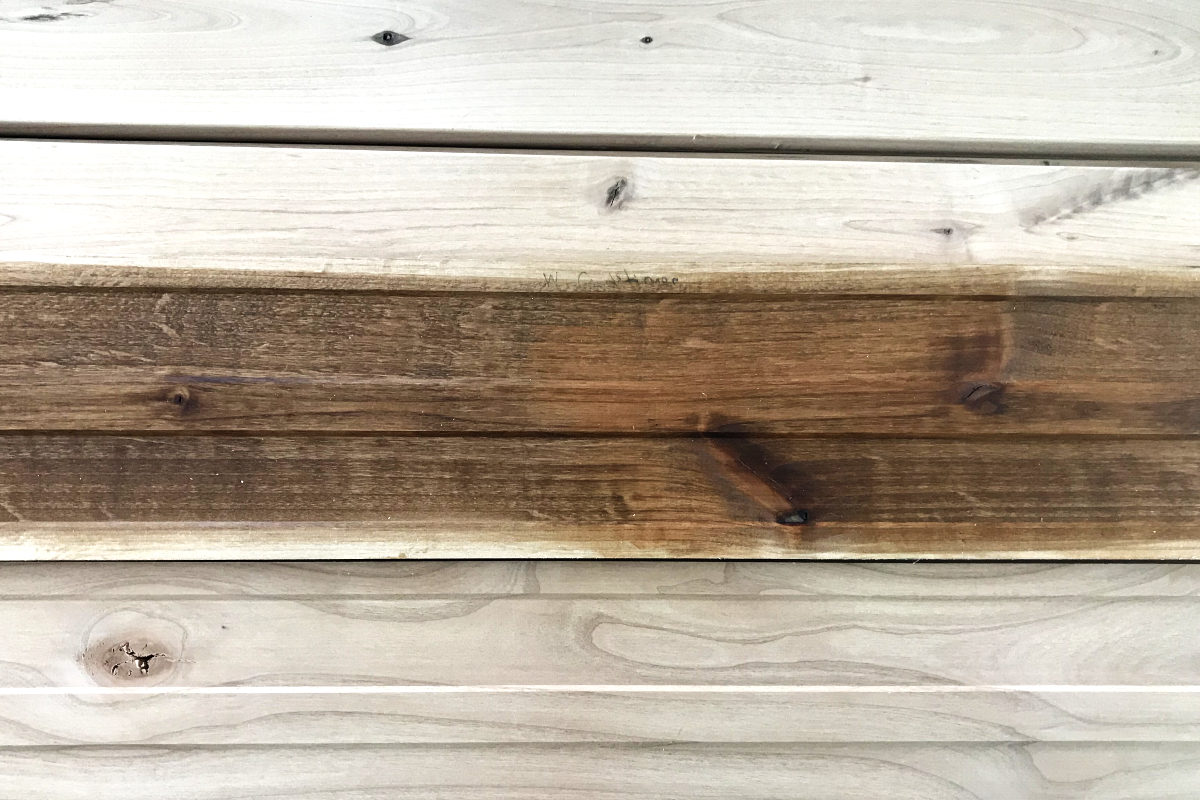
When I tried Special Walnut on the alder, it became very dark and rich. Some places recommended a wood conditioner for alder. This is supposed to even out the stain, preventing blotches. This also caused the stain to present as red.
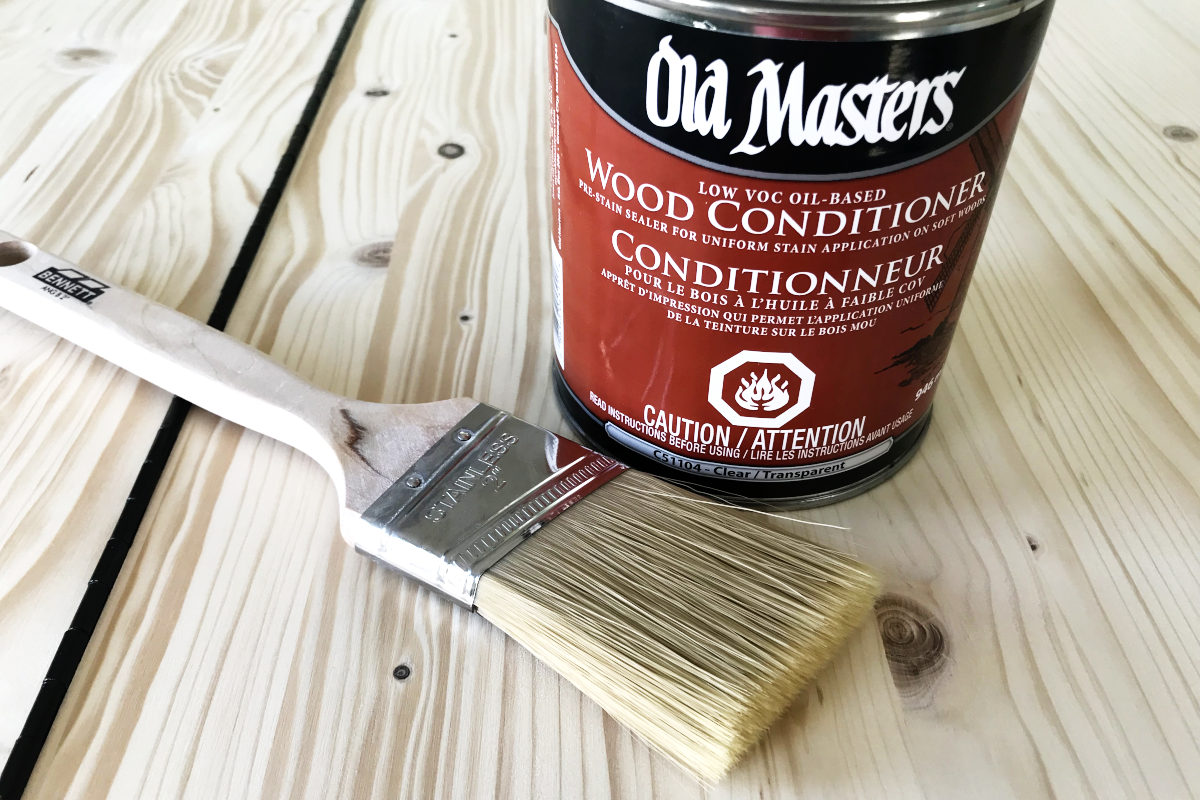
I also tried out the wood conditioner on the pine woodbox. If I ever tried conditioner again, I would not leave it on for the full recommended time; rather, brush on, wipe off. I had quite a time time getting any colour on the wood box, even after three coats of stain. In the end it looks ok with the floor, even if it’s pretty light.
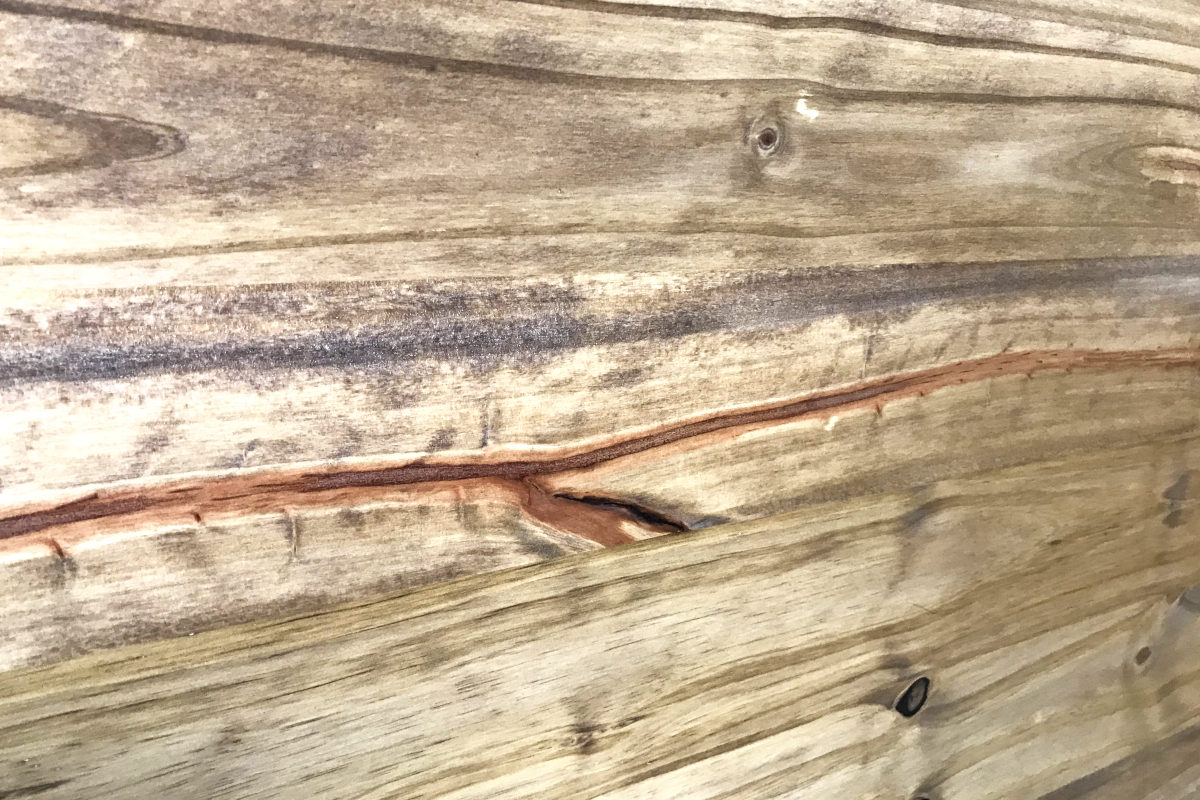
I did like the special walnut on pine without the conditioner, which I tried on the inside of the woodbox (now covered in metal). It was nice and rustic, though darker than the lady who didn’t sand.
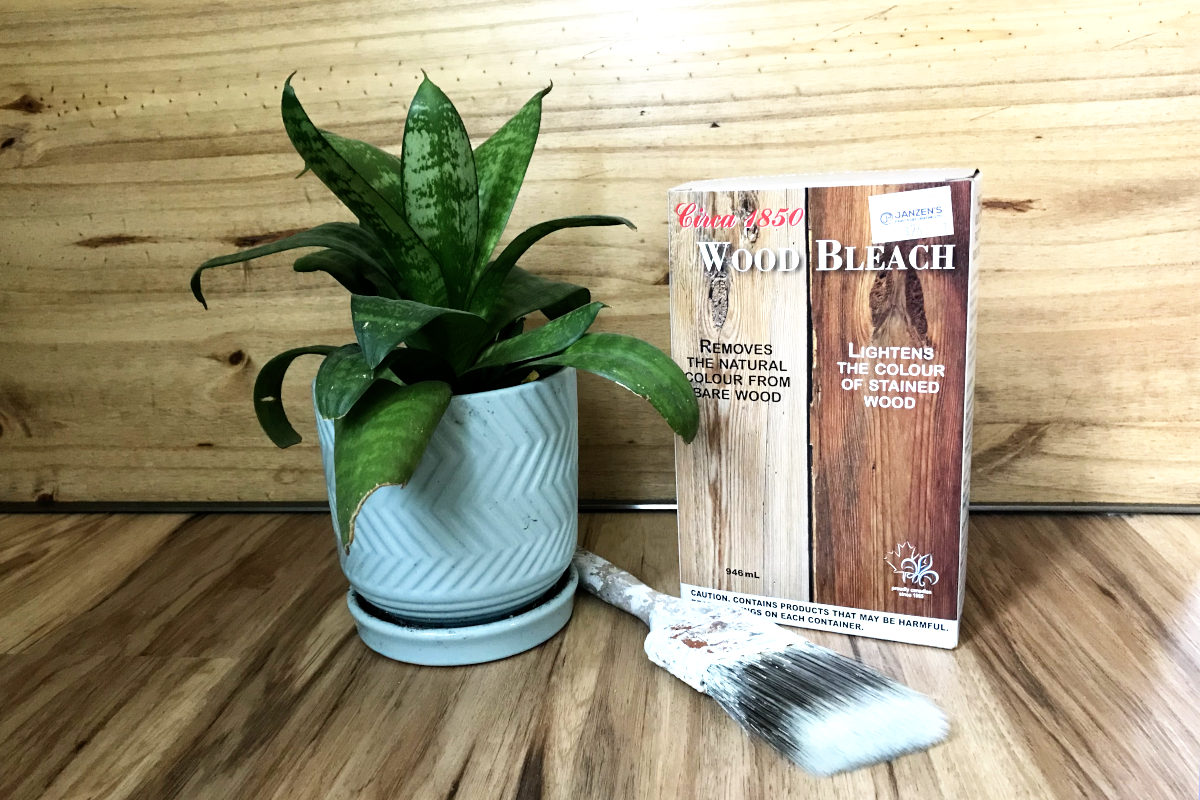
I experimented on the backside of the trim, with different applications and stains. After the red fiasco, I tried wood bleach. Wood bleach removes pigment from the wood. This is different from household bleach, which merely lightens the colour. This I would do again, one day.
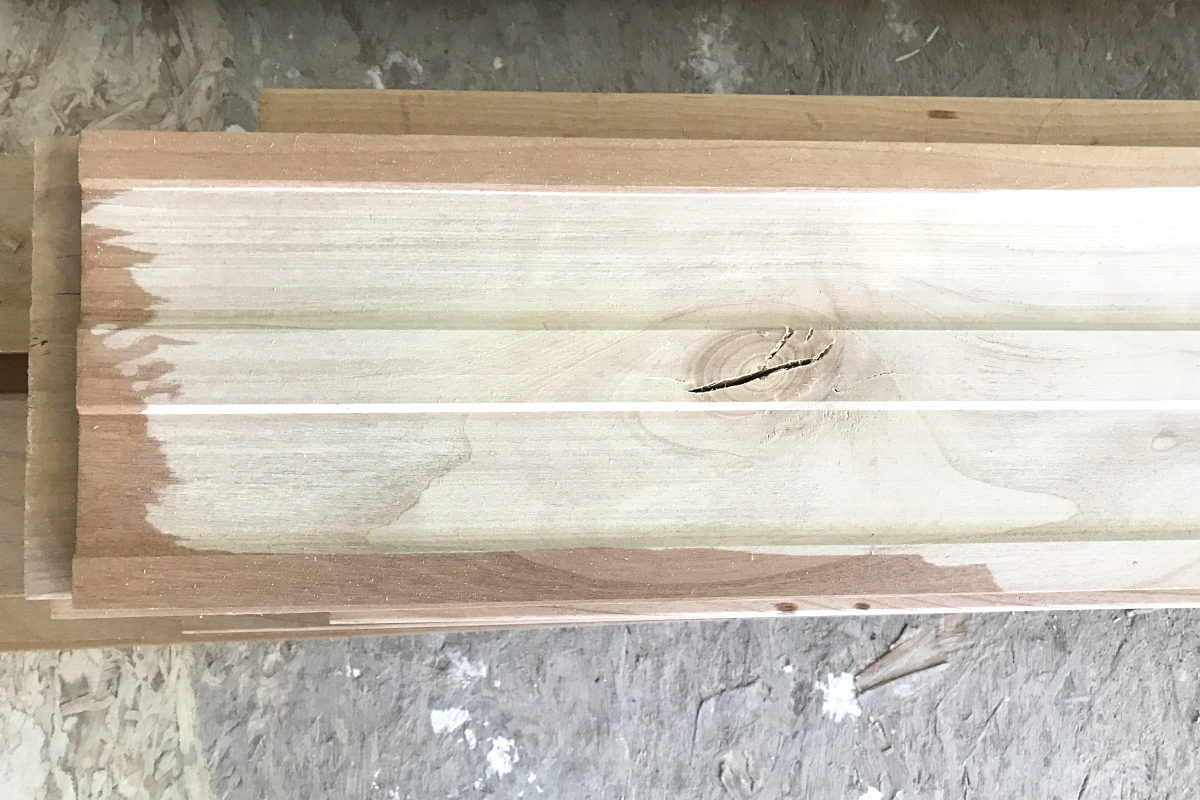
Bleaching wood is an easy, fast process. It is thin, and just needs a quick brush on, and cleans up with soap and water. It does require a day to dry. A very quick, light, hand sanding, I found, is helpful after.

Bleaching the alder entirely removed the pinkness, and the stain presented more true to the samples. But the Special Walnut I really wanted to like became extremely dark. I tried different applications – brushing only, brushing and wiping off, and wiping only.
I usually like brushing a stain in, because it really brings out the grain nicely, but wiping made for a lighter colour, though in trying to stay light, it came out blotchy. My bad. Good bye for now Special Walnut.
I had an old can of Varathane’s water based Provincial I decided to test. Eureka! A perfect match! (Again, it presented differently on bleached alder than yellow pine) I figured I had enough stain to do the job, so off I went, with a vague notion that I should start with a fresh can.
Indeed, I ran out of stain. Off I go to the hardware store. And Varathane does not make water based Provincial stain anymore. They do have it mixed with a semi-gloss polyurethane. Who wants semi-gloss? Besides, I already finished the other boards with a satin finish.
The oil based Provincial stain did not come out the same as my old stain. (It was old, too, which probably made a difference). Several trips to town later, and a helpful girl in the paint department who tested some stains on my wood sample, and I came home with…Minwax Golden Oak. Go figure.
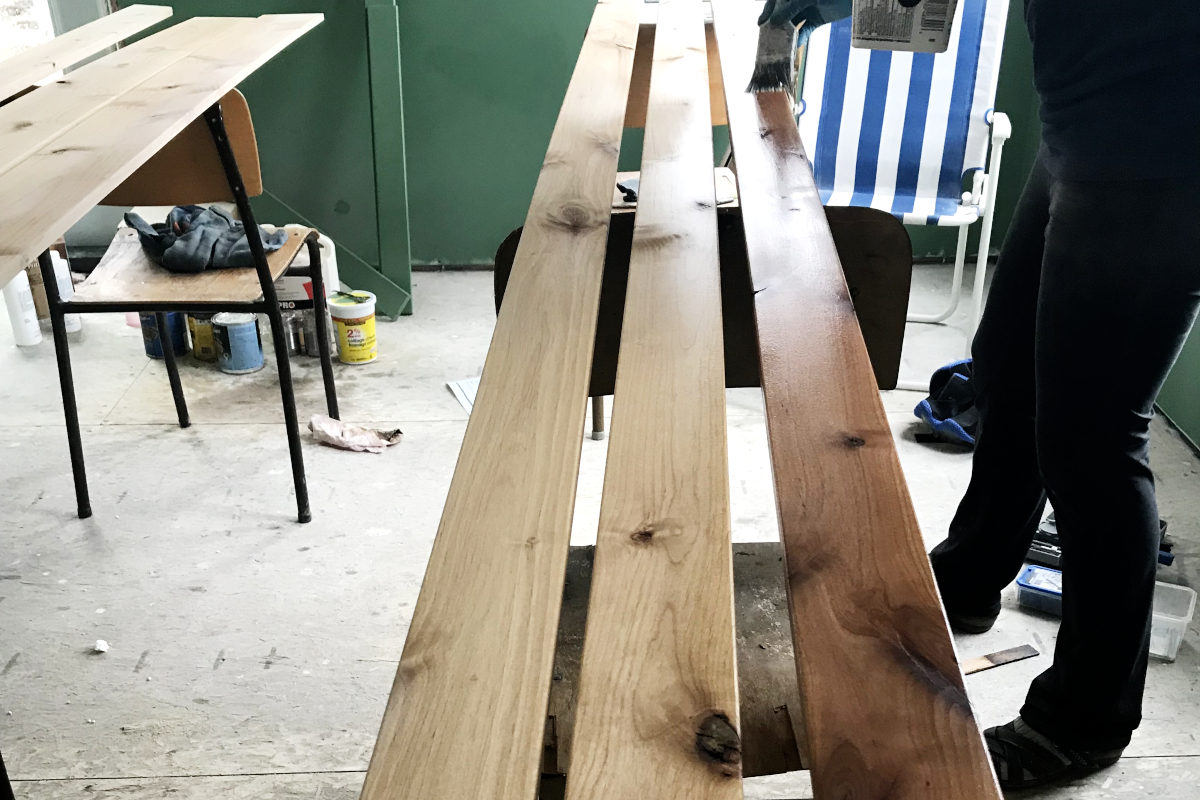
And, of course the tiny spot on the sample was almost perfect, but I tried it with a combination special walnut (one spot with golden oak underneath, one on top – even that makes a difference), and got a good match. Of course, the unsanded back of the trim was slightly different than the front. But perhaps only I will notice.
I finished off with a water based Varathane because water based finishes resist yellowing, as opposed to their oil based counterparts. Yes, you can put a water based finish over an oil based stain, as long as the stain is good and dry. A light hand sanding (220 grit or more) and a quick wipe before the last coat ensured a smooth finish.
So there it is: All my experimenting and trying new products, all for a few feet of trim and a wood box. Thanks for sticking around for all these shenanigans. They may yet prove useful in our old house remodel.
You may also like these old house posts:
80 Year Old House Remodel 10 – Epoxy Floor
 I'm Erika, I live on eighty acres in the northern prairies of southern Manitoba with my husband and four kids. Here, we enjoy the outdoors and try to be more self sufficient as we try new things in the garden and learn about our land and the world around us.
Leave a Reply